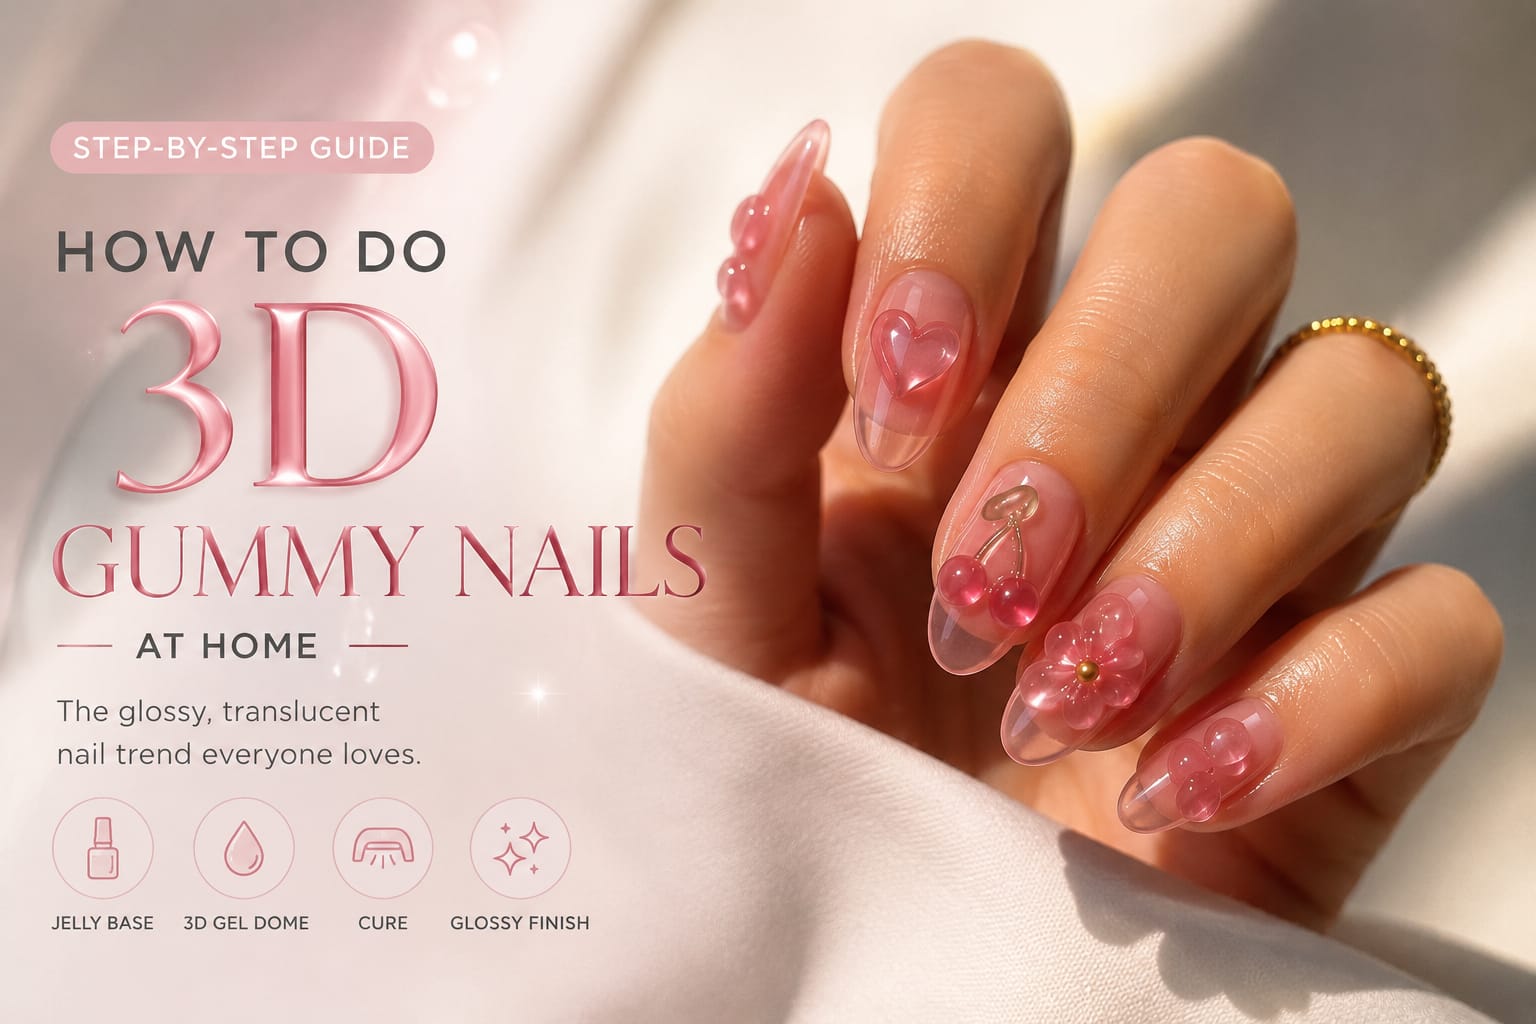
How to Do 3D Gummy Nails at Home (Step-by-Step Guide)

The gummy nail look sits at the intersection of jelly nails and 3D builder gel art: a translucent, sheer base with a raised, dome-shaped clear gel overlay that catches light like hard candy. Scratch Magazine notes that sheer jelly neon finishes and gummy textures are among the signature 3D styles expected to dominate spring and summer 2026.
Before we get into the steps, here’s what makes gummy nails different from regular 3D gel art: the dome is clear, sitting over a sheer jelly base — the layering creates depth and a wet, translucent finish rather than an opaque sculpture. That combination is what gives them the signature candy-glass look.
- Clear or milky builder gel — thick, high-viscosity (not self-leveling)
- Sheer jelly gel polish — any translucent shade or clear
- Gel base coat
- No-wipe glossy top coat — this is non-negotiable for the gummy shine
- Nail dehydrator / prep solution
- Silicone sculpting tool or dotting tool
- 48W UV/LED lamp
- 180/220 grit file, lint-free wipes
Total time: ~60 minutes · Skill level: Beginner–Intermediate
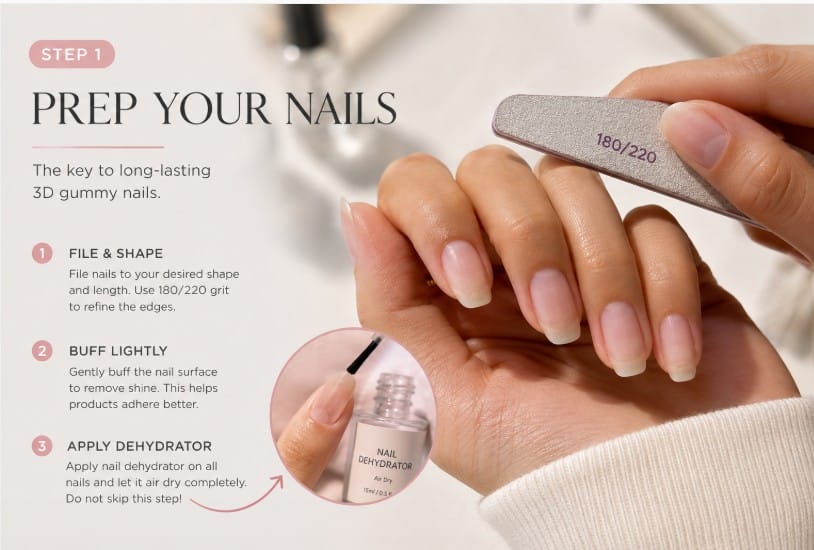
File to your preferred shape and lightly buff the surface to remove natural shine. Apply nail dehydrator and allow it to dry completely. Don’t skip this — lifting almost always starts with poor prep.
Thin, even coat across all nails. Cap the free edge. Cure under your LED lamp for a full 60 seconds.
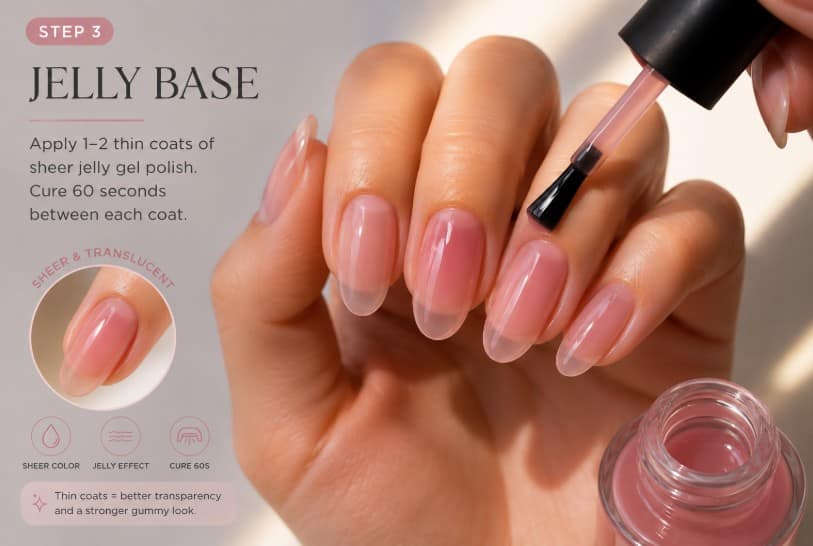
Apply one or two thin coats of your sheer jelly gel polish. The translucency is the whole foundation of the look — thin coats preserve it. Cure 60 seconds between each coat. Do not wipe.
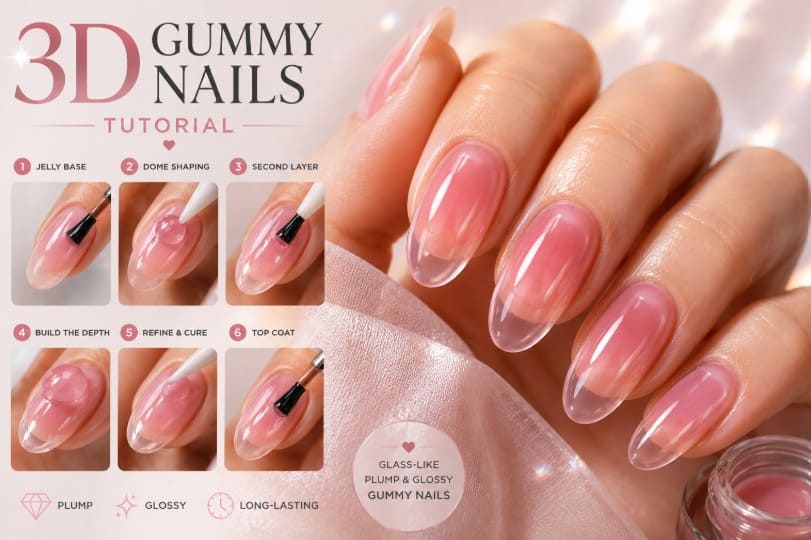
Pick up a small bead of clear builder gel with your silicone tool. Place it in the center of the nail and gently press into a dome or organic droplet shape. Work nail by nail — gel begins to self-level after 30–40 seconds. Cure each nail for 60 seconds immediately after shaping.
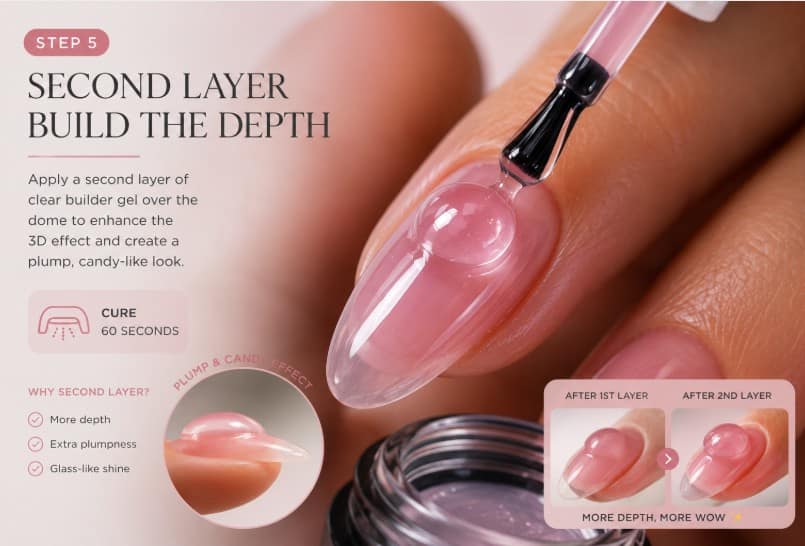
For a rounder, more pronounced candy finish, apply a second small bead of clear gel directly over the cured dome. This deepens the 3D effect significantly. Cure 60 seconds.
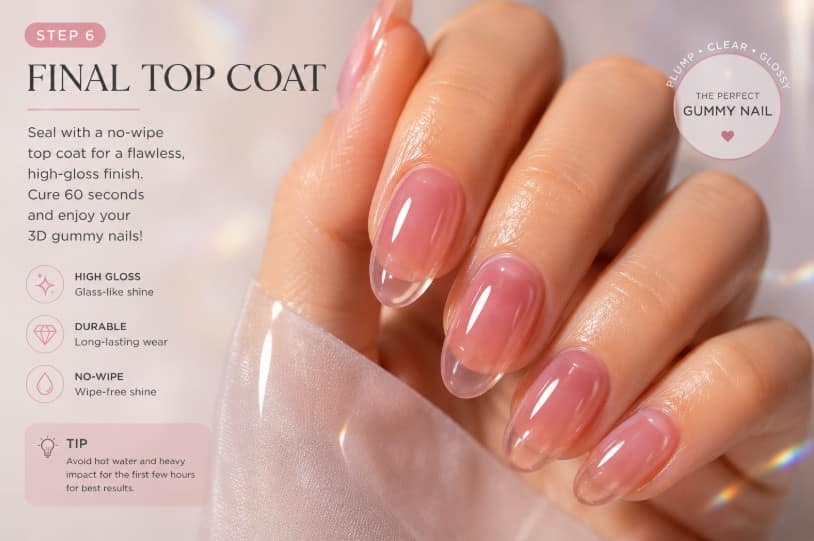
Apply a generous layer of no-wipe glossy top coat over the full nail, paying close attention to the edges of the dome. This is what creates the wet, high-gloss gummy finish. Cure for 60 seconds. Do not wipe — you’ll dull the shine.
How to Add Color Without Ruining the Cure
Highly pigmented gel blocks UV light from penetrating the dome’s interior, leaving the center soft and prone to cracking. If you want a colored gummy effect, use one of these two methods instead:
Method 1 — Tinted jelly base: Keep the dome clear and use a sheer, colored jelly polish as your base coat layer (Step 3). The color shows through the clear dome and creates a subtle, layered tint without compromising the cure.
Method 2 — Mix method: Add no more than 10–15% pigmented gel into your clear builder gel before shaping the dome. Too much pigment and the center won’t cure fully. Test this ratio on a nail tip before applying to a client or yourself.
Longevity Tips
If you already want nails that stay salon-fresh for longer, our guide on summer BIAB nail trends covers builder-in-a-bottle systems that work brilliantly as a base for 3D gummy nails — BIAB creates a stronger foundation than standard gel polish, which means the dome has less chance of lifting at the edges.
- Always dehydrate before base coat — oils are the #1 cause of early lifting
- Cap the free edge with both base coat and top coat
- Seal the dome edges completely with top coat — press the brush slightly under the edge of the dome
- Reapply top coat after week one to refresh the gummy shine
- Avoid prolonged water exposure in the first 24 hours after application
3D Gummy Nail Design Ideas Trending in 2026
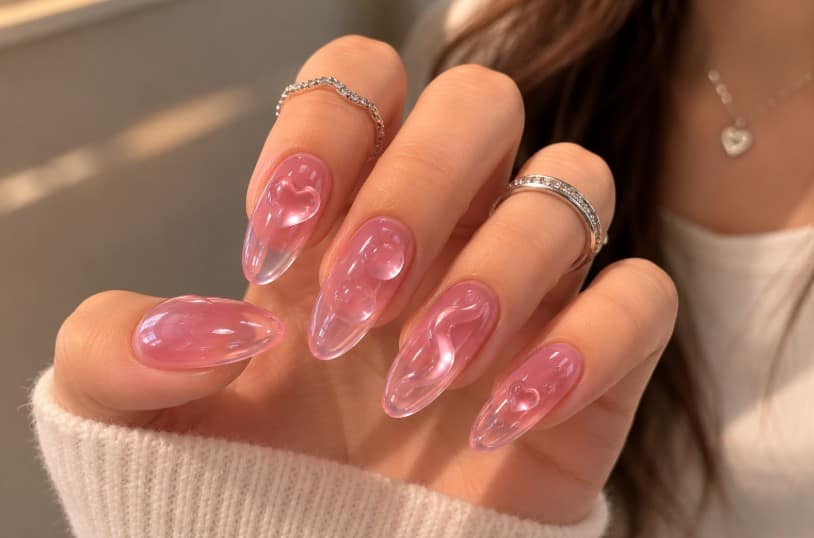
Once you’ve mastered the basic gummy nail technique, the real fun begins with different 3D design styles. From translucent cherry details to Korean-inspired syrup finishes, gummy nails are evolving into one of the biggest glossy nail trends of 2026.
Below are some of the most popular 3D gummy nail ideas currently trending across Pinterest, TikTok, and Korean nail art salons — all built around the same translucent jelly base and glass-like dome effect.
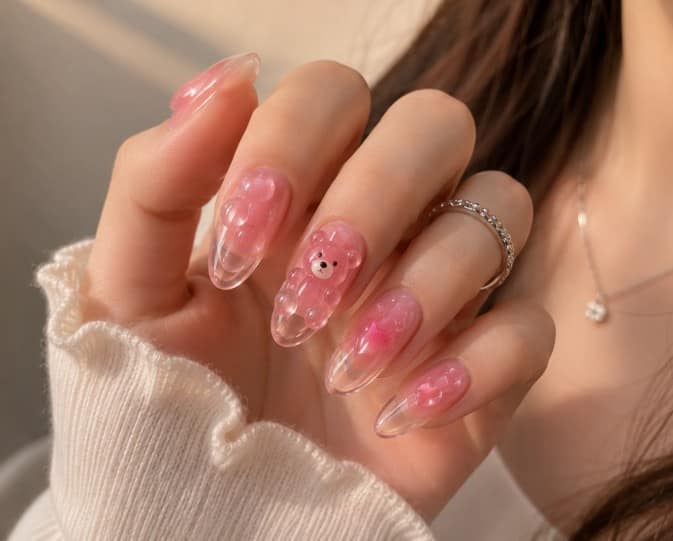
3D Gummy Nails Outfit Inspiration
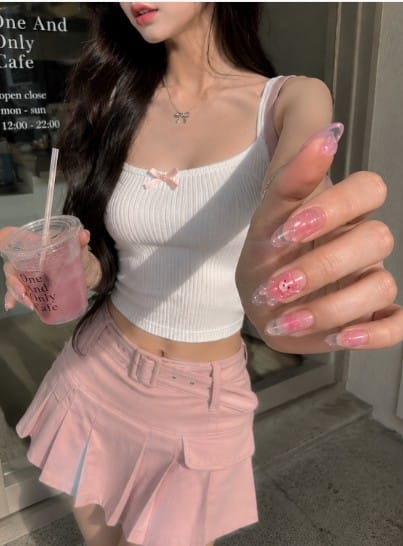
This pastel pink outfit shows how glossy 3D gummy nails can complete a soft, feminine look. The translucent jelly finish, teddy bear detail, and candy-like shine make the manicure stand out as part of the full style.
Frequently Asked Questions