The Complete HEMA-Free Nail Routine: Prep to Top Coat Without Compromise

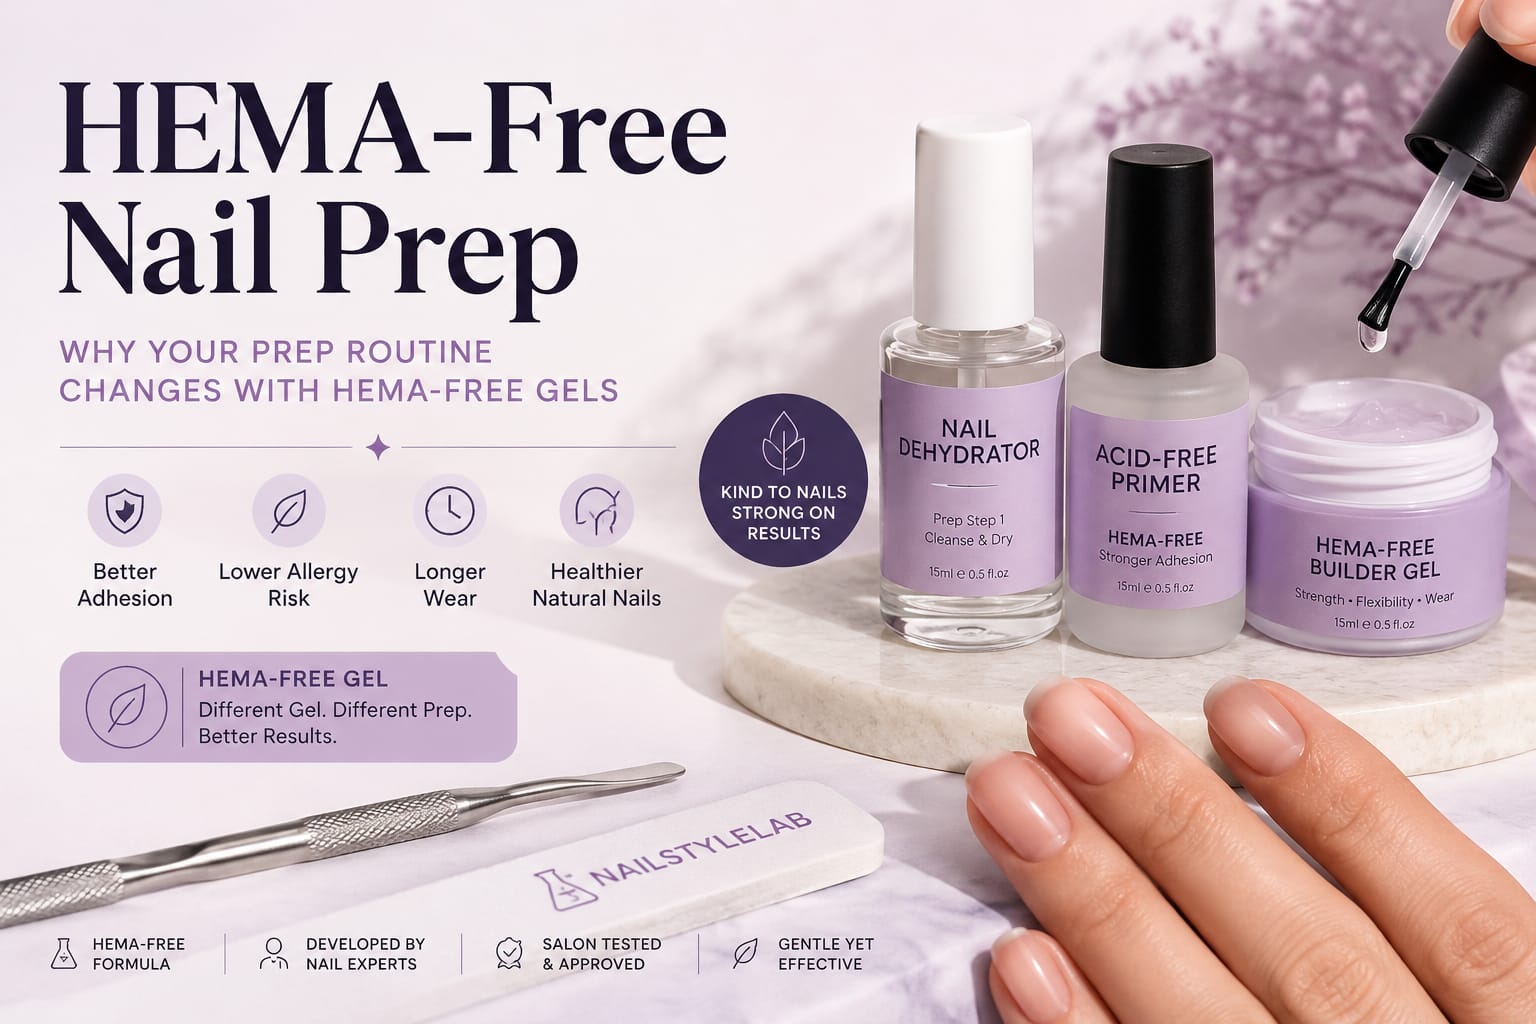
A HEMA-free nail routine uses gel nail products formulated without Hydroxyethyl Methacrylate (HEMA), a common allergen linked to gel nail reactions and skin sensitization. The routine itself follows the same structure as any gel manicure — prep, base coat, color, top coat — but every product must be verified HEMA-free, and application technique matters just as much as formula. Flooding the cuticle or leaving uncured gel on skin raises sensitization risk regardless of what’s in the bottle.
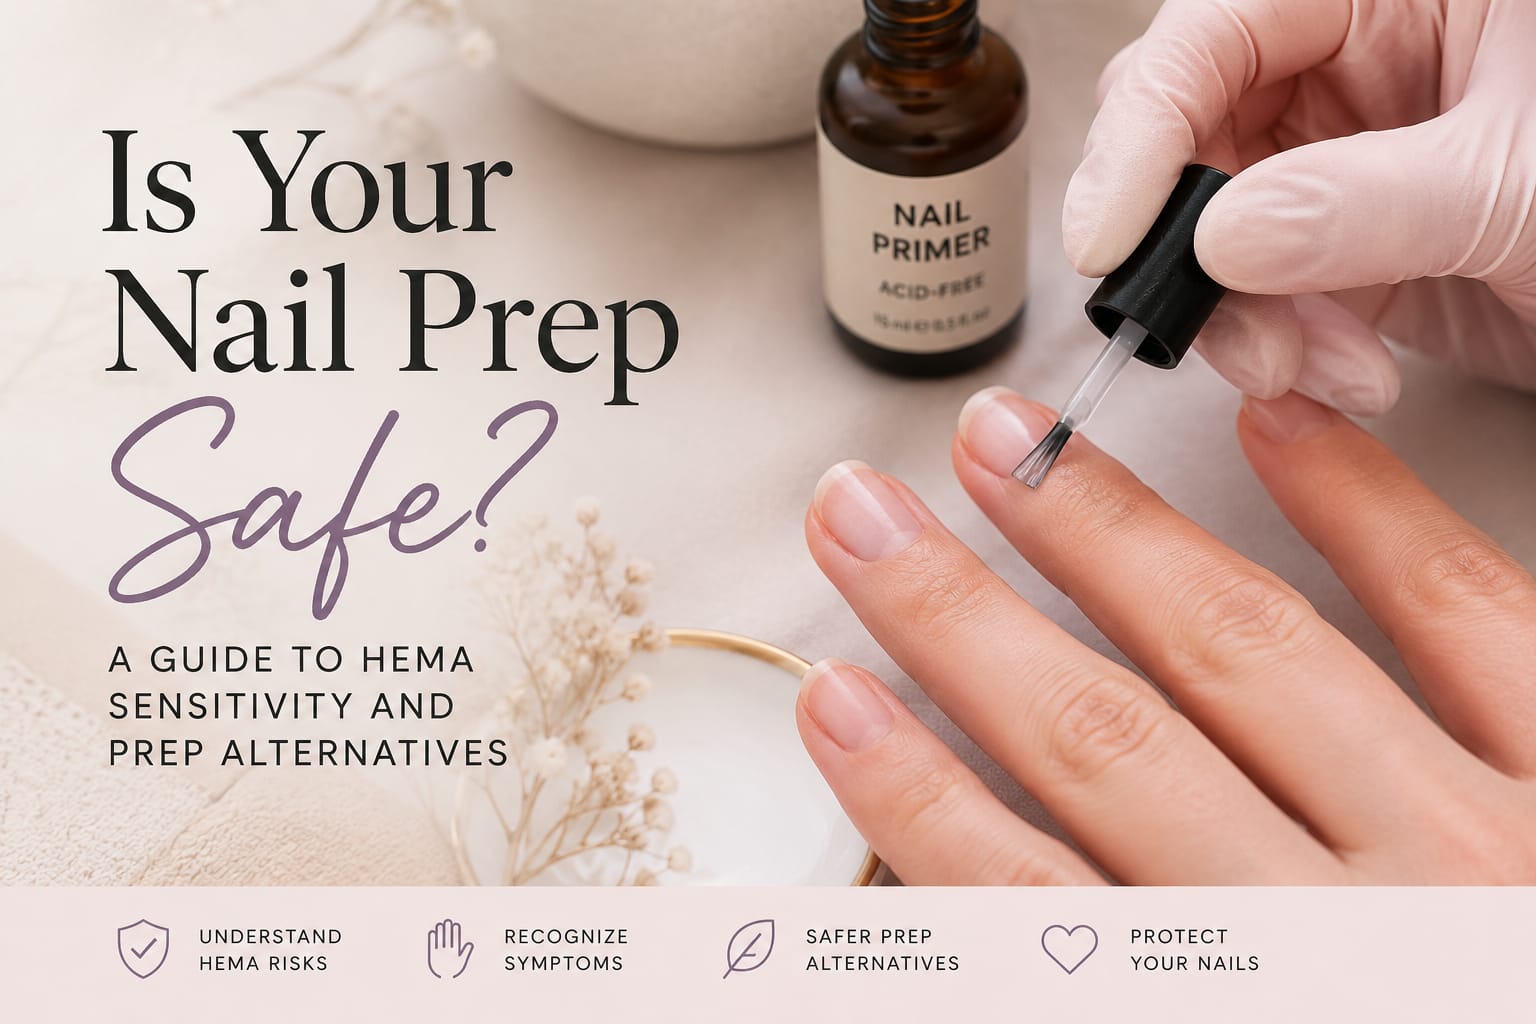
If you’ve been doing gel nails for years and recently noticed itching, swollen cuticles, or a strange tingling under your nails — you’re not imagining it. HEMA sensitization is real, it’s cumulative, and it doesn’t always announce itself early. Switching to a HEMA-free nail routine is one of the most important steps you can take for your long-term nail health.
The good news? You don’t have to sacrifice wear time or finish quality. Here’s exactly how to do it — from prep to top coat.
Some brands remove HEMA but substitute it with Di-HEMA TRIMETHYLHEXYL DICARBAMATE or other cross-reactive monomers. Always check the full INCI ingredient list — not just the front label claim.
Regular Gel vs. HEMA-Free Gel: At a Glance
| Regular Gel | HEMA-Free Gel |
|---|---|
| Allergy Risk | |
| Higher sensitization risk; HEMA is a classified skin allergen | Lower sensitization risk when used with proper technique |
| Adhesion | |
| Strong adhesion via HEMA monomer bonding | Alternative monomer bonding — comparable with good prep |
| Wear Time | |
| 2–3 weeks with proper application | 2–3 weeks — technique-dependent, not formula-dependent |
| Ingredient Transparency | |
| HEMA widely listed, but at varying concentrations | Requires full INCI verification; “free” claims vary by brand |
| Availability | |
| Widely available at all price points | Increasingly common; premium brands lead the category |
The HEMA-Free Nail Routine: Step by Step
- 1Shape & File Dry Nails Never file after soaking. Shape nails dry to avoid micro-tears that let product seep under the nail plate. Use a 180-grit file for natural nails.
- 2Push Back — Don’t Cut — Cuticles Use a rubber-tipped pusher or orangewood stick. Cutting cuticles creates open pathways for uncured monomers to reach skin. This step matters even more with gel routines.
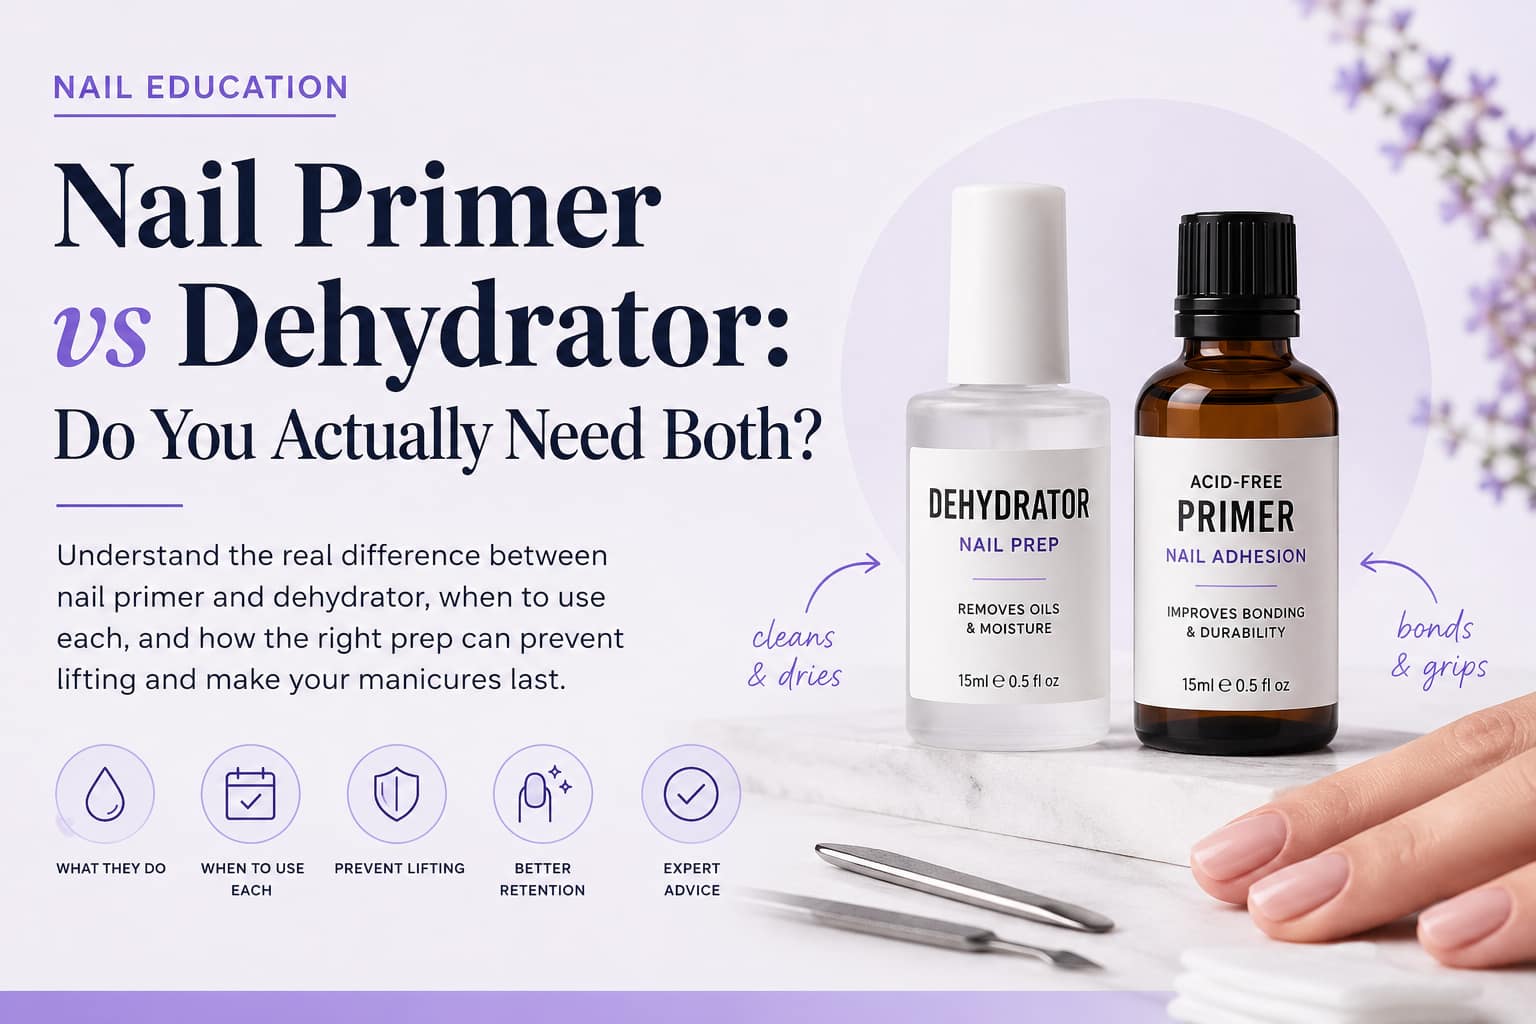
- 3Cleanse With a Nail Prep Solution Wipe each nail with a lint-free pad soaked in nail prep or 99% isopropyl alcohol. This removes oils and moisture that cause lifting — and reduces the chance of product flooding the skin.
- 4Apply an Acid-Free Primer (Optional but Smart) If you use a primer, choose an acid-free version. Acid primers etch the nail for adhesion, but with HEMA-free products, a thorough prep routine usually achieves the same result more safely.
- 5Apply HEMA-Free Base Coat in Thin Layers Thin coats cure fully. Thick layers trap uncured product against the nail — the single biggest cause of gel nail allergies, even in HEMA-free formulas. Cap the free edge.
- 6Apply Color Gel (2 Thin Coats) Cure each coat fully under a 48W LED or UV lamp. Check your lamp’s compatibility with the brand you’re using — undercured gel is where the real risk lives regardless of formula.
- 7Seal with a HEMA-Free Top Coat Cap the edges to prevent lifting and chipping. The top coat is your last line of defense — don’t skip the edge seal, and don’t shortcut cure time.
Applying gel onto skin, flooding the cuticle area, or skipping the cleanse step can cause sensitization even with the safest formula. Product on skin that cures under the lamp is the number one route to a gel allergy.
Early Signs of HEMA Sensitization
HEMA allergy rarely announces itself dramatically at first. Most people experience mild symptoms that are easy to dismiss — until they aren’t. Knowing what to look for early is the difference between a manageable adjustment and a permanent reaction.
- Itching Around the Nails Often the first sign — mild at first, under or around the cuticle
- Redness & Inflammation Skin around the nail fold becomes visibly irritated
- Tingling or Burning A pins-and-needles sensation during or after application
- Swelling of the Fingertip Puffy cuticle area, sometimes appearing hours after application
- Nail Separation (Onycholysis) The nail plate lifts from the bed — a serious, advanced sign
- Spreading Skin Reactions In severe cases, reactions appear beyond the fingertips
Once your immune system becomes sensitized to HEMA, reactions typically worsen with each exposure — not improve. Early symptoms are a signal to stop and reassess, not push through. Research published in peer-reviewed dermatology literature confirms acrylate sensitization is among the fastest-growing occupational and cosmetic contact allergies. See: NIH/PubMed — Acrylate Contact Allergy.
What Makes a Product Truly HEMA-Free?
HEMA (Hydroxyethyl Methacrylate) is a bonding monomer that gives gel products their adhesion. It works well — but it’s classified as a skin sensitizer, and once your immune system reacts to it, responses tend to intensify over time. Truly HEMA-free formulas use alternative monomers like urethane dimethacrylates. The challenge is that replacement monomers vary in their safety profiles, which is why reading the full INCI list matters far more than trusting a brand’s front-label claim.
Look up your product’s ingredients on the EWG Skin Deep — HEMA ingredient page. Search for “methacrylate” — anything with that suffix deserves a closer look before use.
If you’ve developed a confirmed HEMA allergy, switching to HEMA-free products may not eliminate reactions entirely — cross-reactivity with other acrylate monomers is documented. Consult a dermatologist before continuing gel application of any kind.
Frequently Asked Questions