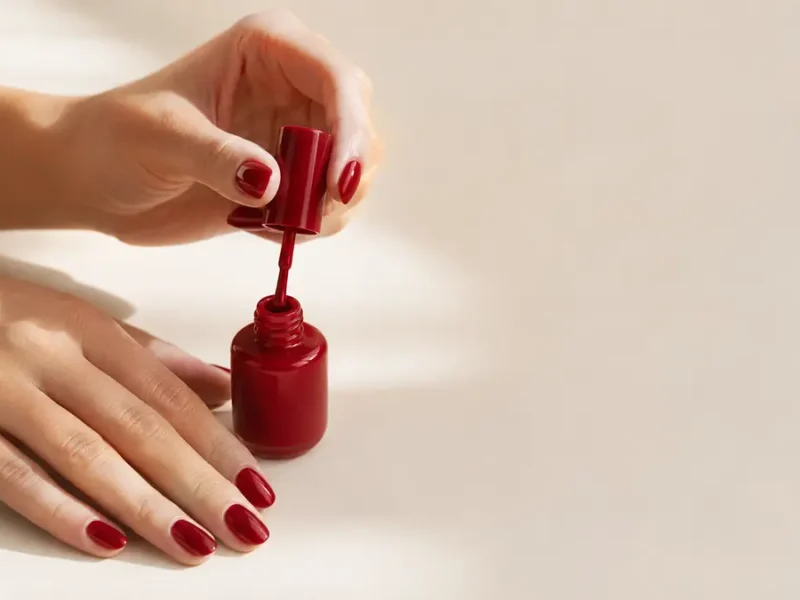
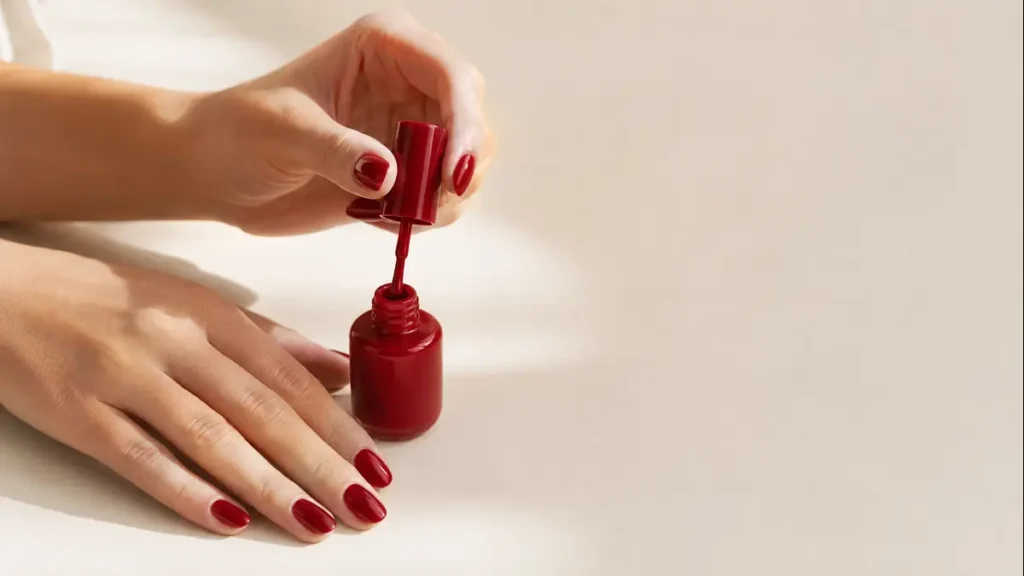
You can put regular nail polish over BIAB. A healthy builder layer does not need to be removed every time the colour changes. As long as the overlay is fully cured, still bonded and free from cracks or lifting, it can stay in place while ordinary polish sits on top as a temporary colour layer.
Quick answer: Clean and inspect the BIAB, apply a thin regular base coat, two thin colour coats and a traditional top coat. Let everything air dry. A UV or LED lamp will not cure ordinary polish.
The method is simple. What separates a manicure that survives several days from one that dents on the sofa in the evening is coat thickness, and very little else.
The Terms, Quickly
| Term | What it is | Meaning |
|---|---|---|
| BIAB | Brand name | Builder In A Bottle, a trademark of The GelBottle Inc. Widely used as a generic term for any brushable builder gel. |
| Builder gel | Product category | A thickened gel applied for strength and structure, cured under a lamp. |
| Gel polish | Colour product | Thin coloured gel. Adds colour, not structure. Also cured. |
| Regular polish | Colour product | Also called nail varnish or lacquer. Solvent-based colour that air dries. Does not cure and is unaffected by a lamp. |
| (Meth)acrylates | Ingredient group | The reactive ingredients in gel and acrylic systems, including HEMA. Relevant to the safety section below. |
That distinction matters because soak-off behaviour, acetone tolerance, buffing requirements, inhibition layer and lamp compatibility all vary between builder brands. Most sound, fully cured BIAB-style overlays can be painted with regular polish — but the specific system’s aftercare and removal instructions take precedence over anything here.
Can You Paint Over BIAB With Normal Nail Polish?
Yes, over clear, nude or coloured BIAB alike. Ordinary polish is not being asked to bond to the natural nail here. It sits on a cured, sealed surface, which is an easier job than bare keratin.
Expect the two layers to age at different rates. A builder overlay may hold for weeks; the polish above it can start looking tired well before that. Chipped colour does not mean the builder has failed — it usually means regular polish is behaving like regular polish.
BIAB and Regular Polish Set Differently
BIAB hardens by curing: a chemical reaction triggered by the correct wavelength in a compatible lamp.
Regular polish dries, which is physical — solvents leave the film and evaporate. Lamp time changes nothing except the temperature of the nail. It produces warm fingers and a soft coat that dents an hour later.
So keep the colour system internally consistent: regular base, regular colour, regular top coat.
If there is any doubt about what is actually on the nails, our comparison of BIAB vs builder gel covers the distinction. Removal instructions differ enormously between systems, so it is worth knowing.
Check the BIAB Before Covering It
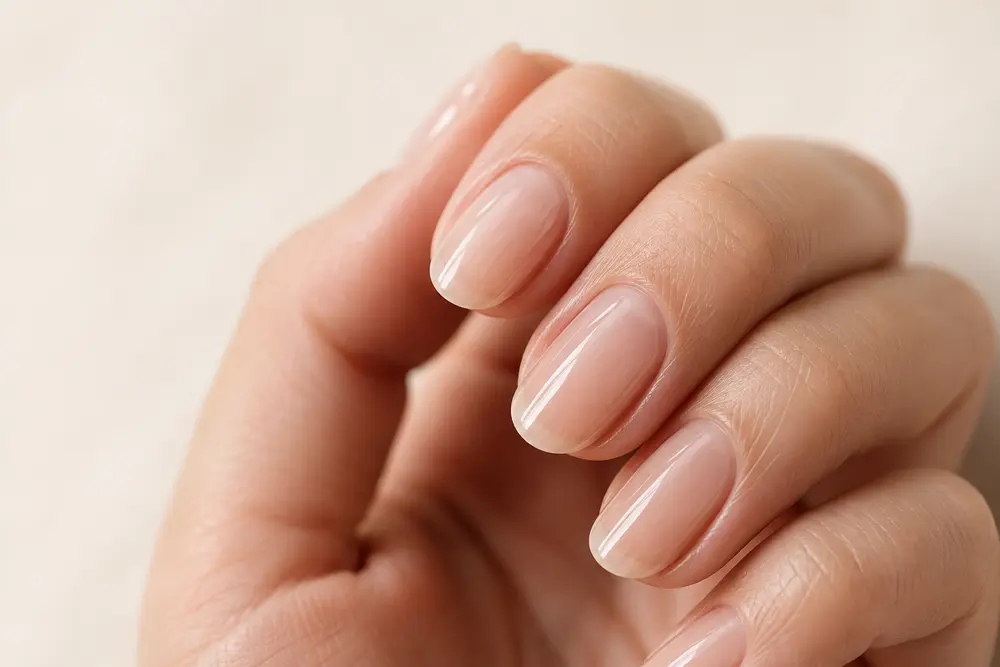
Inspect before reaching for a buffer. Check around the cuticle, down both sidewalls, along the free edge and underneath the tip. Look for a visible air gap between product and nail, a hairline crack through the overlay, or a section that gives slightly under pressure. Any of those means a repair, not a repaint.
This matters most before applying something dark, because opaque colour conceals a small lift — and a lift sealed under polish, with moisture trapped in the gap, is a common route to discolouration underneath the overlay. A sheer nude is far more forgiving than black in this respect, since problems stay visible.
Lifting has a long list of possible causes. Our guide to why BIAB nails lift works through them.
Do You Need to Buff BIAB First?
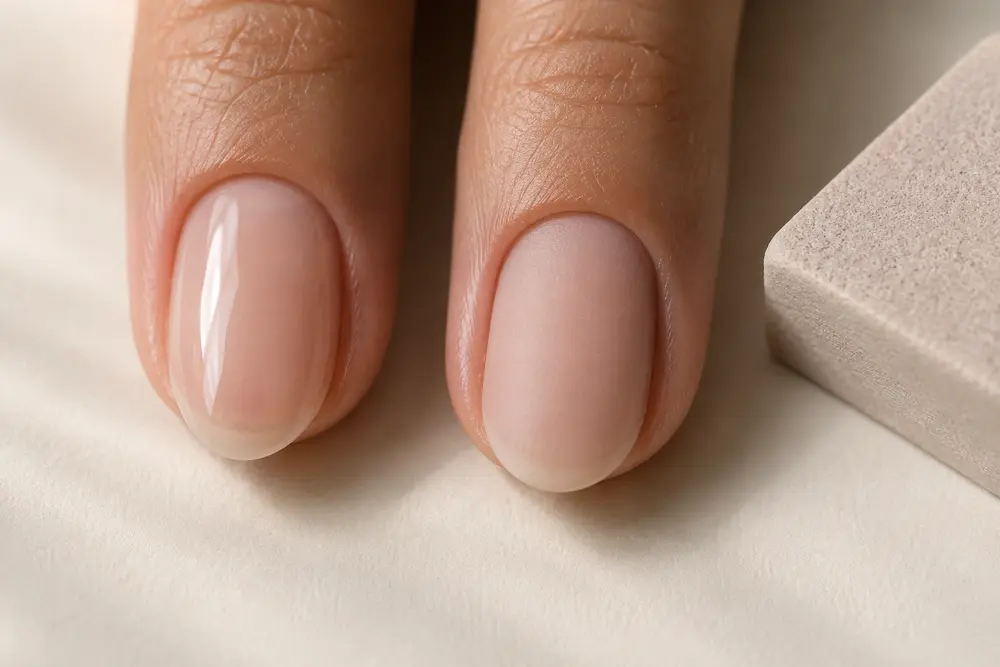
Usually not. A regular base coat grips a clean, degreased top coat perfectly well in most cases, and sanding a healthy overlay at every colour change slowly removes the structure that was paid for.
Clean it properly first. That resolves most adhesion problems on its own.
If polish has previously peeled off in one sheet, or the existing top coat is unusually glassy, a fine buffer and a few light passes per nail will help. Fine here means a high-grit block of the type sold for finishing rather than shaping — the aim is to break the shine, nothing more. Where the builder manufacturer specifies a grit, use theirs.
Nothing is being reshaped. The apex stays where it is, the sidewalls are left alone, and the file does not go through into the colour layer beneath. Once the surface reads uniformly matte, stop and remove all dust.
How to Apply Regular Nail Polish Over BIAB
1. Clean and inspect
Wash and dry the hands thoroughly, then run the inspection above. Wipe each nail with a lint-free pad and the cleanser specified for the builder system — isopropyl alcohol suits most, though some brands require their own.
Spend the extra time around the cuticle and sidewalls. This is where hand cream and cuticle oil sit, and residue at the perimeter is what causes colour to shrink back from the edge within a day or two. The centre of the nail nearly always looks clean.
Avoid soaking the hands immediately beforehand.
2. One thin base coat
Not compulsory, but it makes the result more predictable and puts a barrier between the BIAB and heavy pigment. Dark and saturated shades — black, navy, deep red, green, neons — can stain a buffed builder surface, and staining of that kind does not buff out. It stays until the overlay grows off.
One thin coat, kept off the skin. Flooding the cuticle does not extend wear; it builds a thick edge that catches and peels early.
3. Two thin colour coats
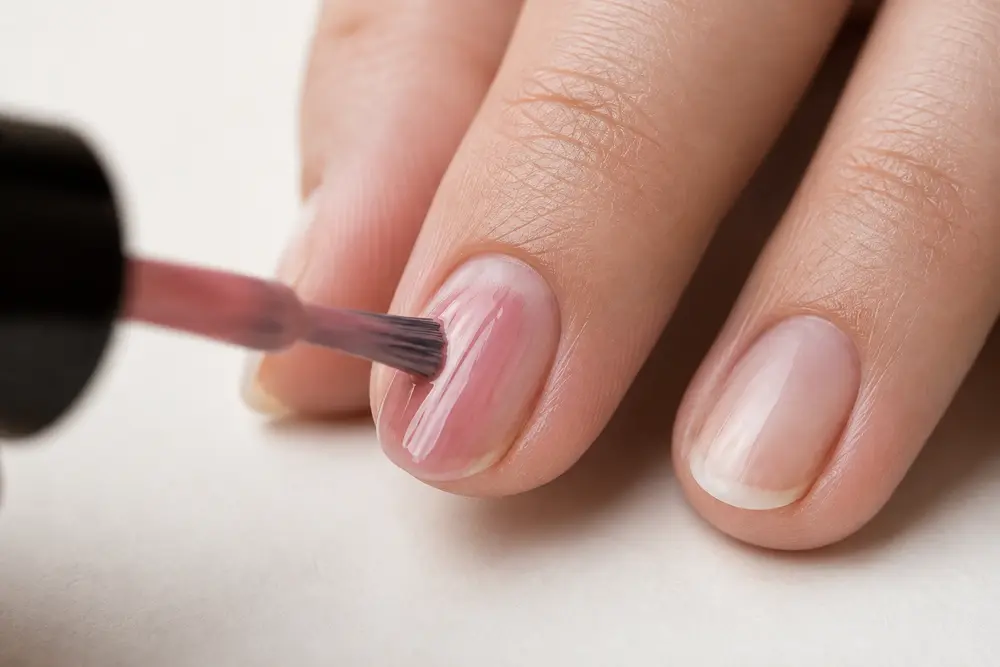
Resist full coverage on the first pass. A thin, slightly streaky first coat is correct — it gives the second something firm to sit on instead of creating a soft centre that never fully hardens.
How long to wait between coats depends on the formula, the room temperature and how thickly the polish went on; a few minutes is typical, and older or thickened bottles take longer. A thin coat in a normally ventilated room will outperform a thick coat under a lamp.
If you are slow with the brush, do one hand at a time.
Cap the free edge with a light sweep of the brush to slow tip wear. Lightly — a thick ridge at the tip catches on fabric and peels back in one piece, which is the most common way these manicures fail.
4. A traditional top coat
Use a top coat formulated for regular polish, and glide it over the colour in as few strokes as possible. Dragging the brush repeatedly through half-dry polish creates streaks that cannot be fixed without starting again.
Quick-dry formulas help the surface set but cannot harden thick colour trapped beneath. Some also shrink slightly at the free edge when the layers underneath were applied heavily.
5. Allow real drying time
Touch-dry is not the same as hard. The film sets from the top down, and lower layers can still take an imprint after the surface feels firm.
During that window, avoid hot water, washing up, tight sleeves and bedding. Do not start this late at night and then go straight to bed — it is where most avoidable dents come from.
Marks appearing hours later are almost never caused by the top coat and never by the BIAB. The colour coats were too thick, and no home drying trick compensates for that.
Can You Put Gel Top Coat Over Regular Nail Polish?
Some people do. It is the least reliable option here.
The difficulty is timing. Regular polish needs its solvents to leave the film, which takes longer than the surface suggests. Sealing it under a rigid cured gel before that has finished traps solvent with nowhere to go, and the result is wrinkling, shrinkage at the edges, splitting, or colour that stays soft under a hard shell.
It also removes the main advantage of the approach: with a full traditional system, the colour wipes off and the builder stays untouched. Add a cured gel top coat and that layer must be filed or soaked off first.
For a few days of colour, use regular polish end to end. For longer wear, use a compatible gel colour and gel top coat, cured according to the builder system’s instructions.
Never apply BIAB over ordinary nail polish. Trapping regular polish under uncured builder gel is a different problem entirely — polish that looks dry may still be releasing solvent, which interferes with adhesion and can destabilise the overlay. Unless the manufacturer of the complete system explicitly approves it, avoid this.
Removing the Polish Without Removing the BIAB
Start with an acetone-free remover. It is slower, which is appropriate — the job is dissolving a thin colour layer, not a builder gel.
Acetone is the active ingredient in most soak-off removal systems, which is exactly why it is the wrong default here: it will dull a BIAB top coat, and on soak-off formulations prolonged or repeated exposure works against the overlay itself. Tolerance varies by brand, so check the manufacturer’s aftercare guidance.
Saturate a cotton pad, press it flat against the nail and hold for several seconds before wiping. Scrubbing mostly spreads pigment across the fingers. Switch to a clean section of the pad as colour transfers — glitter, black, navy and dark red are the worst for this.
The BIAB will usually look slightly flat afterwards. Dullness alone is not lifting. Clean the nail, inspect the edges, and act only if there is an actual gap or crack.
When the builder itself needs to come off, identify the system first. Some bottled builders soak off, others must be filed. Our guide to removing BIAB nails at home explains why that matters.
How Long Does Regular Polish Last Over BIAB?
Several days, typically — commonly quoted as three to seven, though the range between formulas is wide enough that the figure is a rough guide rather than a specification. The smooth builder surface helps colour lay evenly. It cannot prevent a chip.
What actually determines wear time is fairly mundane:
- Oil, cream or filing dust left on the surface before painting
- Colour coats applied too thickly
- Insufficient time between coats, or before use
- Frequent hot water and cleaning products
- Repeated impact on the free edge
- An unstable BIAB layer underneath
Dark shades show tip wear earlier than nudes and sheers, not because they chip more but because contrast makes a small chip obvious. On short nails it is less noticeable either way.
Refreshing the top coat after a few days works if the surface is still smooth. Stacking layers onto a manicure that has gone lumpy does not.
Regular Polish or Gel Polish Over BIAB?
| Feature | Regular Nail Polish | Gel Polish |
|---|---|---|
| How it sets | Air dries as solvents evaporate | Cures under a compatible lamp |
| Changing colour | Quick, no equipment | Requires prep, curing and removal |
| Typical wear | Several days | Commonly cited as two to three weeks when correctly applied |
| Removal | Comes off without disturbing the BIAB | Needs filing or soak-off |
| Common failures | Dents, smudges, peeling, early chips | Under-curing, skin contact, removal damage |
| Equipment needed | None beyond the bottles | Compatible lamp, cleanser, removal kit |
| Best for | Changing colour often, or one shade for one weekend | Painting once and leaving it alone |
A Safety Note About Gel Products
Regular polish on the skin is a tidiness problem. Uncured gel is not.
The British Association of Dermatologists issued a warning in 2018 that (meth)acrylate chemicals used in acrylic, gel and gel-polish nails were driving a contact allergy problem in the UK and Ireland, based on an audit in which 2.4% of patients tested reacted to at least one (meth)acrylate. It repeated that warning in 2023, noting that sensitisation occurs when uncured product touches any part of the skin, and raising specific concern about at-home kits used without training. Dermatologists involved in the audit have described the resulting sensitisation as long-lasting, and have advised home users to cure with the lamp recommended for their product, since an unsuitable lamp may leave the gel incompletely cured and raise the risk.
In practice: keep uncured builder and gel colour off the cuticle and sidewalls, cure for the full time specified, and treat lamp and product as a matched pair. Anyone who develops persistent redness, itching, swelling or nail lifting around the nails should stop using the product and seek advice from a GP or dermatologist rather than switching brands and hoping.
Why Polish Peels or Dents Over BIAB
It peeled off in one sheet
Almost always contamination or a surface too glossy to grip — oil, hand cream, cuticle product or dust. Remove the loose colour rather than painting over it, cleanse again and apply a thin traditional base coat. Add light buffing only if a proper clean plus base coat has already failed once.
It dented hours later
Too thick, applied too fast, or both. Another top coat seals that softness in rather than fixing it. Remove and redo in thinner coats.
The BIAB came away with the polish
Then the polish was not the problem — that section had already separated from the natural nail and the remover found the gap. It should not be glued, filled with fresh product or painted over. Where this happens repeatedly the cause is usually further back at the preparation stage, which our guide to nail prep for beginners covers.
When to Stop Repainting
A stable overlay can be repainted several times between appointments. The discipline is inspecting the structure each time the colour comes off.
Do not repaint if you find any of the following:
The last one catches people out, because nothing looks wrong. As the natural nail grows, the strongest point of the overlay moves out towards the tip with it, leaving the stress point unsupported.
Frequently Asked Questions
Can I use normal nail polish over BIAB without a base coat?
Yes, though a base coat makes the result more consistent and protects against staining. Optional with pale shades; worth using with anything dark.
Do I need to remove BIAB before changing colour?
No. If the builder is secure and undamaged, remove only the polish and apply a new shade.
Will nail polish remover damage the BIAB?
Acetone-free remover is the sensible default and will not harm a sound overlay. Acetone dulls the top coat and, on soak-off systems, repeated exposure works against the builder. Expect a slightly flat finish either way, and inspect before repainting.
Can I use quick-dry polish over BIAB?
Yes. Keep coats thin and follow the bottle’s instructions. Quick-dry formulas set the surface faster, but the layers underneath still need time.
Can I do nail art with regular polish over BIAB?
Dots, lines, gradients and freehand details all work. Keep every layer thin and let each stage set before adding the next. Chrome powders, cat-eye effects and encapsulation need a compatible gel system.
The Bottom Line
Regular polish over BIAB works, provided the overlay underneath is sound and the colour goes on thinly. Inspect before covering, clean thoroughly, buff only when there is a real adhesion problem, and give the polish longer than it appears to need.
Changing colour is the easy part. Lifting, cracks, irritation and a wandering apex are separate problems.