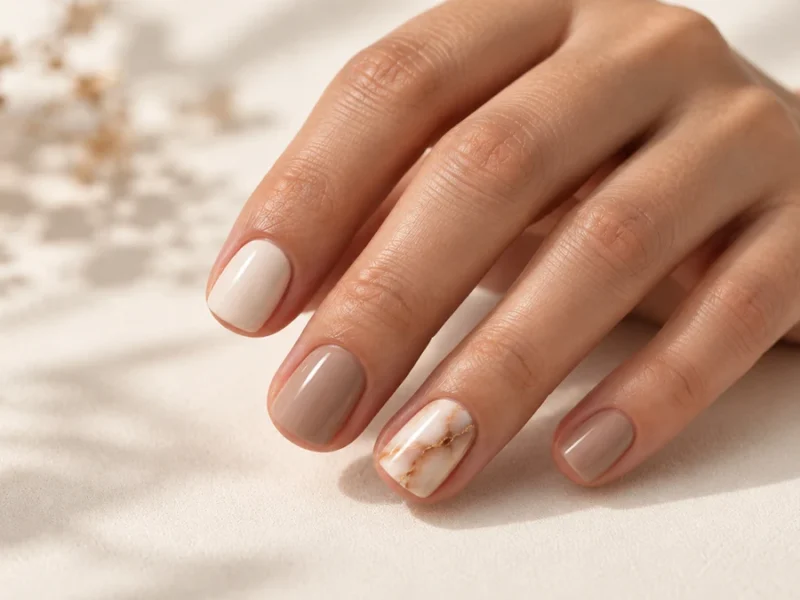
Quick answer: Fall marble on short nails works best when the veins are thin, there’s plenty of bare base showing, and only one or two nails get the full marble treatment. Keep each vein under about a third of the nail’s width, run it diagonally so the nail reads longer, and use warm autumn tones (cream, taupe, rust, olive) instead of grey-on-white. If your design ends up with soft, blotchy patches of brown and amber, that’s tortoiseshell, not marble — a different technique with a different look.
Marble gets a reputation as a long-nail design. On a coffin or almond shape there’s room for big swooping veins, and the stone effect has space to breathe. Short nails don’t have that luxury. Put the same amount of veining on a nail that barely clears the fingertip and it turns into a busy smudge.
In this post
Marble vs tortoiseshell: how to tell them apart
Every autumn these two get mixed up, partly because they share a colour palette. Brown, amber, cream, rust. Both look “warm and stony.” But they’re built in opposite ways.
Marble is about lines. Real marble has thin mineral veins cutting through a fairly calm background, and a good marble nail copies that: a mostly solid base with a few fine, branching streaks. Tortoiseshell is built from layered blobs of translucent amber and dark brown, softened at the edges so they melt into each other. There’s no line work at all.
| Fall marble | Tortoiseshell | |
|---|---|---|
| Main element | Thin, sharp-edged veins | Soft, rounded spots |
| Base | Opaque or milky, mostly visible | Sheer amber jelly, layered |
| Edges | Crisp or lightly feathered on one side | Fully blurred |
| Main tool | Long, fine liner brush | Dotting tool or detail brush plus sheer topcoat between layers |
| Short-nail risk | Veins too thick and too many | Spots too large, looks muddy |
If you’re unsure which one you’ve ended up with, squint at the nail from arm’s length. Visible lines usually mean marble; a warm, soft blur is closer to tortoise.
Three rules for marble on short nails
1. Thin veins only
On a short nail, a vein that looks delicate on the brush can look like a crack in the nail once it’s on. Load very little paint, keep the brush almost flat, and pull with light pressure. You can always go back in and thicken one section. Taking width away is much harder.
A useful ceiling: no single vein should be wider than about a third of the nail’s width at its thickest point, and most of each line should be far thinner than that.
2. Leave more empty space than feels natural
Most people overwork marble. The base is part of the design. On short nails, aim for something like two thirds bare base and one third veining, and let at least one corner of the nail stay completely clean.
3. Pick one accent nail (maybe two)
A full set of heavily veined short nails tends to look cluttered from a normal viewing distance. Marble the ring finger, or the ring and thumb, and keep the rest in a matching solid or a very light single-vein version.
8 fall marble designs for short nails
1. Cream and cinnamon single vein
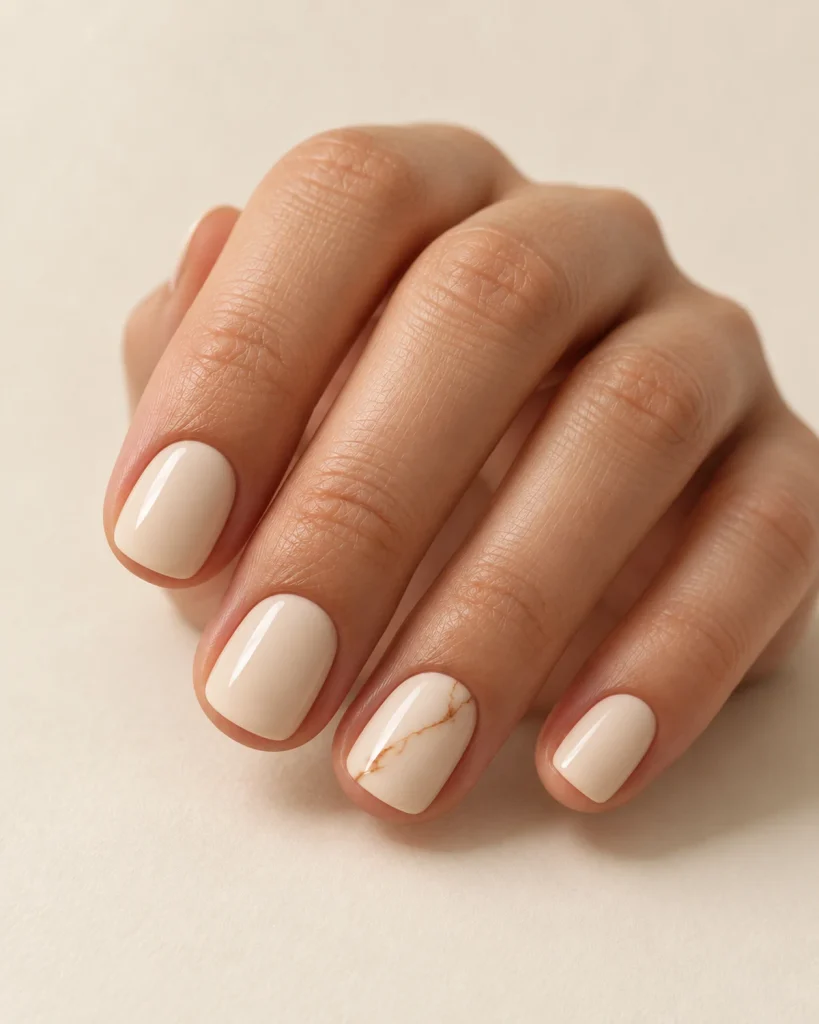
A warm cream base with one long cinnamon-brown vein running corner to corner. It’s the easiest design on this list and probably the one that looks most “expensive” on short nails, because there’s nothing fighting for attention.
2. Taupe with gold leaf break
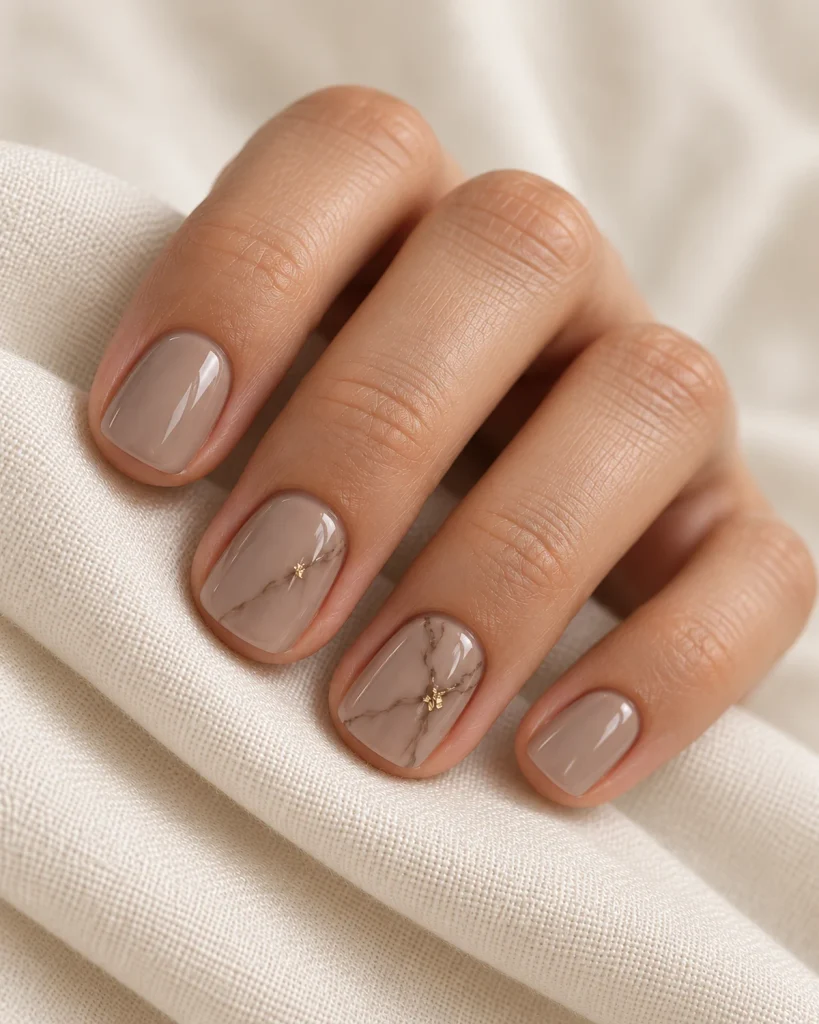
Taupe base, thin darker-taupe veins, and a tiny flake of gold foil placed right where two veins split. Keep the foil small. On a short nail, a piece the size of a grain of rice is plenty.
Seal the foil under a builder or a thick topcoat so the edges don’t catch.
3. Milky nude with rust veins
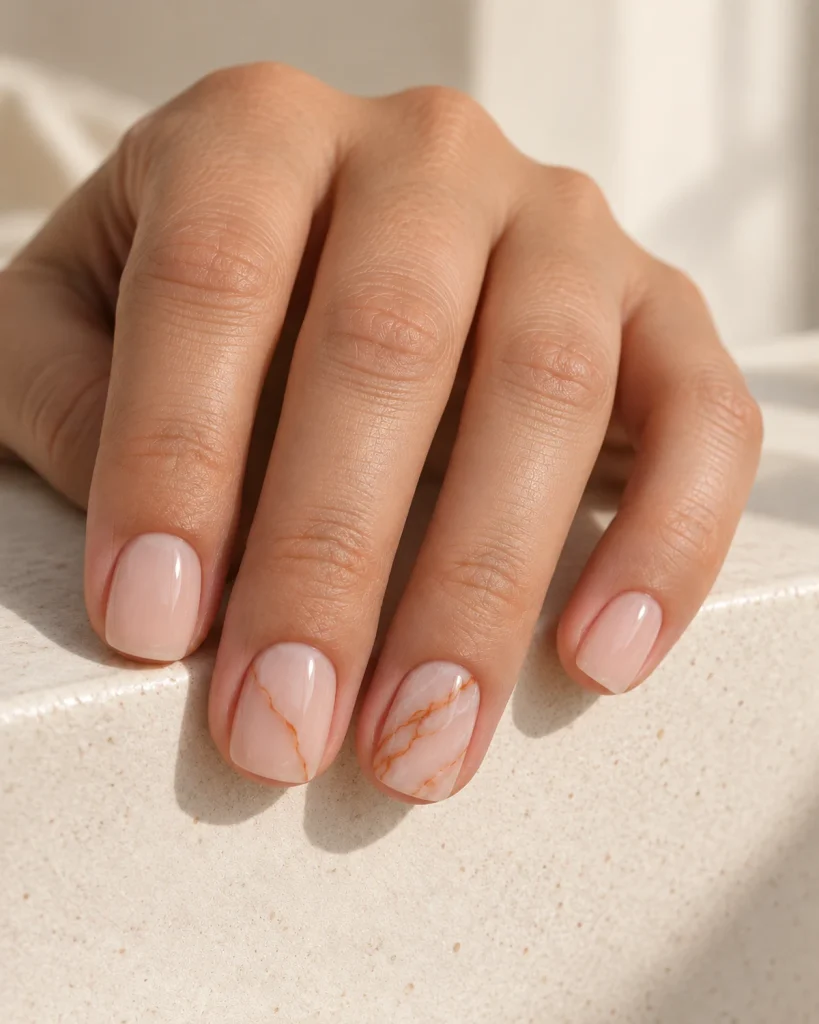
This one leans into the sheer look that’s popular with BIAB right now. A milky, semi-sheer nude base lets a bit of the natural nail show through, and fine rust-orange veins sit on top. If you already wear a nude BIAB overlay, this is a natural next step — see more base shade ideas in our autumn BIAB nails guide.
4. Olive stone accent
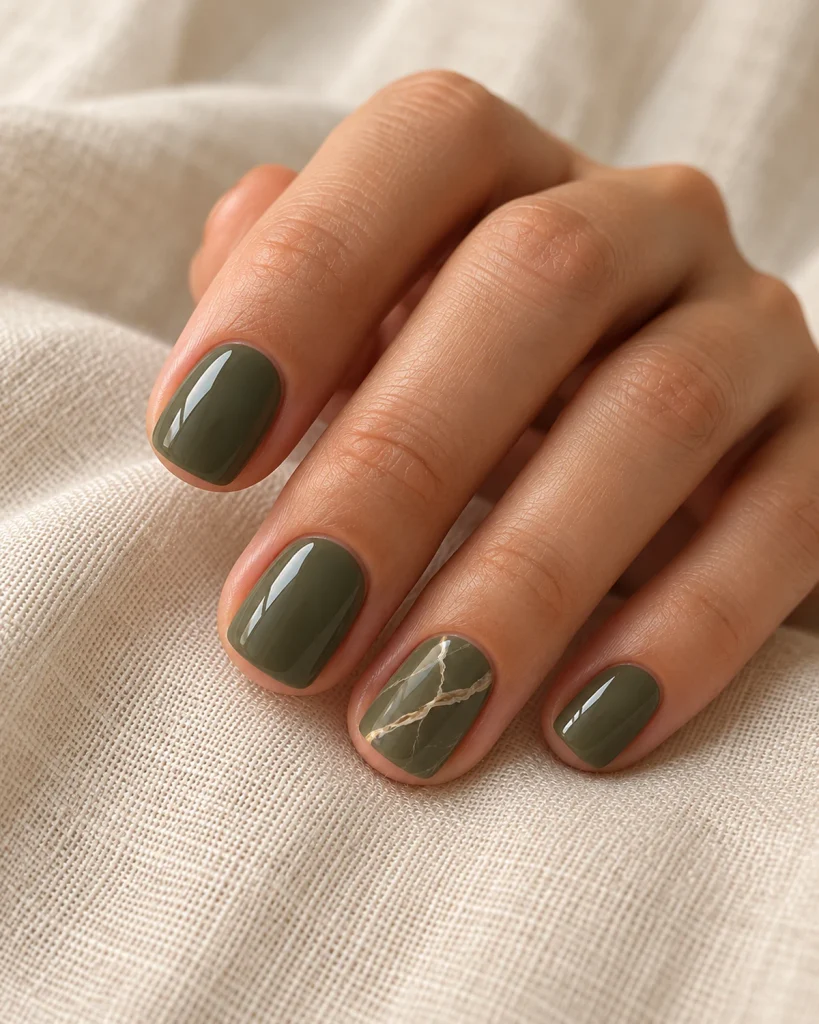
Muted olive green on the ring finger with fine cream veins, and the other nails in solid olive. Olive is one of the few greens that reads as autumn and not as spring, mostly because it’s grey-heavy.
5. Smoky brown on black
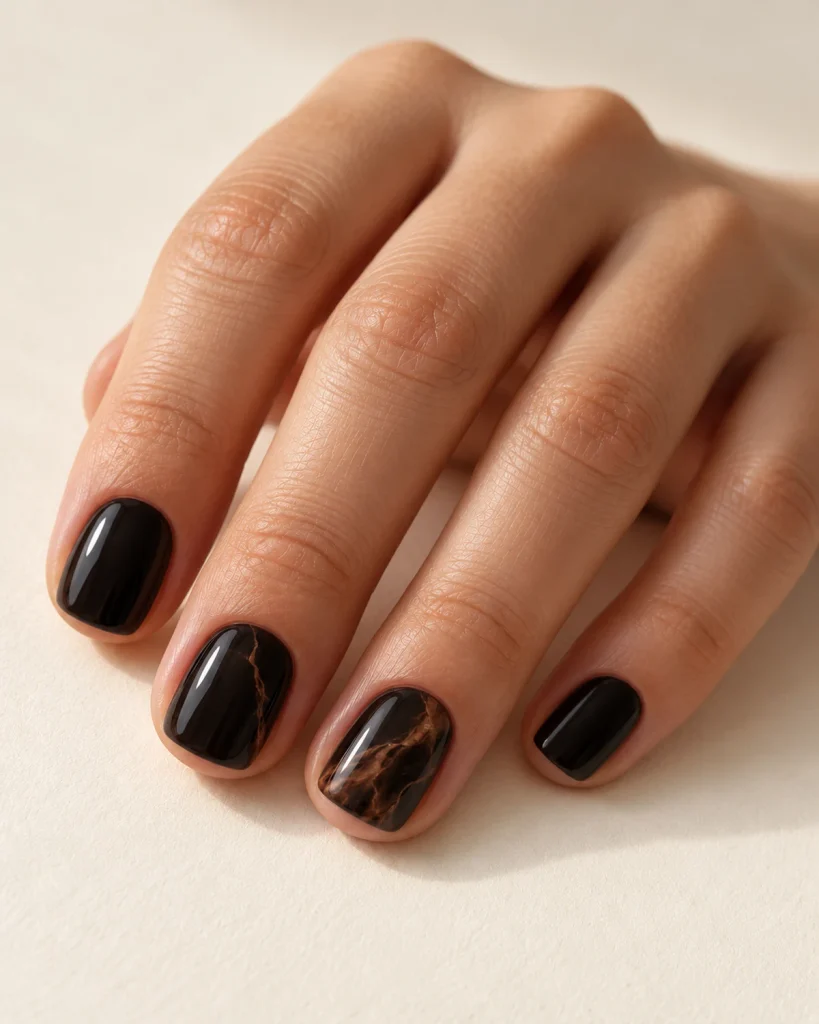
For a darker fall look: near-black base, veins in a smoky warm brown instead of white. White veins on black can look stark and wintery. Brown keeps it soft.
6. Burgundy with blush veining
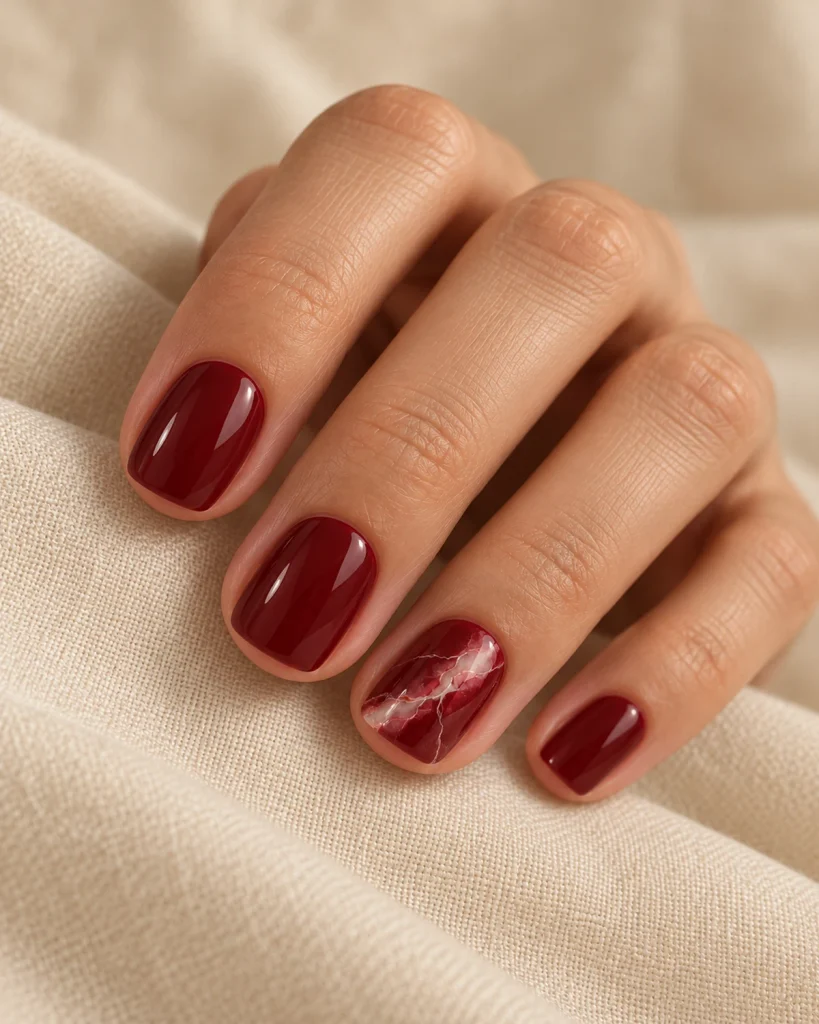
Deep wine-red base, very pale pink veins dragged thin and feathered on one edge. It’s the most “evening” design here.
Feathering just means you touch the wet vein with a clean, slightly damp brush on one side so it softens, and leave the other edge crisp so the vein still reads as stone.
7. Negative space marble tip
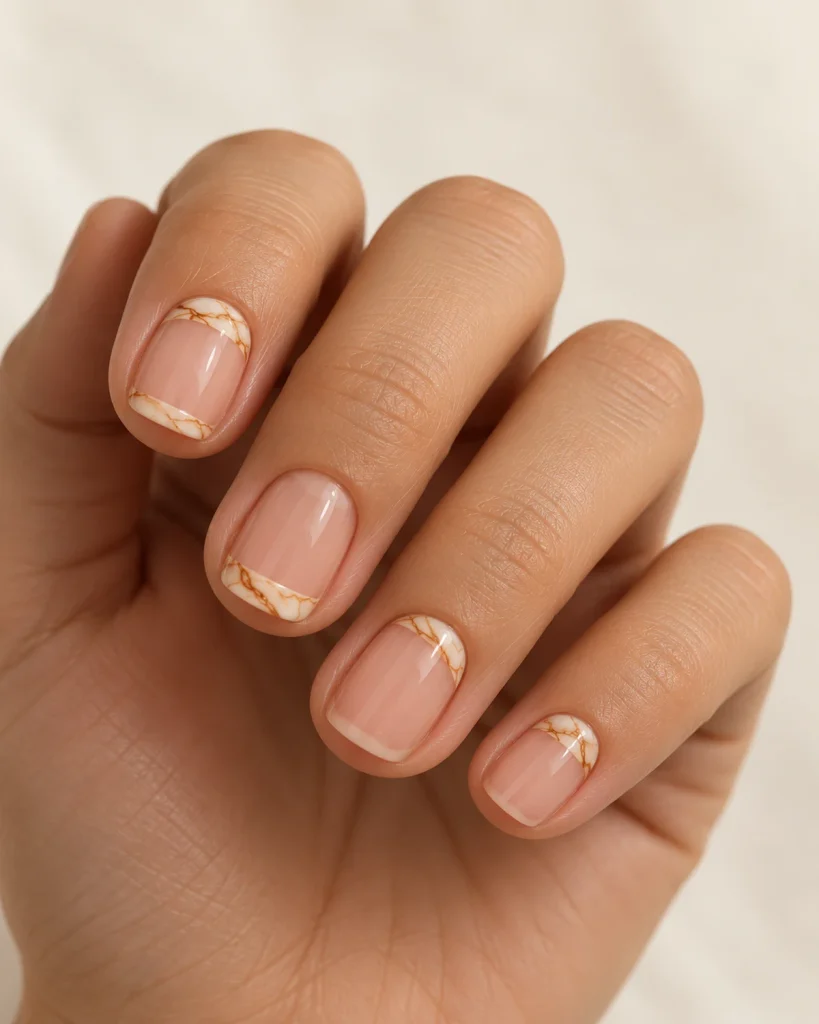
Leave the nail bare (or clear-coated) from the cuticle to about the middle, then marble only the free edge in cream and caramel. Because the design sits low, the nail bed looks a little longer. Its a good pick if you’re growing your nails out and want the length to look intentional.
8. Mismatched warm set
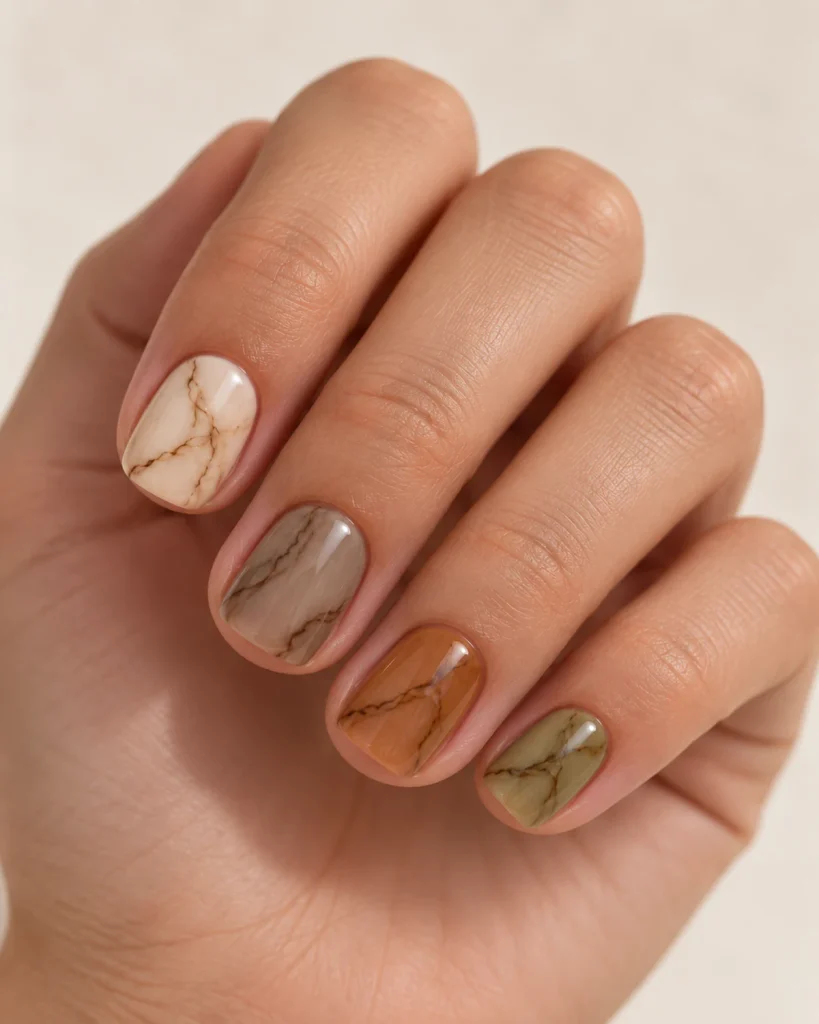
Each nail gets a different fall base — cream, taupe, caramel, olive, rust — and all five share the same thin dark-brown vein colour. The shared vein colour is what ties the set together.
Brushes and other tools
You don’t need much for marble, but the brush makes a real difference. A long, thin liner (sometimes sold as a striper) gives you smooth, controlled veins in one pull. Short detail brushes tend to give choppy, broken lines, which is fine for tortoiseshell spots but not for veins. We’ve compared liner options for this exact use in our best nail art brushes for short nails roundup.
Beyond the brush:
- A no-wipe or thick topcoat to bury the veins and any foil flat.
- A clean, flat brush and some cleanser for feathering one edge of a vein.
- Gel paint or a highly pigmented gel polish for the veins. Regular colour gel can spread too much when it’s thinned out.
One technique note: cure the base fully before you draw veins, unless you specifically want a soft, bleeding effect. Drawing on an uncured base spreads the line, which can work for a single feathered vein but gets messy fast with several. And give each new layer a full cure untill it’s set before you add the next detail on top.
If you’re nervous about freehand, practise on a tip or a palette first. A few rounds of pulling thin lines will tell you more about your hand pressure then any tutorial will.
FAQ
Can you do marble nails on very short nails?
Yes. Scale the veining down and run it diagonally, which helps the nail look a bit longer.
What’s the difference between marble and tortoiseshell nails?
Marble uses thin lines on a mostly solid base. Tortoiseshell uses soft, blurred spots of brown on a sheer amber base, with no lines. If you can see clear veins, it’s marble.
What colours work for fall marble nails?
Warm neutrals and muted tones: cream, taupe, caramel, rust, olive, burgundy and deep brown. Swapping white veins for brown or blush ones keeps the look autumnal instead of wintery.
What brush do I need for marble veins?
A long, thin liner or striper brush. The length holds enough paint for one smooth pull, and the fine tip keeps the vein thin, which matters most on short nails.
Can I do marble over BIAB?
Yes. Apply and cure your BIAB base as usual, draw the veins with gel paint, cure, then seal with topcoat or a thin layer of builder. A milky or nude BIAB shade makes a good marble base.
Related reading