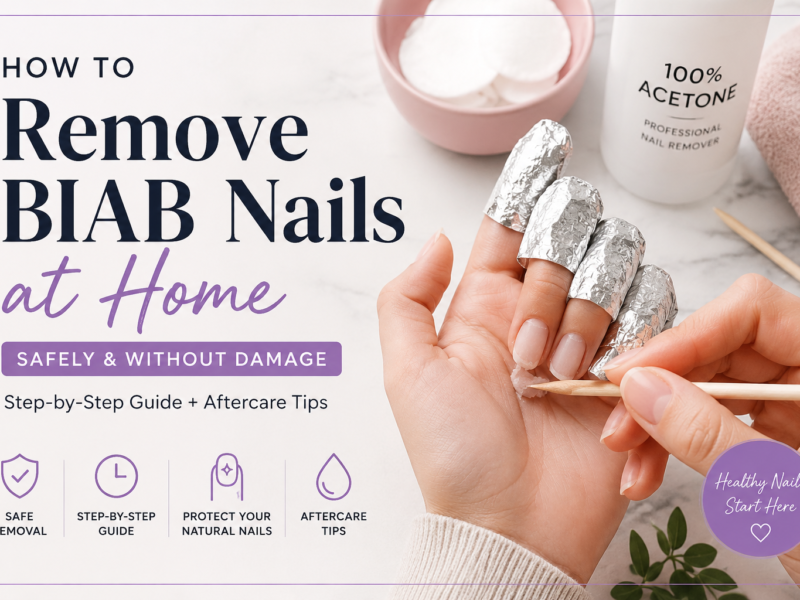
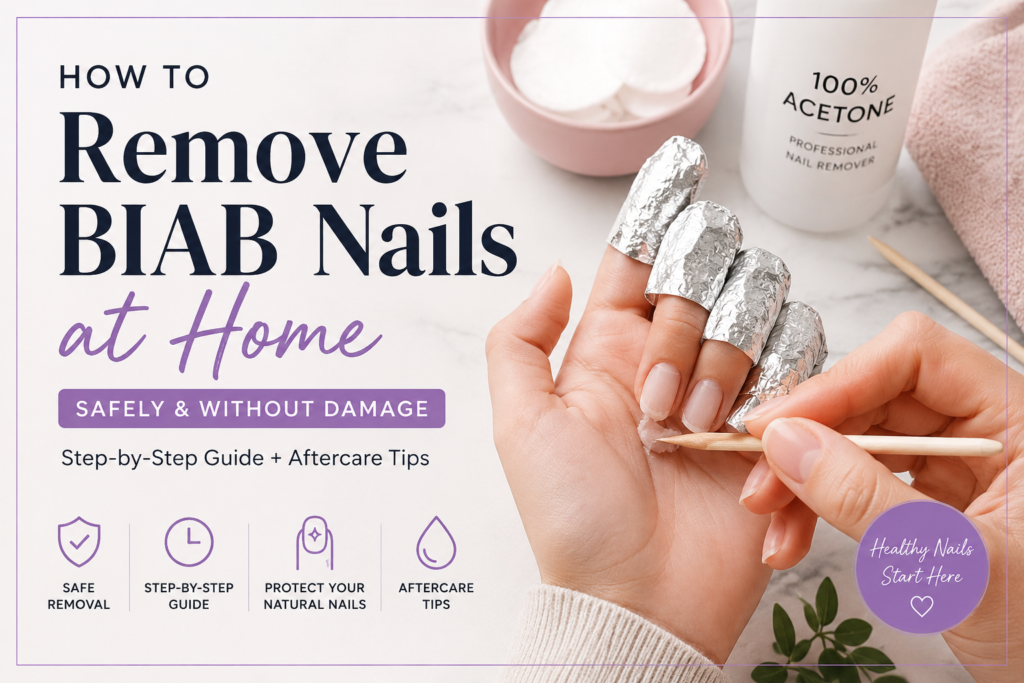
File off the bulk of the product with a 180-grit file until the surface is fully matte, then wrap each nail in acetone-soaked cotton and foil for 15–20 minutes. Test one nail with an orange stick before removing all foils — if the product resists, it needs more time. Never force it off.
- BIAB is noticeably thicker than regular gel — filing first is non-negotiable
- Foil wraps beat acetone bowls: better contact, less mess
- A 180-grit file is enough — you don’t need an e-file
- The orange stick test: if it resists, rewrap and wait longer
- Cuticle oil immediately after is not optional
The first time I tried to remove my own BIAB set, I made every mistake possible. I soaked my nails in an acetone bowl for thirty minutes, got frustrated when nothing was budging, and ended up picking the last bits off with my thumbnail. My nails were translucent and bendy for nearly two weeks after. Not my finest hour.
At first, I genuinely thought it would be as simple as removing gel polish — soak, wait, done. It isn’t. Removing BIAB nails at home requires an extra step that most tutorials gloss over, and skipping it is exactly why people end up either soaking for an hour with nothing happening, or forcing product off and damaging their nail plate in the process.
I’ve now removed probably a dozen sets at home, including some thick ones — extension-length applications that had been on for five weeks. Here’s what actually works.
Why BIAB removal is different from regular gel polish
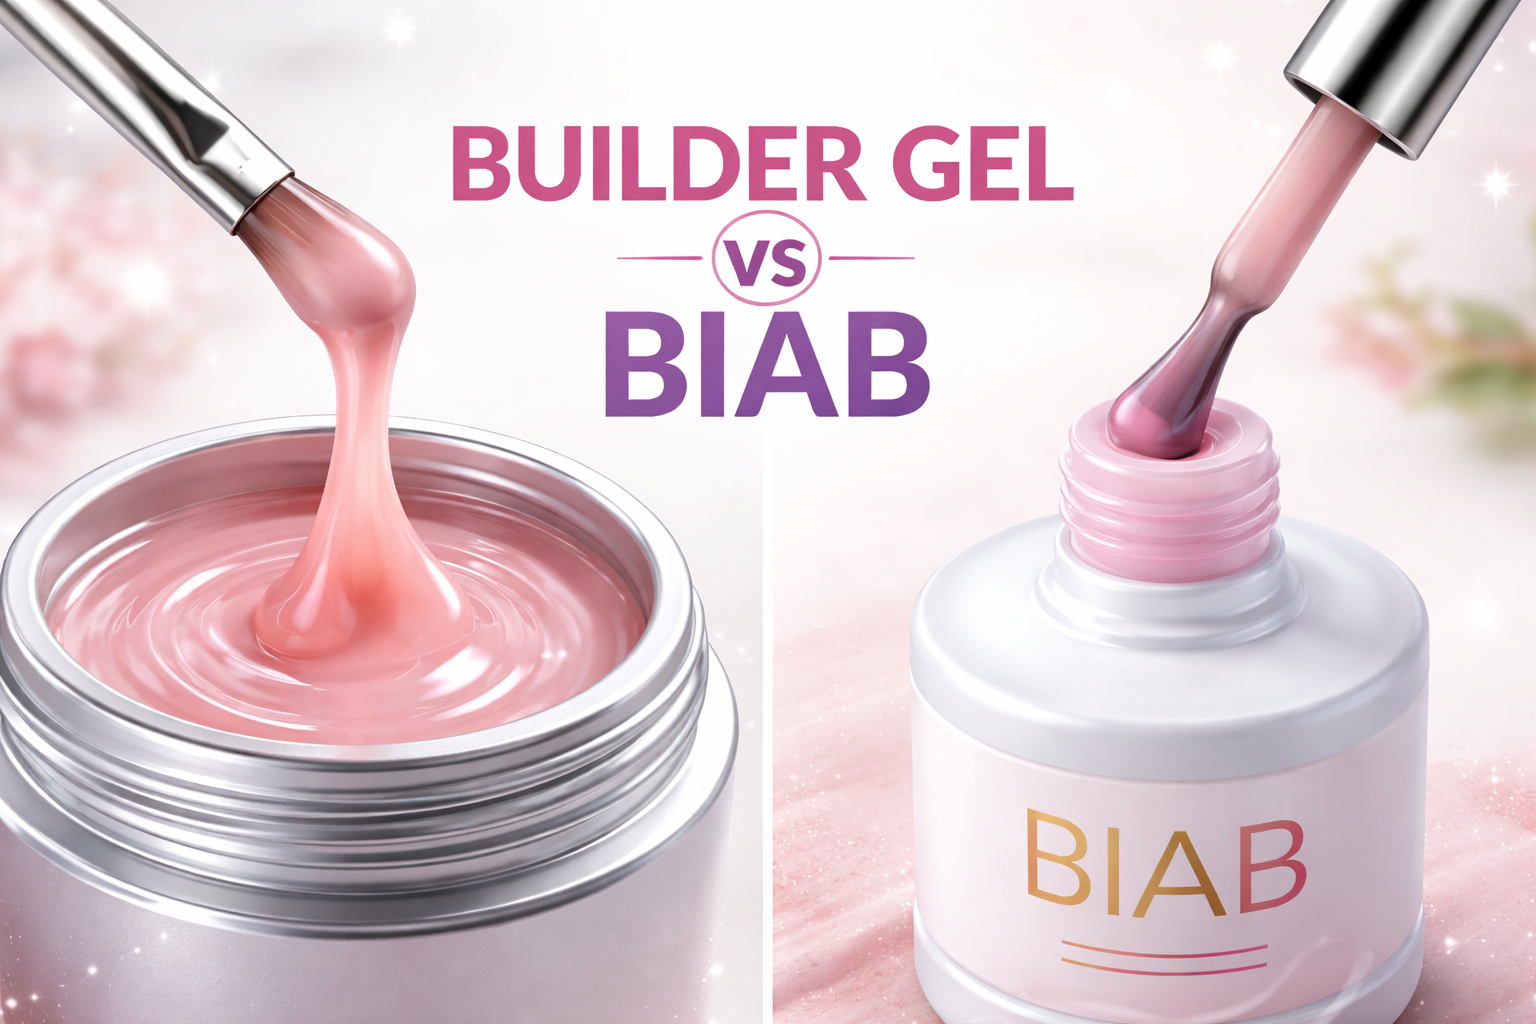
BIAB removal requires filing first because its thickness prevents acetone from penetrating the product directly. Standard gel polish sits in two thin coats over a base — maybe 0.3mm total. BIAB is a builder gel, formulated to add structure and length, so a typical application is noticeably thicker, especially around the apex. That’s a meaningful difference when it comes to how long acetone takes to work through it.
The other factor is hardness. BIAB formulas tend to cure harder than soft gels, which is exactly why they last so well but also why they don’t simply dissolve in a bowl of acetone. You need to break the surface first. Without that step, you’re essentially waiting for acetone to slowly work its way through several millimetres of dense product — which it will do, but you’ll be sitting there for forty minutes and still not finished.
This is also why the specific brand matters somewhat. The Gel Bottle’s BIAB is notably harder than some other builder gels on the market. If you’re using a softer formula, you’ll probably find removal a bit quicker — but the process is the same either way.
What you need (and what you don’t)
You don’t need much. A coarse nail file (100–180 grit), pure acetone, cotton wool pads, foil squares, an orange stick, and cuticle oil. That’s genuinely it. An e-file speeds up the initial filing stage, but it’s not essential — especially if you haven’t used one before, since the speed makes it easy to over-file without realising it. A manual file gives you far more control and feedback when you’re learning.
On acetone: pure acetone tends to work much faster than standard nail polish remover, even the acetone-based kind. The acetone percentage in regular removers is usually diluted, and you’ll notice the difference in how long the soak takes. Hardware stores often sell it cheaply in larger quantities if you do regular at-home removal.
Do this in a ventilated room. Acetone fumes in a small enclosed space build up faster than you’d expect and give you a headache within minutes. Open a window or work near an extractor fan — it makes the whole process more comfortable.
How to remove BIAB nails at home safely
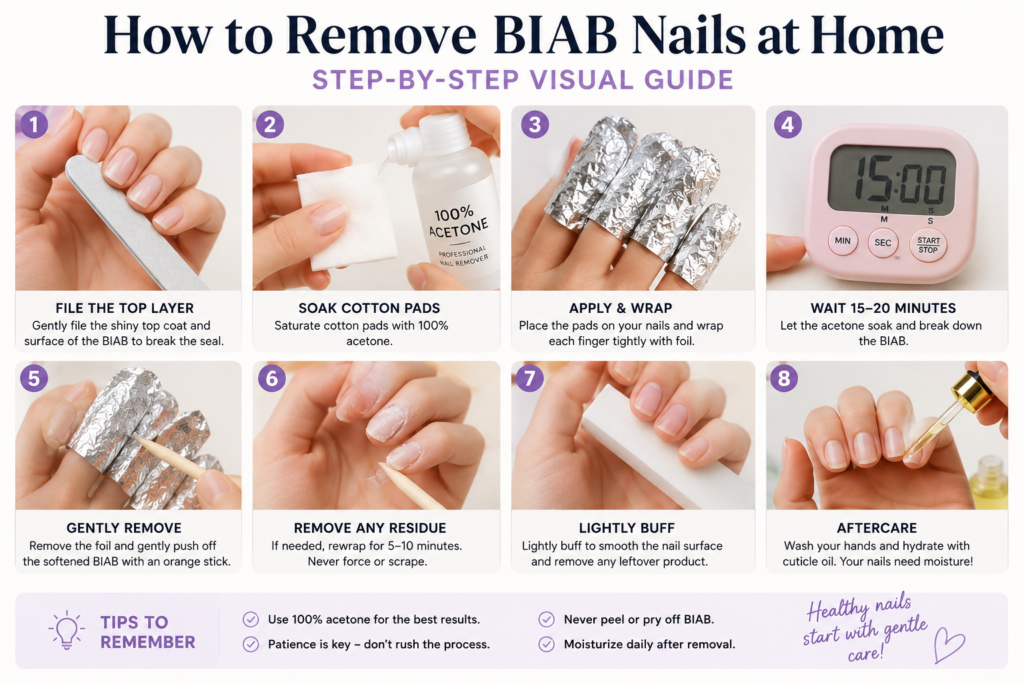
Step 1: File down the surface
Start by breaking the seal on every nail. Use your coarse file across the entire surface to remove the top coat and file the bulk of the product down — you’re aiming for a consistently matte finish with no shiny patches remaining anywhere. You’re not trying to reach your natural nail at this stage, just thinning the product so acetone can penetrate.
This is the step most people rush, and it shows in how long the soak takes afterwards. I spend two to three minutes per nail here, longer on the thumbs, which always seem to have the thickest application. It feels like a lot of time, but it genuinely cuts the soaking time in half.
Step 2: Wrap with foil
Cut aluminium foil into roughly 10cm squares — one per nail. Saturate a small piece of cotton with acetone, press it flat against the nail surface, and wrap the foil tightly around your fingertip. Work through all ten nails in one go. Set a timer for 15 minutes; go to 20 if the set has been on for more than four weeks or was applied particularly thick.
Step 3: Test before you unwrap everything
This is the step that makes or breaks the removal. Remove one foil — your non-dominant index finger is a good test nail — and press gently with your orange stick. If the product crumbles and slides away with almost no pressure, you’re ready. If it feels stuck or you find yourself having to push, rewrap it and leave everything for another five to ten minutes. Do not skip this test.
Forcing product off before the acetone has fully softened it is how nail plate damage happens. What feels like “almost there, just a bit more pressure” removes layers of your natural nail along with the gel. Rewrap and wait — it’s always worth it.
Step 4: Remove and clean up
Once the test nail is ready, work through the rest. Use the orange stick in gentle sweeping strokes. Any small remnants that won’t shift can be addressed with a soft 220-grit buffer — at this point you’re barely touching anything, so a fine grit is fine. A nail technician tip worth borrowing: leave a very thin layer of builder gel rather than trying to file all the way to the natural nail. That last sliver protects the nail plate and you’ll barely notice it’s there.
Step 5: Hydrate immediately
Wash your hands, then apply cuticle oil over every nail and the surrounding skin before you do anything else. Acetone strips oils from everything it touches, and your cuticles and nail surface will feel tight and dry within minutes. Massage it in, apply hand cream, and repeat with the oil again before bed.
Apply a generous layer of cuticle oil to each nail, put on thin cotton gloves, and sleep in them the night after removal. The occlusive environment lets the oil penetrate much more deeply. Your nails feel noticeably different in the morning — it’s one of those small things that makes a real difference.
One thing worth knowing: if your set was already cracking before you decided to remove it, the process is slightly different — cracking in builder gel can mean the product has already delaminated in places, which affects how the acetone penetrates.
Common mistakes and what actually goes wrong
| Mistake | What happens | Fix |
|---|---|---|
| Skipping the filing step | Acetone can’t penetrate — you wait 40+ minutes with nothing happening | File until fully matte before soaking |
| Using nail polish remover instead of pure acetone | Significantly slower; may not fully soften the product | Pure acetone from a hardware or beauty supply store |
| Soaking in a bowl rather than wrapping | Less direct contact with the nail; more acetone exposure on skin | Foil wraps keep the acetone exactly where it needs to be |
| Forcing the product off before it’s ready | Nail plate damage, thinning, tenderness | Orange stick test — if it resists, rewrap |
| Skipping cuticle oil after | Brittle, dehydrated nails for several days | Apply oil immediately and again before bed |
Many nail technicians recommend intentionally leaving a very thin layer of builder gel on the nail plate rather than filing all the way down to natural nail. It acts as a protective barrier during the soak and reduces the risk of accidentally damaging the nail plate with the file. You’ll remove the remnant easily once the acetone has done its work.
How to tell if the removal went well (or didn’t)
Your nails should feel relatively smooth and solid after a clean removal. Some white, chalky appearance on the surface is normal — that’s dehydration from the acetone and it resolves with cuticle oil and time. What you don’t want to see: nails that bend easily when you press on them, visible ridges or grooves that weren’t there before, or surface that feels papery rather than firm. Those are signs that some nail plate came off with the gel.
If there is damage, don’t immediately put a new set on top of it. Give your nails two to four weeks — keep them short, apply cuticle oil twice daily, and let them rebuild before the next application. Layering product on compromised nails just accelerates the cycle.
If your nails are noticeably thinner or more flexible than usual after removal, that’s not a product problem or a technique problem you can fix with a better removal next time — it’s a recovery problem. The nail plate needs time to grow out. No amount of cuticle oil speeds that up significantly, but keeping nails hydrated and protected does prevent further breakage while they recover.
What to do after removal
Give your nails a few days before any new product goes on — longer if they feel compromised. Keep up with the cuticle oil. Keep them short to reduce the risk of snagging or breakage while they’re at their most vulnerable.
When you do go back to a new BIAB set, I’ve noticed my sets last much longer when I take prep seriously after removal. It sounds obvious, but it’s easy to rush straight back into an application when your nails look fine on the surface — even if they’re still a bit dehydrated underneath.
Frequently asked questions
Not effectively. BIAB requires acetone to soften the builder gel enough to remove it safely. Filing alone won’t fully break down the product without risking serious nail plate damage. Pure acetone works significantly faster than acetone-based nail polish remover.
Budget 45–60 minutes for a full removal. Filing takes 10–15 minutes, the acetone soak runs 15–20 minutes, and cleanup adds another 10. Thicker applications or sets that have been on longer will take closer to the hour mark.
Removal done correctly causes minimal damage. The risk comes from forcing product off before it’s fully softened, or from filing too aggressively into the natural nail plate. Leaving a thin layer of builder gel rather than filing all the way down reduces damage significantly.
You can apply regular nail polish straight away. For a new BIAB or builder gel application, waiting 24–48 hours and rehydrating with cuticle oil first is worth it — nails are slightly dehydrated from the acetone and bond better once they’ve had a chance to recover.