HEMA-Free Nail Prep: Why Your Prep Routine Changes With HEMA-Free Gels
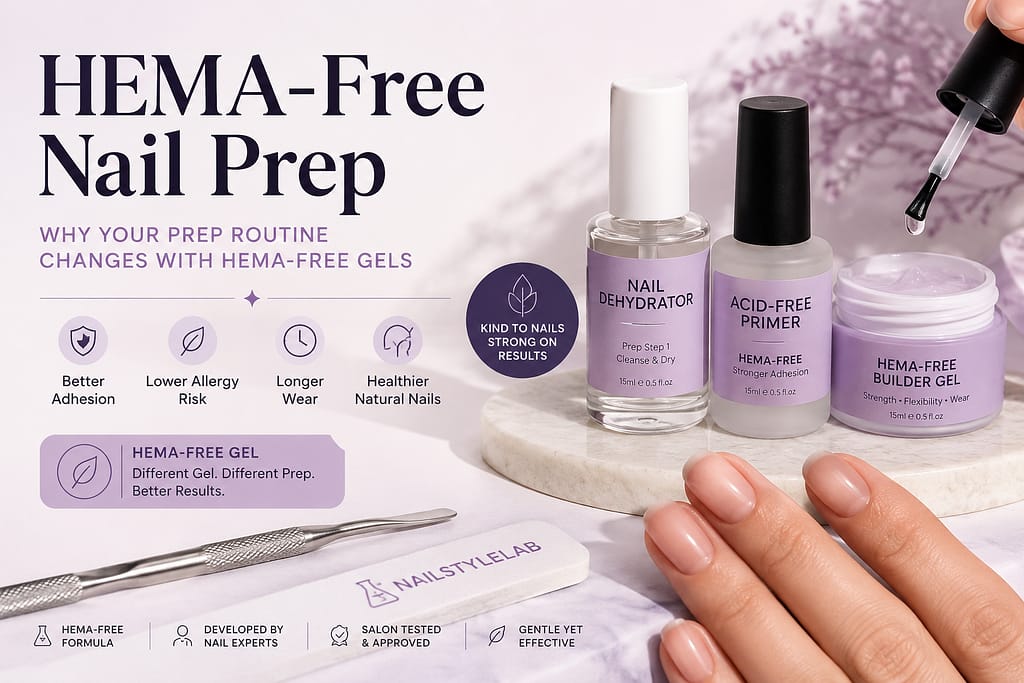
I made the switch to HEMA-free builder gel and my first thought was: why does this keep popping off? I was doing everything exactly the same as before — same buffer, same dehydrator, same base. But the gel wasn’t sticking the way I expected. It took me a while to figure out what was actually happening, and once I did, the fix was surprisingly straightforward.
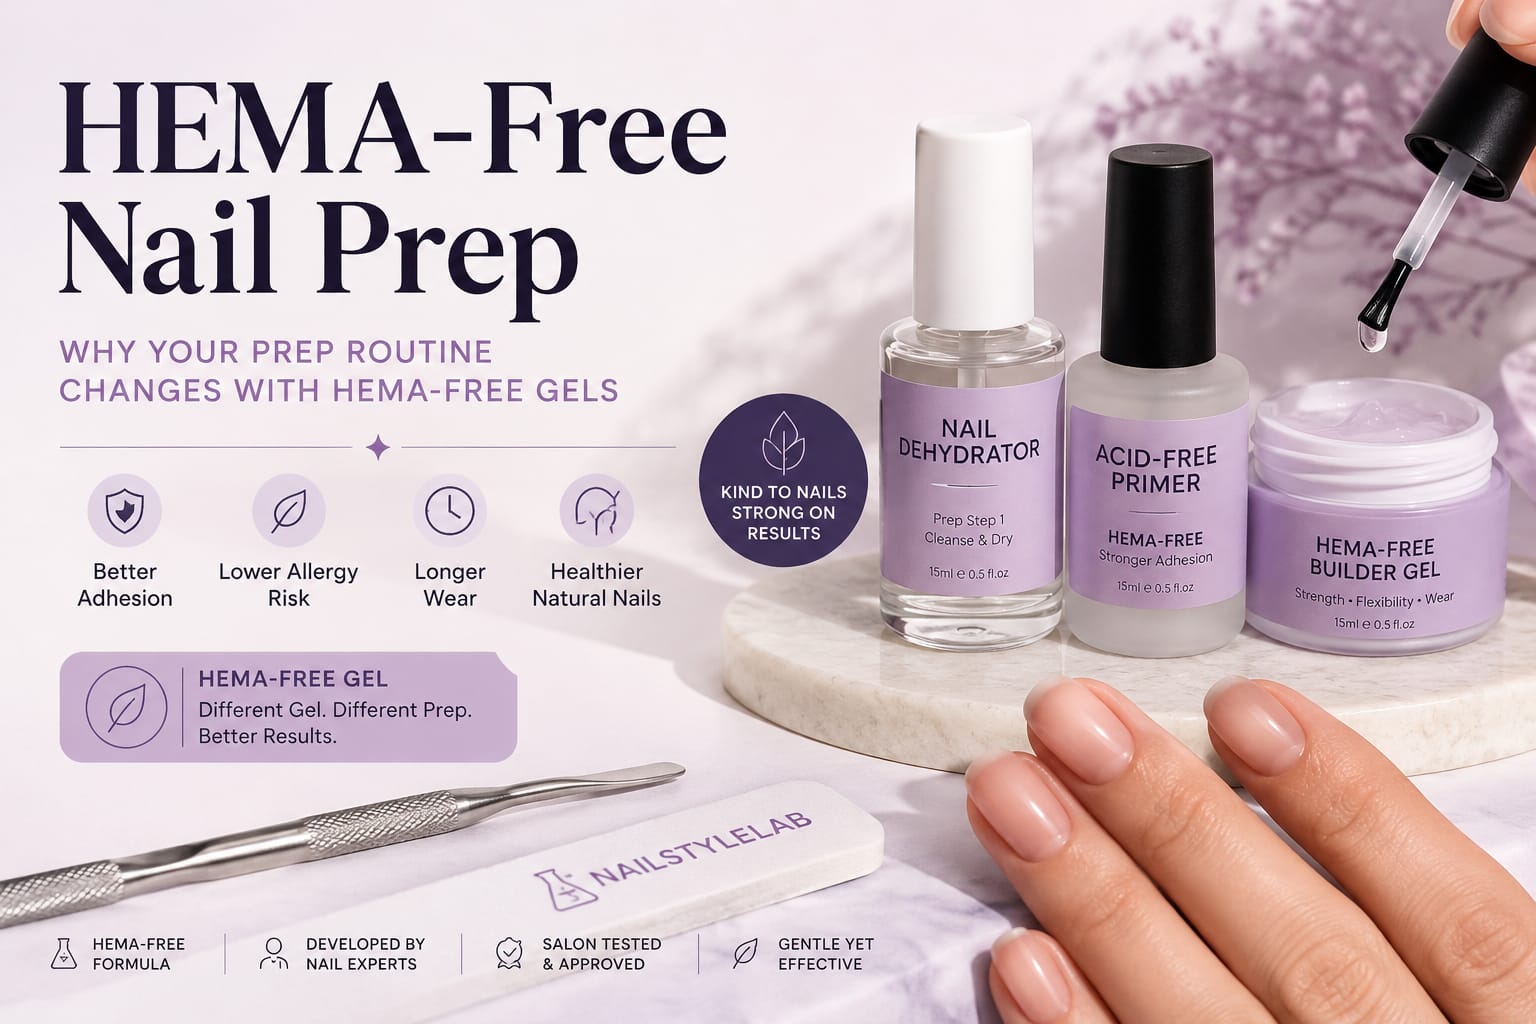
HEMA-free nail prep is not the same as standard gel prep. If you’ve recently switched formulas and you’re seeing more lifting or pop-offs than usual, your prep routine — not the product — is almost certainly the reason. Here’s what changes and why.
HEMA-free gels rely entirely on the nail surface for adhesion — not on chemical bonding agents like HEMA itself. That means your prep must be more thorough: complete dehydration, zero residual oil or moisture, and full cuticle removal from the nail plate. The steps aren’t harder, just less forgiving of shortcuts.
What HEMA Actually Does — And Why Its Absence Matters
HEMA (hydroxyethyl methacrylate) is a monomer that has been used in gel nail products for decades. It works by chemically bonding to the keratin on your nail plate, which is what gives traditional gels their aggressive, almost forgiving grip. You could skip a step or rush the prep and the gel would still hold — at least for a while.
When HEMA is removed from the formula, that chemical shortcut disappears. The gel now has to grip through mechanical adhesion alone — meaning it depends entirely on the texture, dryness, and cleanliness of your nail plate surface. A prep routine that was “good enough” before is suddenly not good enough.
The HEMA-Free Nail Prep Routine: Step by Step
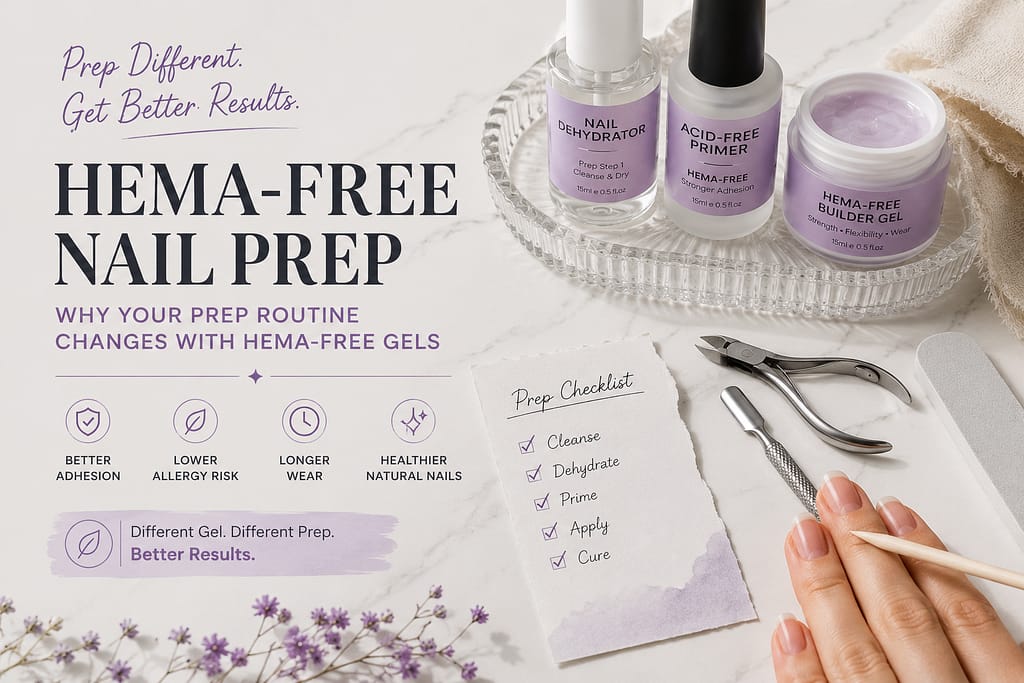
The sequence below is the one I’ve settled on after a lot of trial and error. Every step exists for a reason — and skipping any of them is where pop-offs begin.
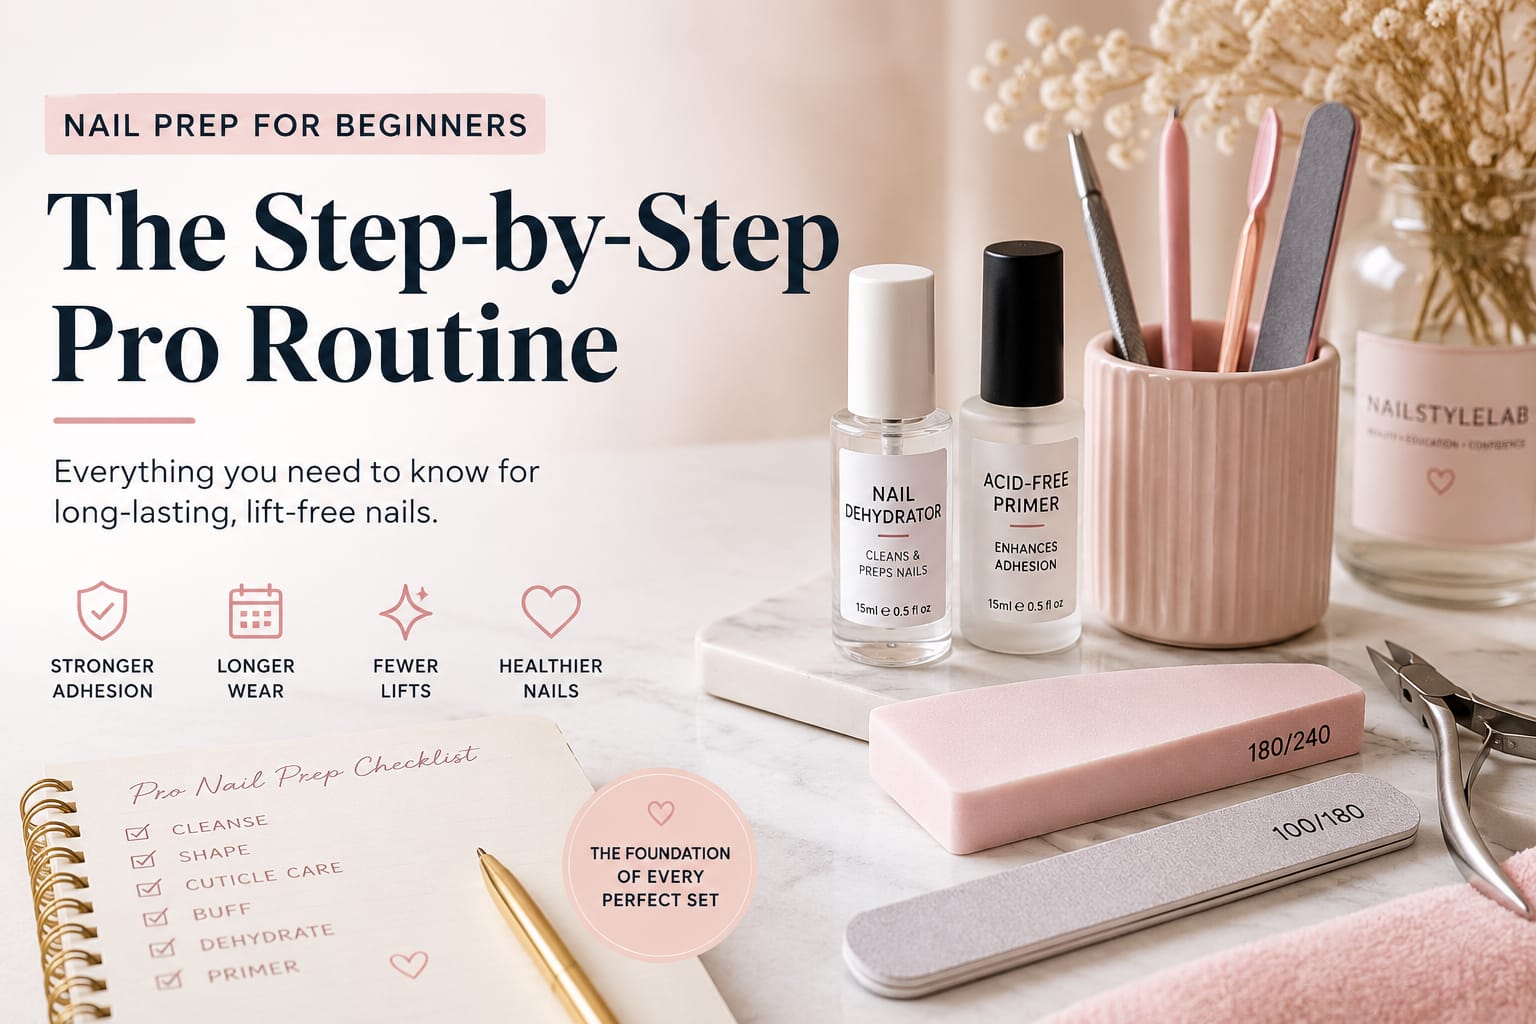
- Shape and trim first Use a 180-grit file to shape the free edge before touching the nail plate. Filing after dehydration can push debris and dust back onto a surface you just cleaned.
- Remove cuticle from the nail plate completely This is the step most people underdo. Use a cuticle pusher to clear the entire nail plate — not just to push the cuticle back, but to lift and remove any translucent tissue sitting on the plate itself. Product applied over residual cuticle will lift as the nail grows.
- Buff lightly — 180-grit only You’re breaking the shine, not removing layers. Two or three light passes across the nail plate is enough to create the micro-texture HEMA-free gel needs to grip. Over-buffing thins the plate and creates flexibility that will work against adhesion.
- Dust thoroughly Use a clean, dry nail brush to remove every particle of filing dust before applying any liquid product. Dust left on the plate can trap moisture and create micro-pockets under the gel.
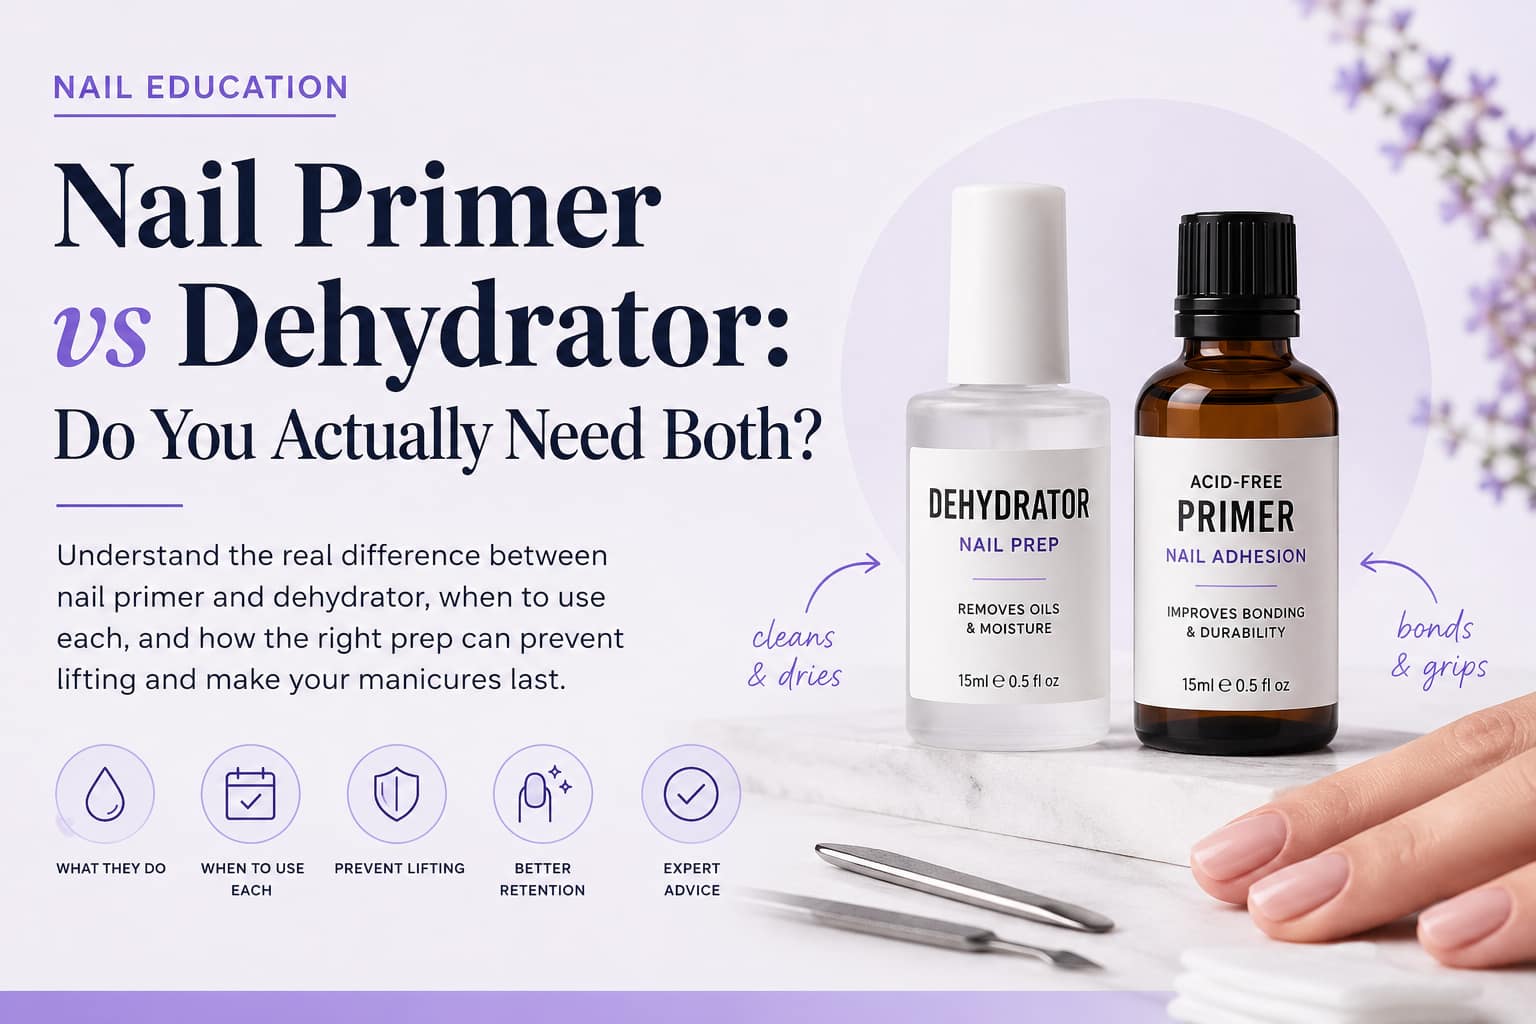
- Dehydrator — full coverage, edge to edge Apply dehydrator to the entire nail plate including the sidewalls. This is the most critical step for HEMA-free systems. Allow it to fully evaporate before moving on — don’t rush. The nail should look slightly matte and feel bone-dry to the touch.
- Acid-free primer (not always required, but worth it) With HEMA-free gels, many brands recommend applying an acid-free bond primer after dehydration. Check your brand’s own guidance — some HEMA-free systems skip primer entirely and still perform well if prep is thorough.
- Apply the first gel layer thin and clean Keep the first layer thin and avoid any contact with the skin, cuticle, or sidewall edges. Even with HEMA-free gel, uncured product on skin can cause sensitivity with repeated exposure. Flood the cuticle area and pop-offs become equally likely.
The Comparison: Standard Gel Prep vs HEMA-Free Nail Prep
| Prep Step | Standard Gel | HEMA-Free Gel |
|---|---|---|
| Cuticle removal from plate | Recommended but can skip | Non-negotiable |
| Buffing intensity | Moderate | Light (180-grit only) |
| Dehydrator step | Recommended | Essential |
| Acid-free primer | Optional | Recommended for most systems |
| Margin for error | Moderate — HEMA compensates | Low — surface must be clean |
| Skin contact tolerance | Low (allergy risk) | Still low — keep product off skin |
Why Pop-Offs Are a Prep Problem, Not a Product Problem
This is the mindset shift that changes everything. When HEMA-free gel lifts within a few days, the instinct is to blame the formula or the brand. In my experience — and backed by what industry educators consistently say — the culprit is almost always in the prep, not the product. Specifically:
Residual cuticle on the nail plate is the most common cause of lifting near the base. If there’s any translucent skin still attached to the plate when you apply gel, it creates a physical barrier that separates the gel from the nail as the nail grows. The second most common cause is an incomplete dehydration step — usually because the dehydrator wasn’t given enough time to evaporate, or wasn’t applied close enough to the sidewalls.
Is HEMA-Free Gel Right for You?
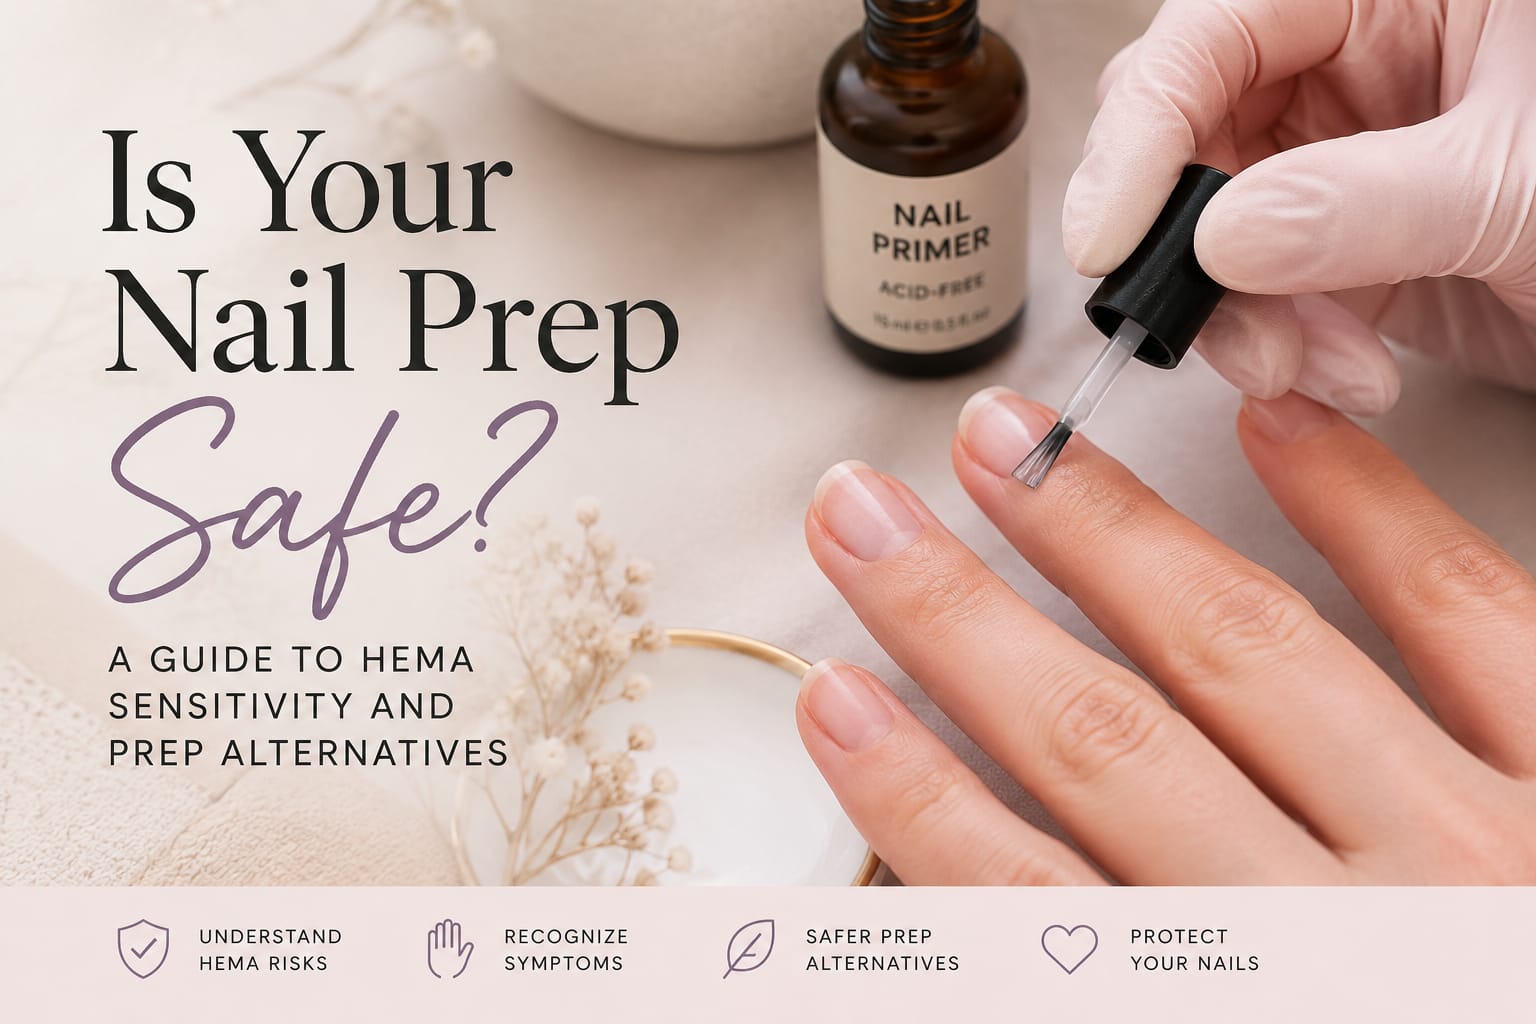
If you or a client has developed any sensitivity to traditional gels — redness, itching, inflammation near the nail bed — switching to HEMA-free is worth seriously considering. According to the HEMA-free gel polish guide from Salons Direct, HEMA is not the only acrylate allergen in gel systems, but it is by far the most common trigger. Removing it significantly reduces the risk profile of the product.
That said, HEMA-free gel is also simply a good choice even without allergy concerns — newer formulations have genuinely closed the performance gap with traditional gels, and with the right prep, wear time is comparable.
HEMA-free gel still contains other acrylate monomers. “HEMA-free” means the most common sensitizer has been removed — not that the product is allergen-free for every person. If you have a history of acrylate sensitivity, patch-test any new formula on a single nail and wait 48 hours before a full set.
Not Sure If Your Nails Are Ready? Use the AI Nail Damage Detector
Before starting any HEMA-free set, it’s worth checking the actual condition of your nail plate — especially if you’ve had lifting, peeling, or sensitivity issues before. NailStyleLab’s AI Nail Damage Detector analyzes your nails and flags any damage or thinning that could affect adhesion, so you know exactly what you’re working with before you open the gel pot.
Frequently Asked Questions