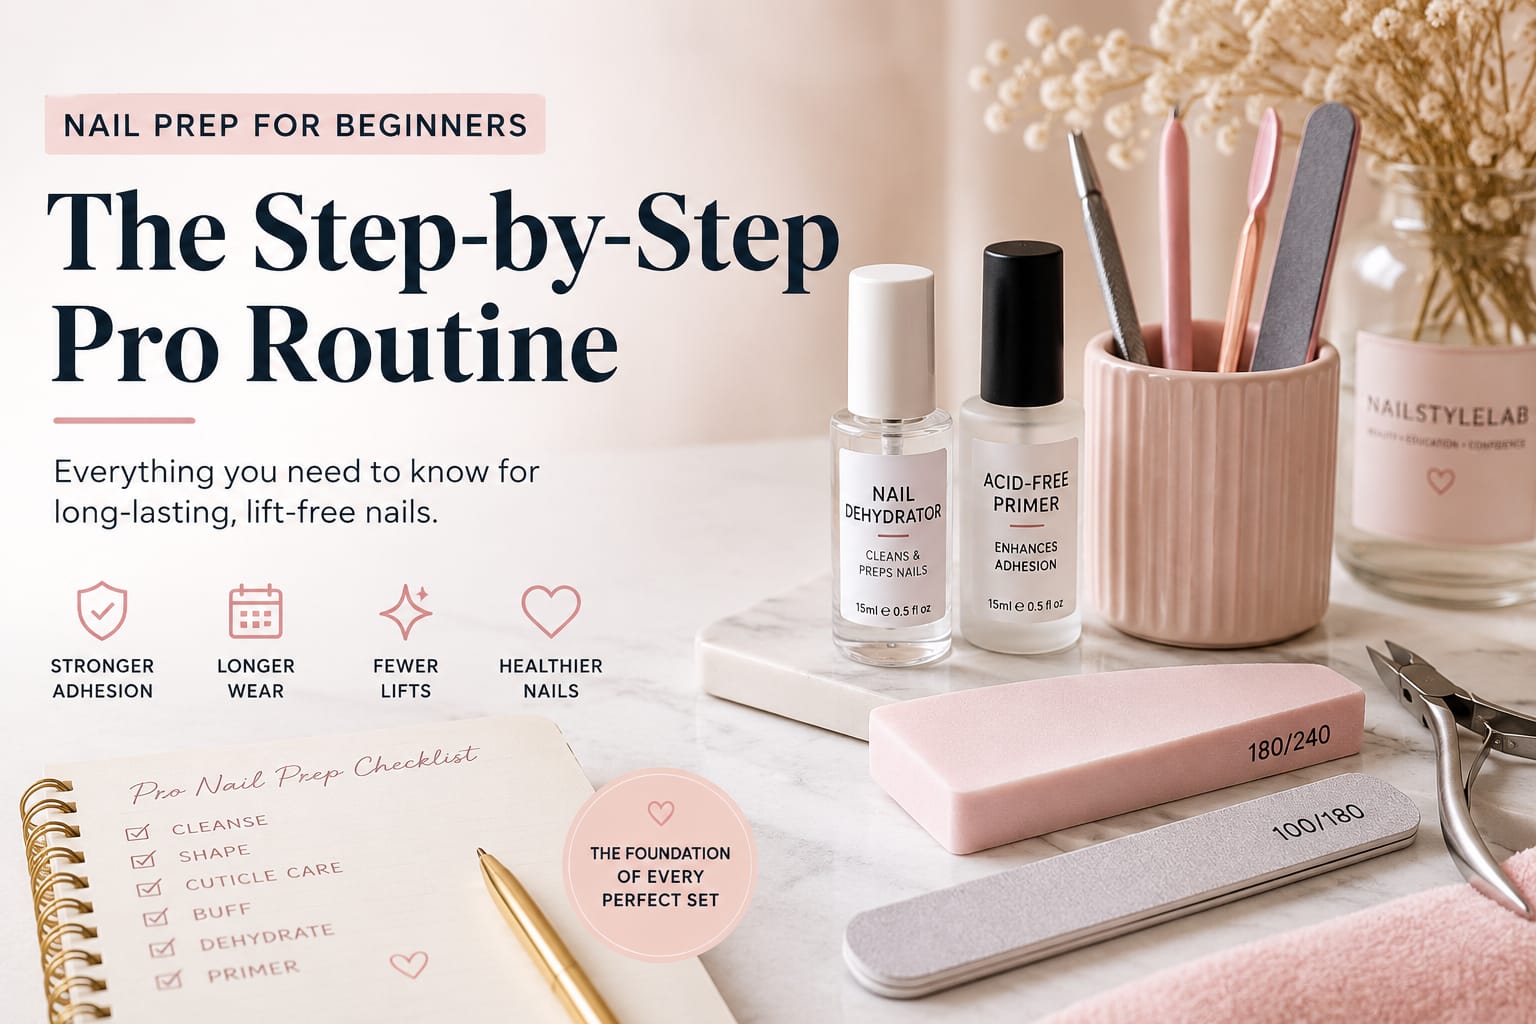
Nail Prep for Beginners: The Step-by-Step Pro Routine

Nail prep is the process of cleaning, shaping, buffing, and dehydrating your natural nails before any gel, acrylic, or press-on application. A proper nail prep routine — taking just 8–12 minutes — is the single biggest factor in how long your manicure lasts. Skipping even one step is the most common cause of lifting, chipping, and peeling within the first week.
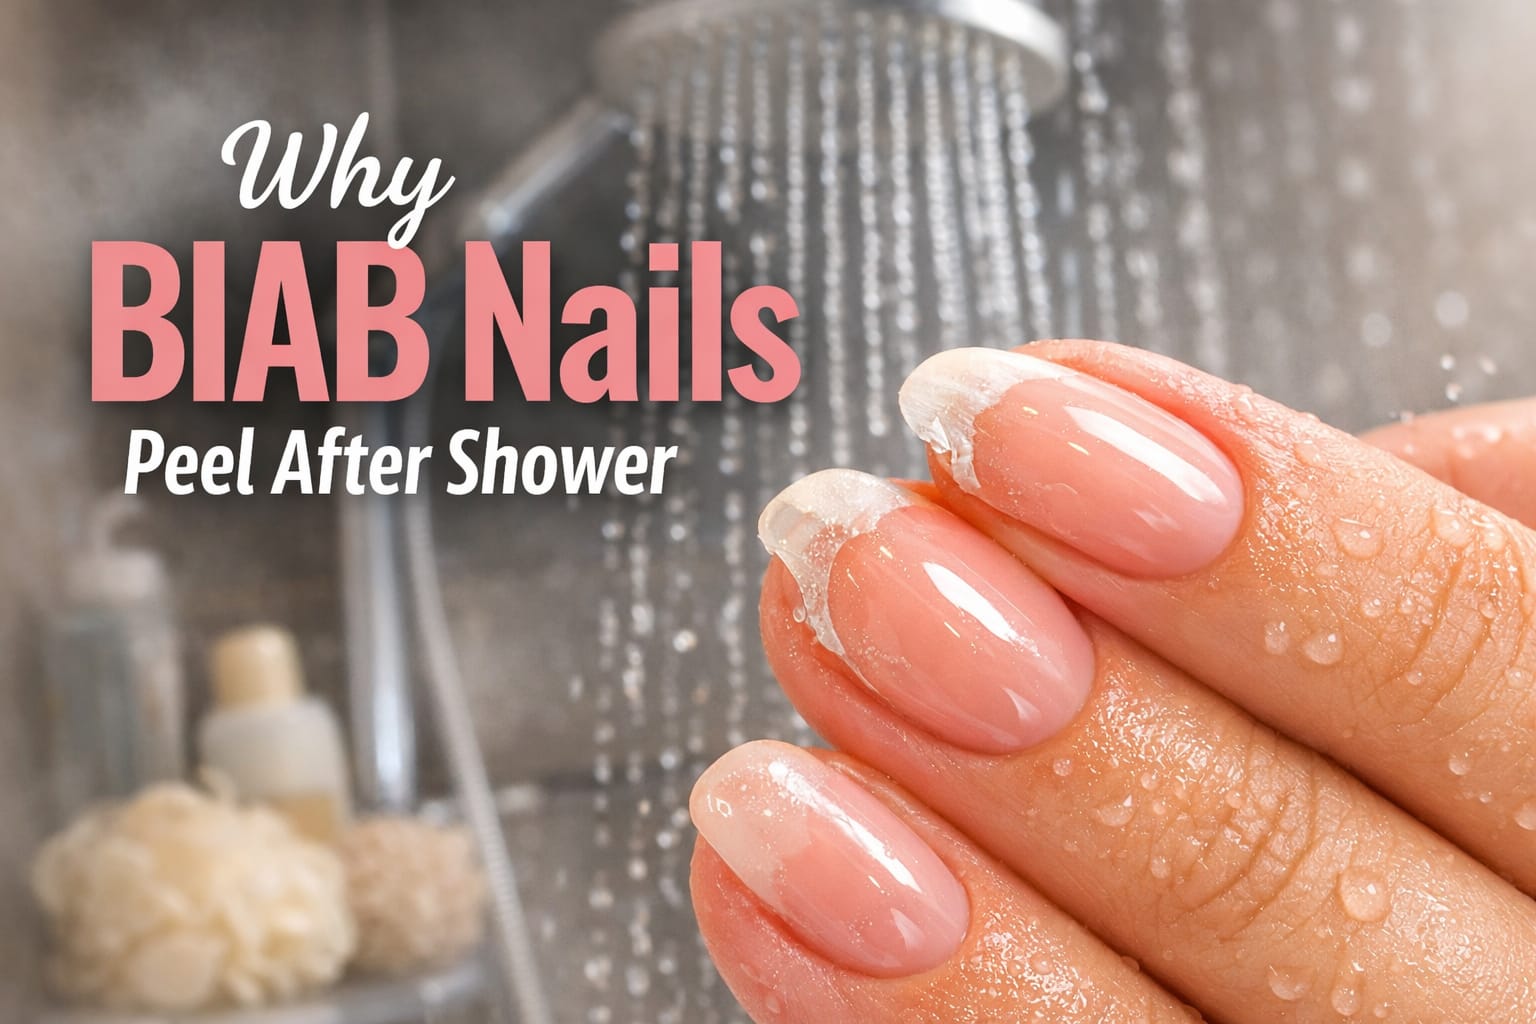
I still remember my first gel manicure at home. I watched a YouTube tutorial, skipped the parts that looked “optional,” and had a beautifully polished set for exactly four days — before a whole nail lifted off in the shower. Sound familiar?
After years of testing every gel system, builder gel, and press-on brand available on the market, I can tell you with complete certainty: nail prep is the foundation of every long-lasting manicure. It doesn’t matter if you’re using a $5 gel kit or a professional salon brand — without proper prep, nothing sticks.
In this guide, I’m walking you through the exact step-by-step nail prep routine I use today, the same one used by professional nail technicians in top salons worldwide. We’ll cover every step, the products you need, the mistakes to avoid, and I’ll share some honest stats about why so many people skip prep — and why that’s costing them their manicures.
According to aggregated beauty community surveys, nail education forums, salon feedback, and trend analysis data from 2025–2026.
Why Nail Prep Matters More Than You Think
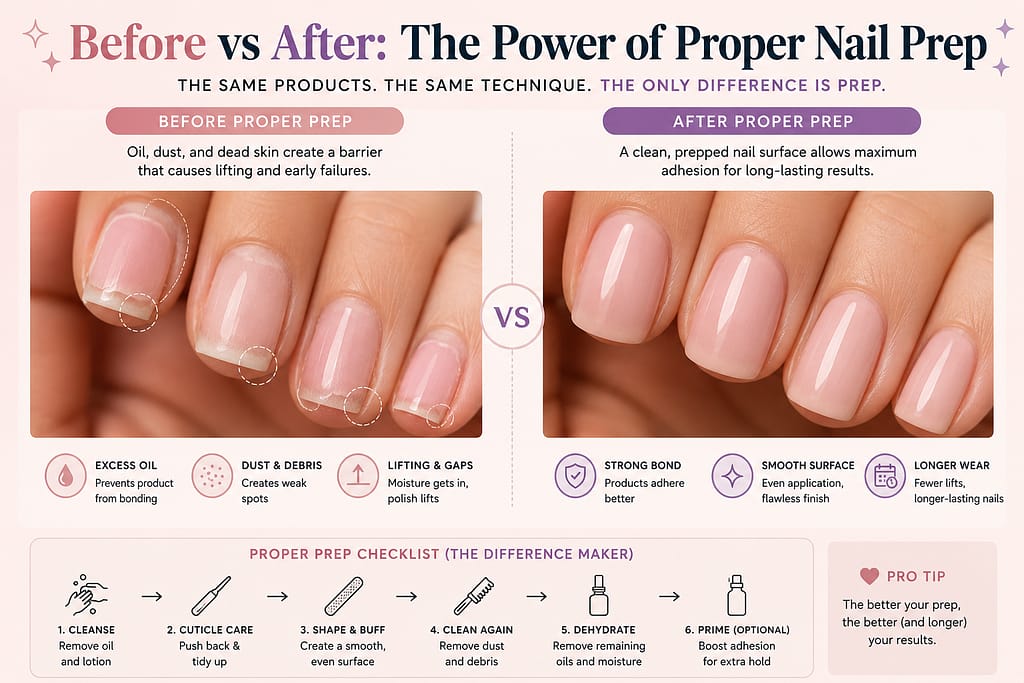
Your natural nail plate produces oils constantly. Even freshly washed hands leave residual moisture and microscopic oil films on the nail surface. When you apply any nail product — gel, acrylic, dip powder, or press-on adhesive — directly onto that oily surface, you’re essentially trying to stick tape to a greasy frying pan.
Professional nail prep changes the surface chemistry of your nail. It temporarily removes oils (dehydration step), creates a slightly rough texture for mechanical grip (buffing), eliminates non-living tissue that would break the product seal (cuticle work), and establishes a chemical bond between your natural nail and the enhancement (primer). All four of these things need to happen for a manicure to last.
🌍 “How to do nails at home” — % of searches from DIY beginners by country (2025)
Source: Aggregated search intent data, Google Trends & keyword research tools, 2025. Rounded estimates.
The data tells an interesting story: in English-speaking markets, the overwhelming majority of nail searches now come from people trying to DIY at home — which means nail prep education content is more in demand than ever. The question isn’t whether people want to learn. It’s whether they can find clear, honest guidance. That’s exactly what this guide is for.
The Complete Nail Prep Routine: 7 Steps, Done Right
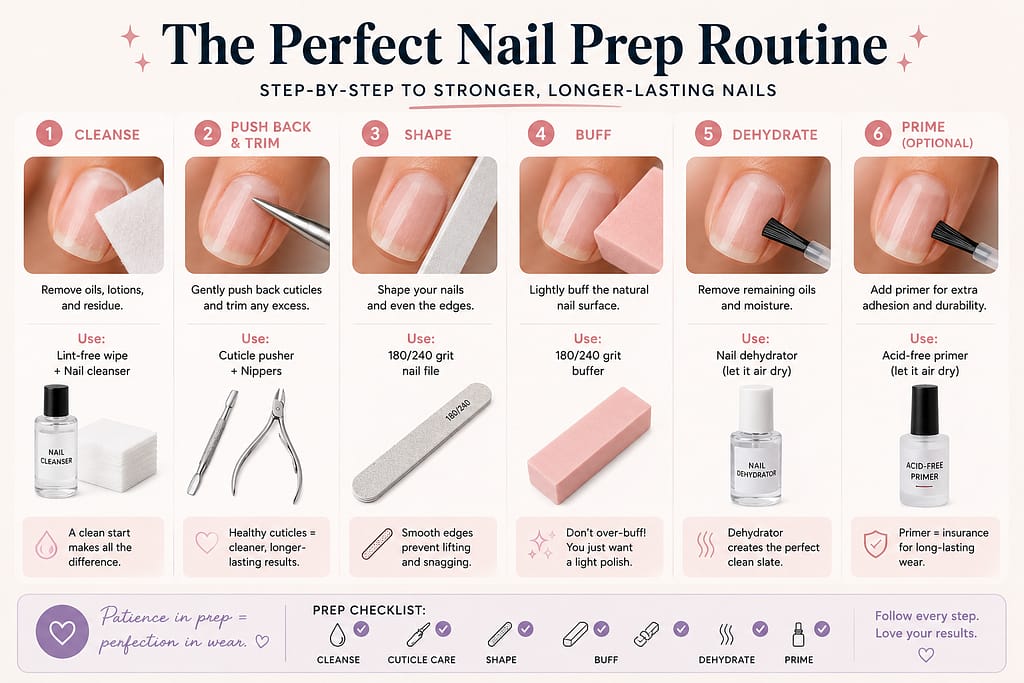
This is the exact routine I follow before every single gel or press-on application. I’ve refined it over dozens of sets and aligned it with what professional nail technicians at industry conferences — including the techniques I first encountered at ISC West beauty education panels — teach as best practice.
Remove all old product completely
Before anything else, your nails must be completely free of old polish, gel, dip powder, or adhesive. For regular polish, use a non-acetone remover on a lint-free pad. For gel, soak cotton pads in 100% acetone, place on each nail, wrap with foil, and wait 10–15 minutes — then gently push off with a cuticle pusher. Never scrape or peel.
💡 Pro tip: If lifting gel, don’t file aggressively. Use an e-file on low speed or hand-file gently until you reach the thin base layer, then soak off the rest.Shape and trim your nails
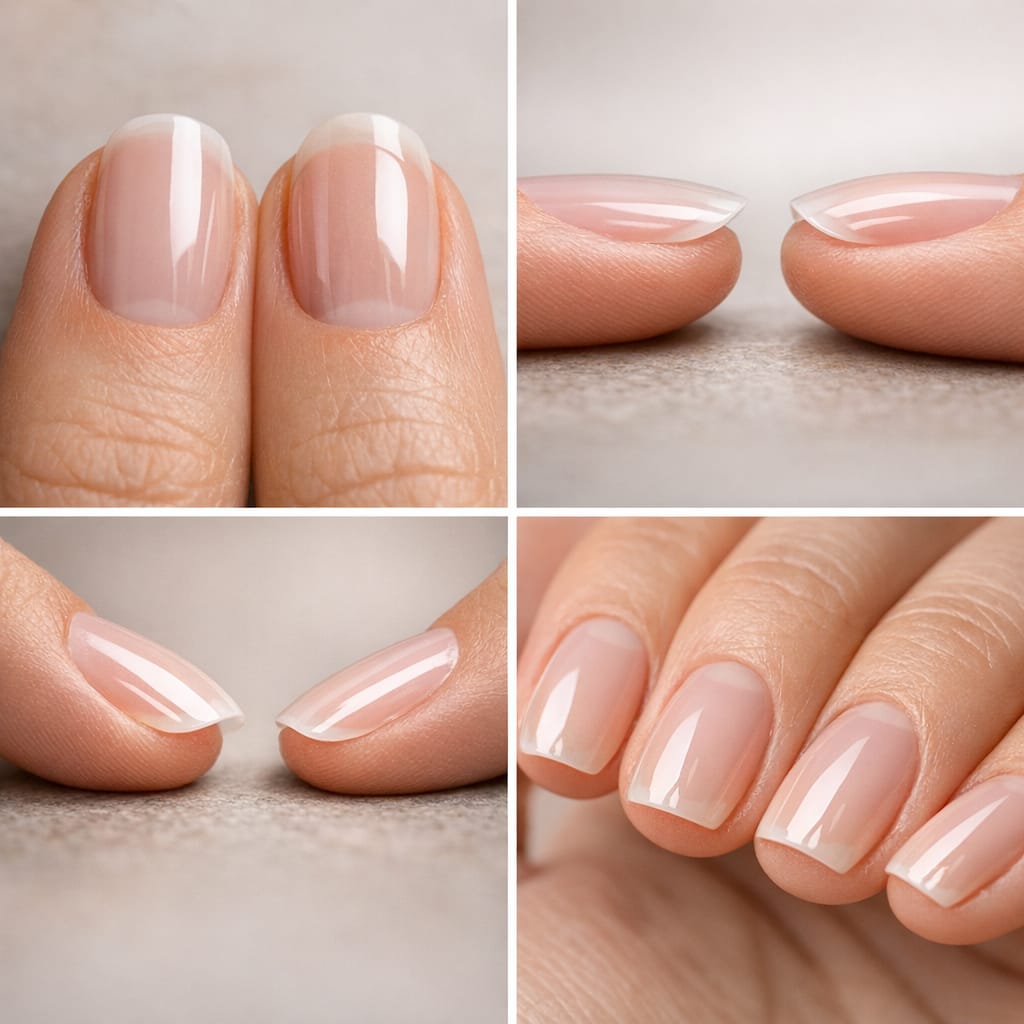
Use nail clippers to bring nails to your desired length, then shape with a 180/240-grit file. Always file in one direction — from edge toward the center — never back and forth, which causes micro-fractures in the keratin layers. Decide your shape before buffing: square, oval, almond, squoval, or coffin. Check each nail from the front and sides to ensure symmetry across all ten fingers.
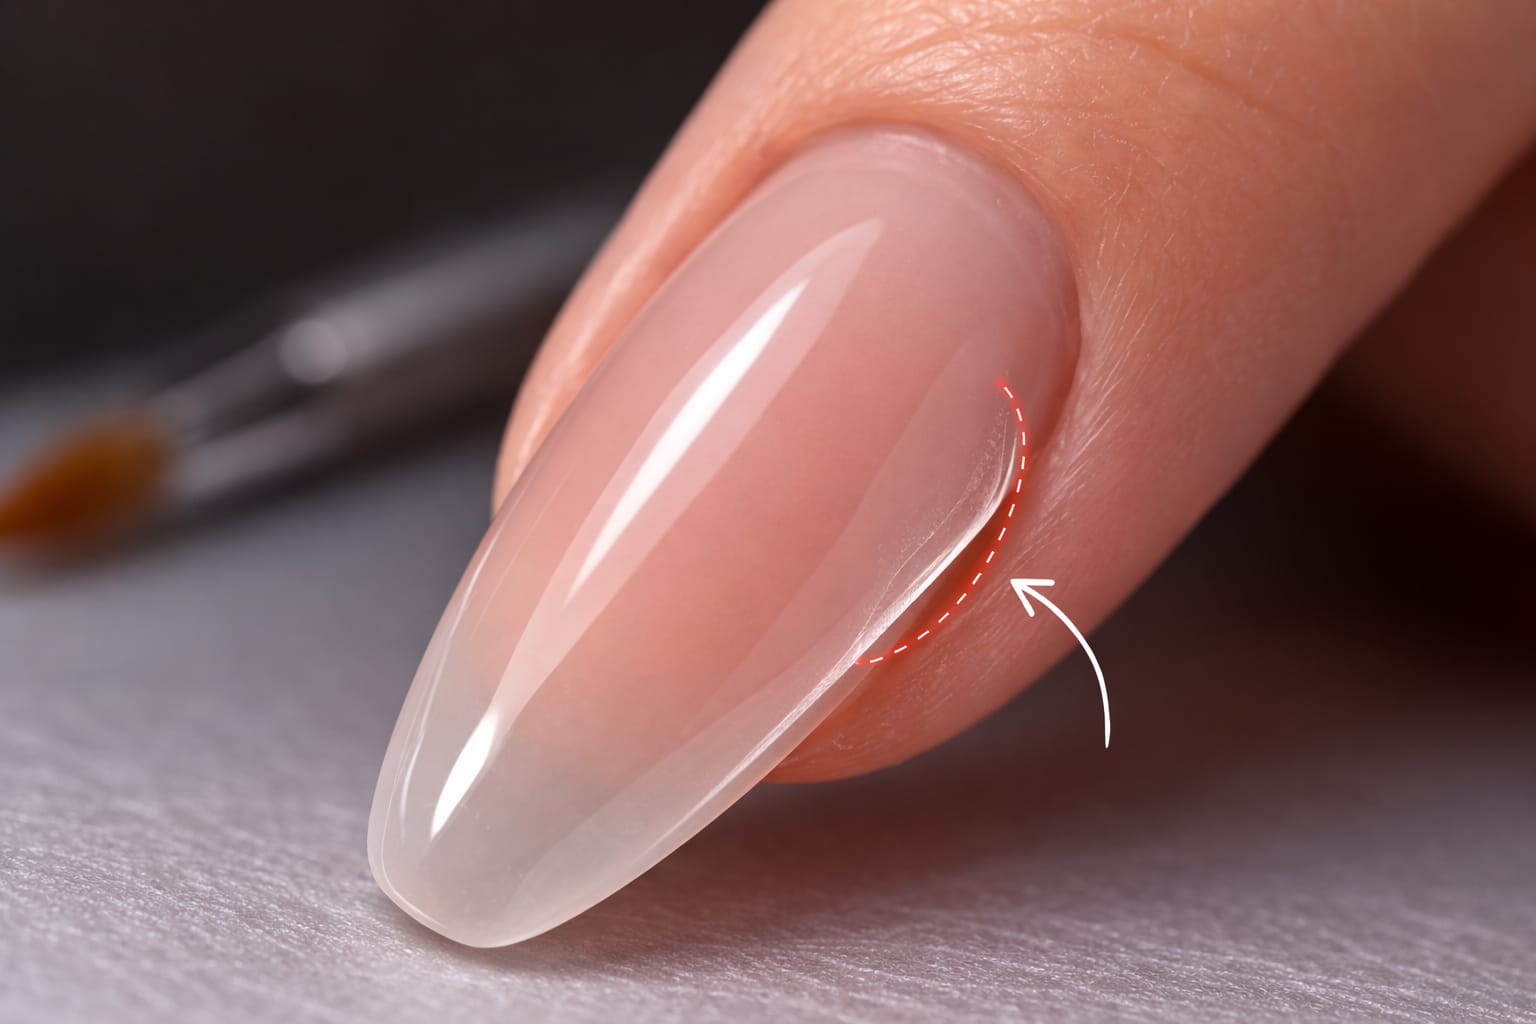
💡 Pro tip: File the free edge lightly underneath after shaping to prevent the tip from catching and peeling.Cuticle care — push back, don’t cut (yet)
Apply cuticle softener or remover gel to the base of each nail and leave for 60 seconds. Then gently push back cuticles using a metal or wood pusher in a single sweeping stroke. The goal is to clear any non-living tissue (the translucent skin) from the nail plate surface — not to aggressively cut living tissue, which causes soreness and infection risk. Use a cuticle nipper only for visible dead skin flaps, not to cut the actual cuticle fold.
💡 Pro tip: Good cuticle work alone can add 1–2 weeks of extra wear to your gel manicure.Buff the nail plate surface
Using a 220-grit buffer, lightly buff the entire nail surface — especially the center and sides near the cuticle area — to remove shine and create a matte, slightly textured surface. This is called “etching” and it gives your base coat or gel something to mechanically grip onto. Be gentle: you’re removing the glossy layer, not thinning the nail. Two or three passes per nail is enough.
💡 Pro tip: Focus extra attention around the sidewalls and cuticle line — this is where most lifting starts.Remove all dust and debris
After buffing, your nails are covered in fine keratin dust. Use a clean, dry nail brush to sweep away the dust. Then take a lint-free wipe (not a cotton ball, which leaves fibres) and wipe each nail firmly from base to tip to remove any remaining particles. Do not blow on your nails — the moisture from your breath redeposits oils.
💡 Pro tip: Use a light, clean brush — never your fingers — to dust nails. Finger contact immediately re-oils the surface.Dehydrate the nail plate
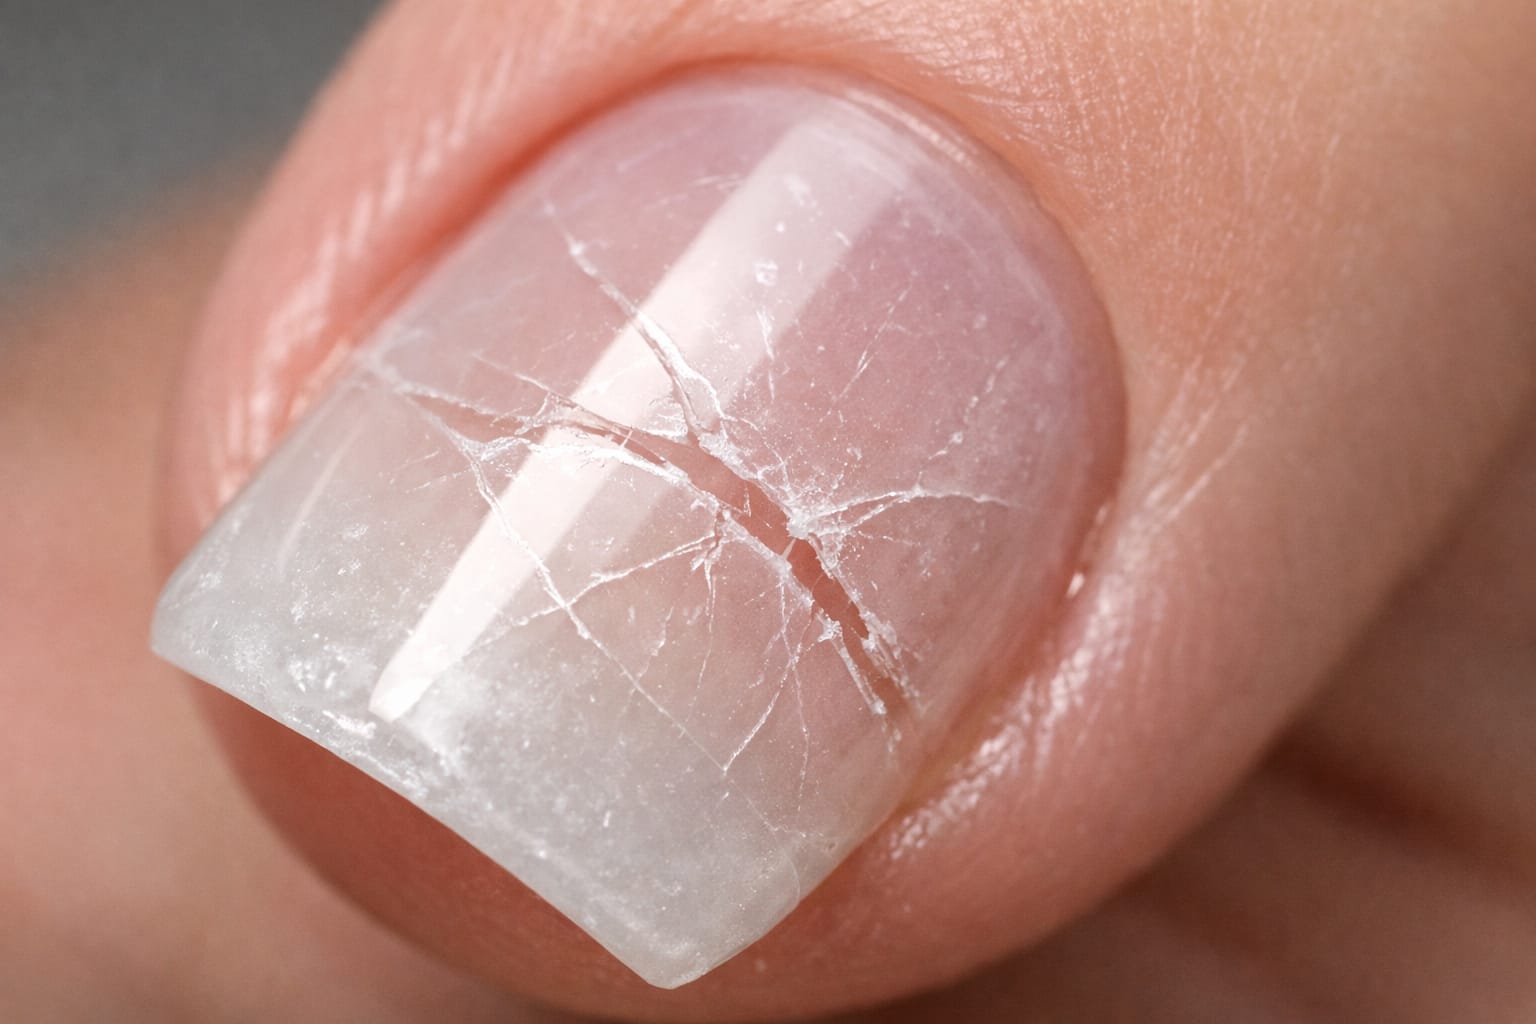
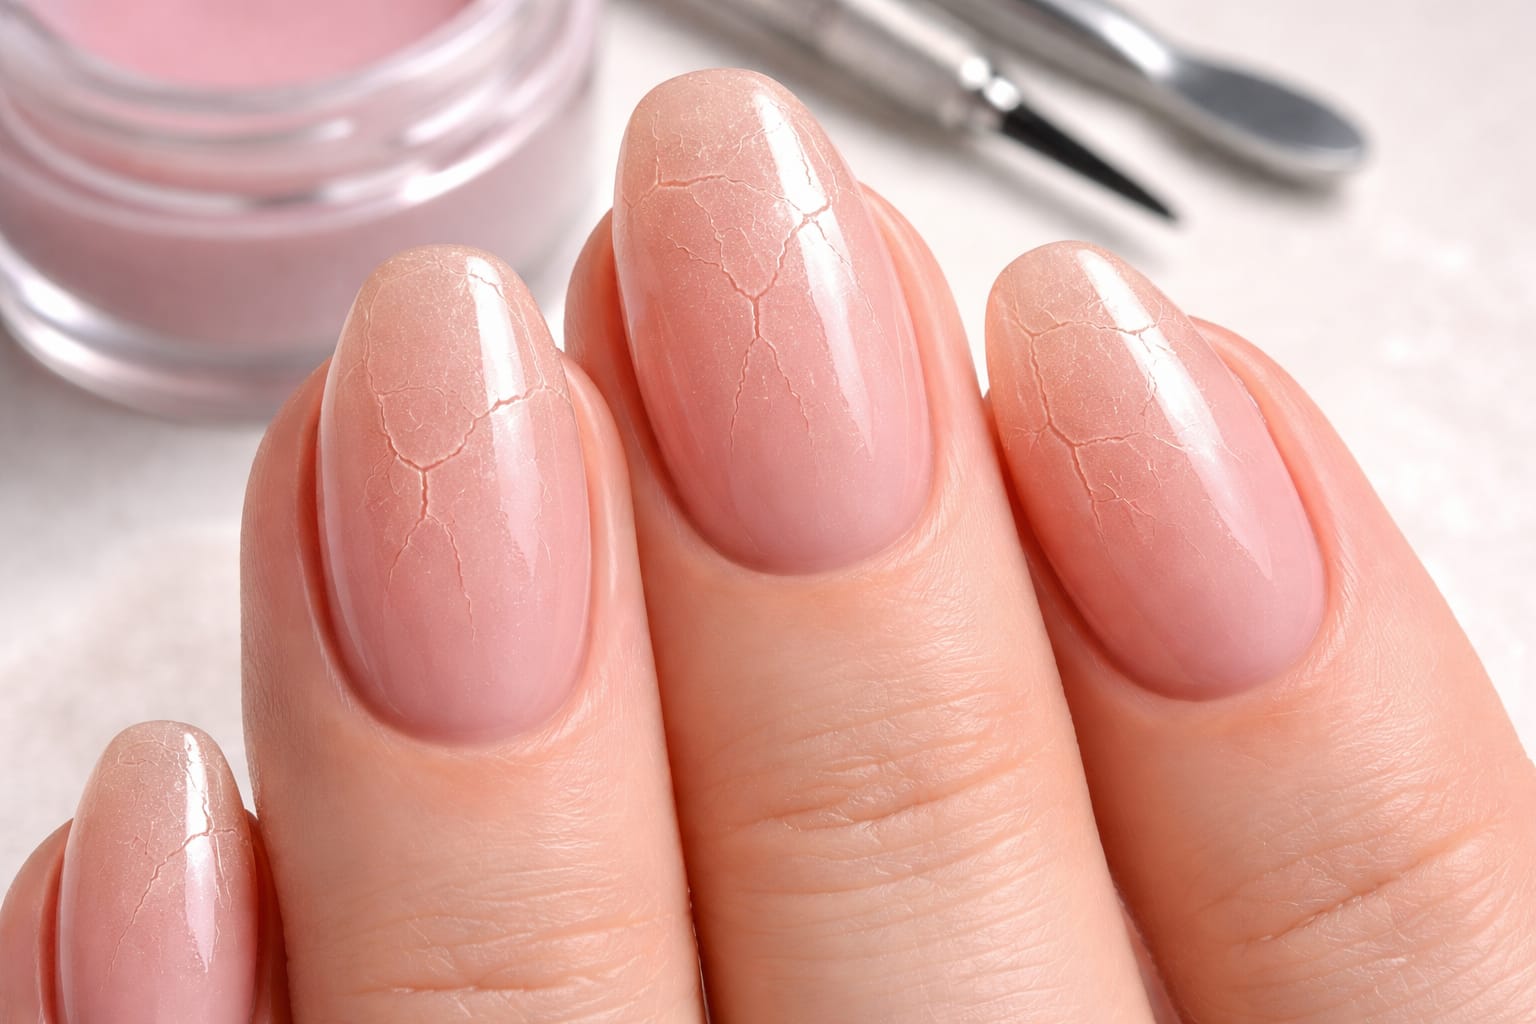
This is the step most beginners skip — and it’s arguably the most important. Apply nail dehydrator (or 99% isopropyl alcohol as a lighter alternative) to each nail using a lint-free wipe, working from base to tip in one direction. The nail should turn visibly matte and chalky white — that means the surface oils and moisture have been temporarily removed. Work quickly once this step is done: oils begin returning to the surface within 10 minutes.
💡 Pro tip: If you notice streaks or the nail doesn’t turn matte, apply a second pass of dehydrator.Apply nail primer (for gel/acrylic) or skip (for press-ons)
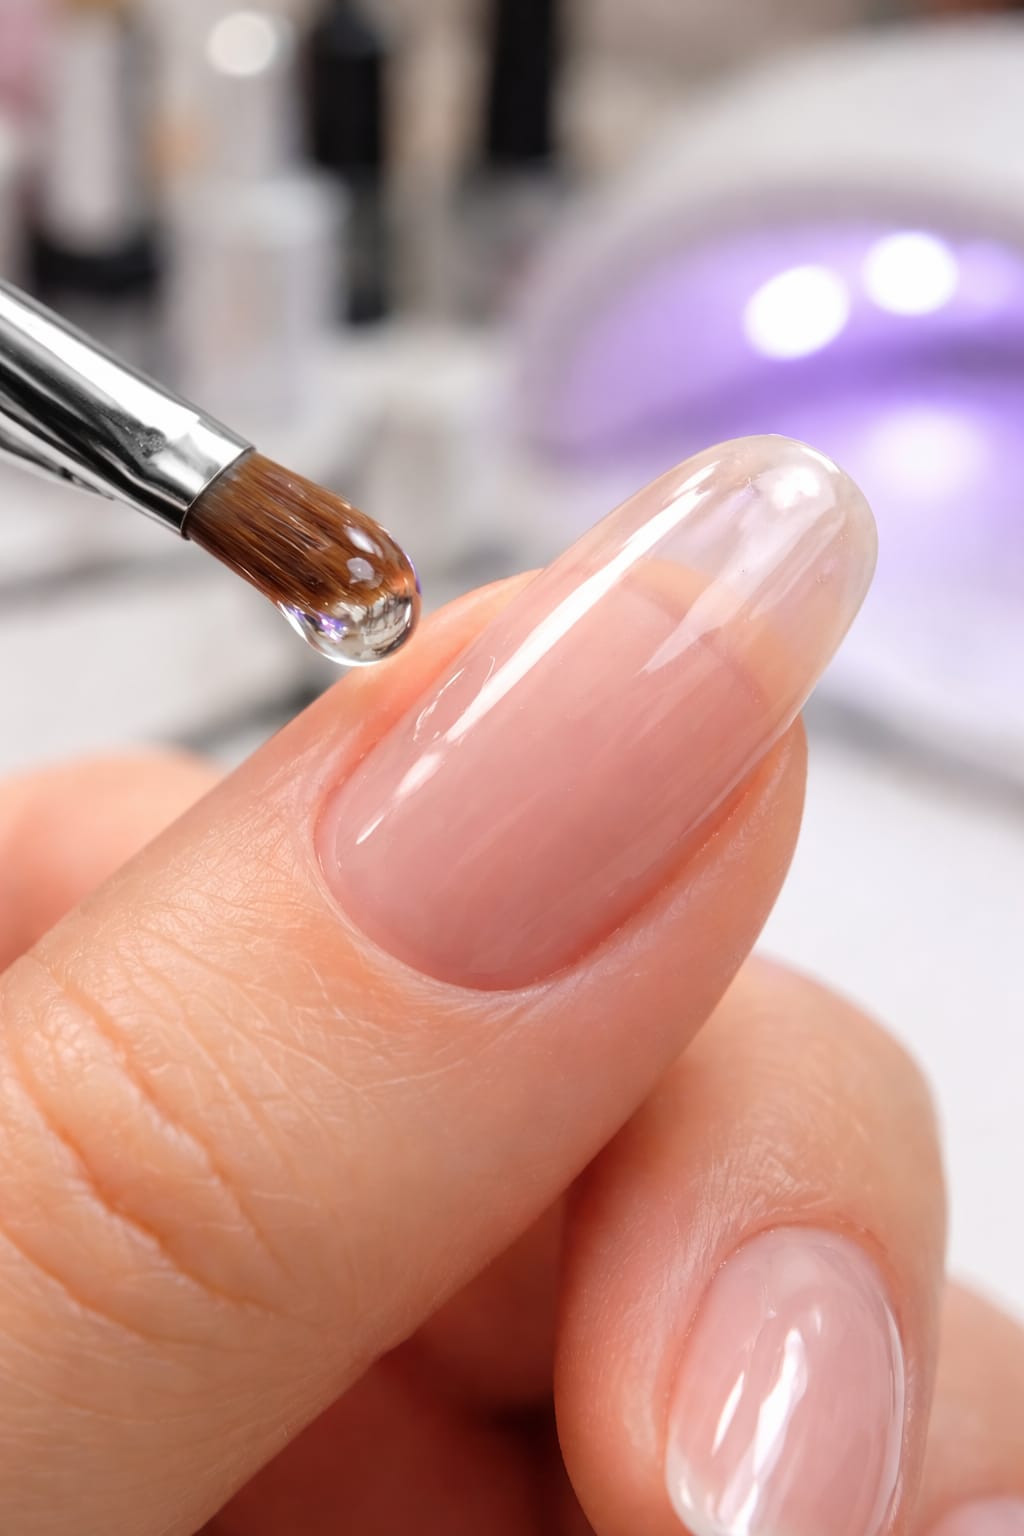
For gel polish or acrylic systems, apply a thin layer of nail primer — either acid-free bonding primer (most common for home use) or acid-based primer (professional use only, for oily nails or hard gel). Primer creates a chemical bridge between the natural nail plate and the enhancement product. Apply one thin coat, let it go tacky (about 10–15 seconds), and proceed immediately to your base coat. For press-on nails, skip primer and go directly to your adhesive.
💡 Pro tip: Use non-acid primer unless you’re a trained technician. Acid primers are powerful but can cause chemical burns if they contact skin.“I never understood why my gel always peeled until I started following a full 7-step prep. Honestly, the dehydrator step alone changed everything. I’m at three weeks with no lifting now.”
“As someone with naturally oily nails, I used to blame the gel brands. Turns out I was just skipping primer. Once I added that one step, my sets started lasting the full two weeks.”
⚠️ The Rule That Changes Everything: Never Touch Your Nails After Dehydration
This is the most-broken rule in at-home nail prep. The moment you touch your dehydrated nail plate with a fingertip, you transfer oils from your skin back onto the surface and effectively undo the dehydration step. From Step 6 onwards, only lint-free tools should contact your nail plate. No scratching, no adjusting — nothing.
Nail Prep Products: What You Actually Need as a Beginner
The good news: you don’t need an expensive kit to do nail prep properly. Here’s a clear breakdown of what’s essential, what’s helpful, and what’s a gimmick.
| Product | Essential? | Used For | Beginner Priority |
|---|---|---|---|
| 180/240-grit nail file | ✅ Yes | Shaping the free edge | Must-have |
| 220-grit buffer block | ✅ Yes | Removing shine, etching surface | Must-have |
| Cuticle pusher (metal or wood) | ✅ Yes | Clearing nail plate of non-living tissue | Must-have |
| Cuticle remover gel/liquid | Recommended | Softening cuticles before pushing | Helpful |
| Nail dehydrator | ✅ Yes | Removing surface oils before application | Must-have |
| Lint-free wipes | ✅ Yes | Dust removal, dehydrator application | Must-have |
| Nail primer (acid-free) | For gel/acrylic | Chemical bonding layer | Must-have (gel) |
| Cuticle nippers | Optional | Trimming loose dead skin flaps only | Optional |
| E-file / nail drill | No | Pro-level product removal, cuticle work | Advanced only |
The 5 Biggest Nail Prep Mistakes Beginners Make

“The biggest game-changer for me was learning about lint-free wipes. I had been using cotton pads from my skincare routine and couldn’t figure out why my gel always had tiny bumps. Switched to lint-free and the surface was perfectly smooth.”
Why Manicures Fail: The Numbers
Based on aggregated survey data from nail communities and beginner nail tech groups, here’s how prep-related failures break down by country and issue type:
How to Choose the Right Nail Prep Products
With hundreds of nail prep products available, it’s easy to over-complicate your kit. Here are the five things I look for when recommending prep products to beginners — backed by how professionals assess tools at trade events and salon education programmes.
- Is the dehydrator acetone-free? For regular home use and for clients with thin or sensitive nails, alcohol-based dehydrators are safer and less drying than acetone-based alternatives. Leading professional suppliers like ReformA have documented this distinction thoroughly — their guide on dehydration types is an excellent reference.
- Is the primer acid-free? For home users, always choose non-acid (bonding) primer. Acid primers are powerful but require training to apply safely. Acid-free primers create a chemical bond without the burn risk.
- Is the buffer grit clearly labelled? Some cheap buffer blocks don’t label their grit. You want 180–220 for nail prep buffing. Anything lower (100-grit) is too aggressive for natural nails.
- Does the brand provide a full prep system? Mixing dehydrators and primers from different brands can create compatibility issues. When starting out, use a matched dehydrator-and-primer set from the same brand.
- HEMA content transparency — especially if you have sensitive skin. The nail industry has been shifting toward HEMA-free formulations, and it matters for prep too. Learn more about why from the HONA Knowledge Hub’s comprehensive prep guide, which covers HEMA-free specific prep protocols in professional depth.
Step-by-Step Nail Prep: Summary Verdict
Nail Prep FAQ