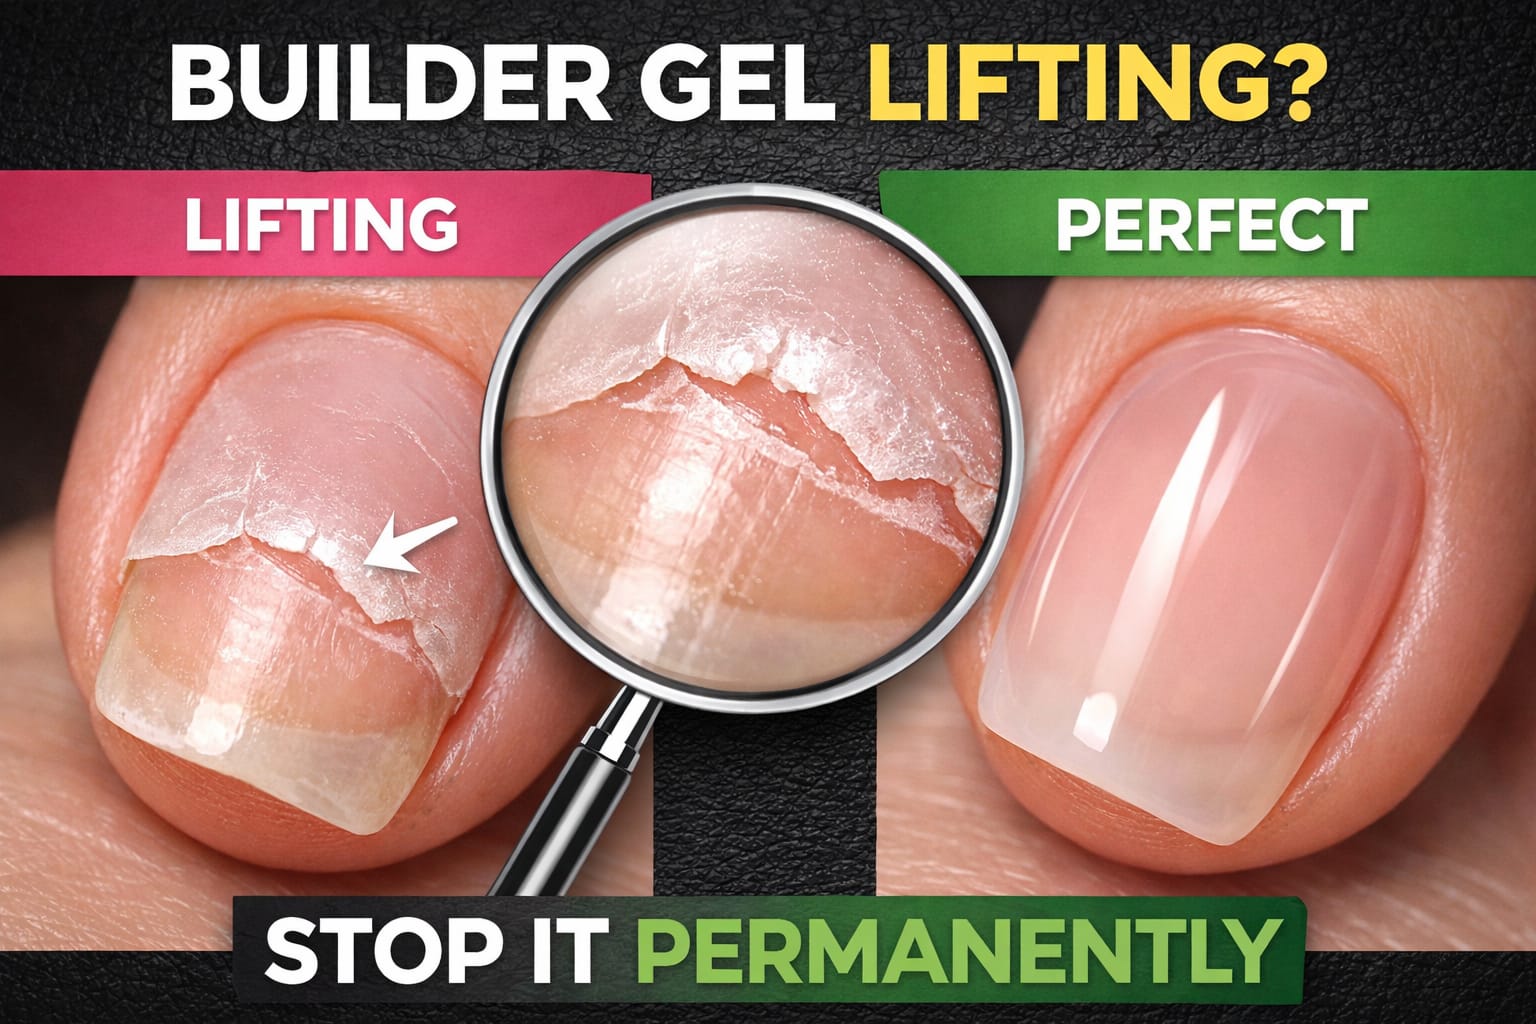
Why BIAB Nails Lift at the Free Edge

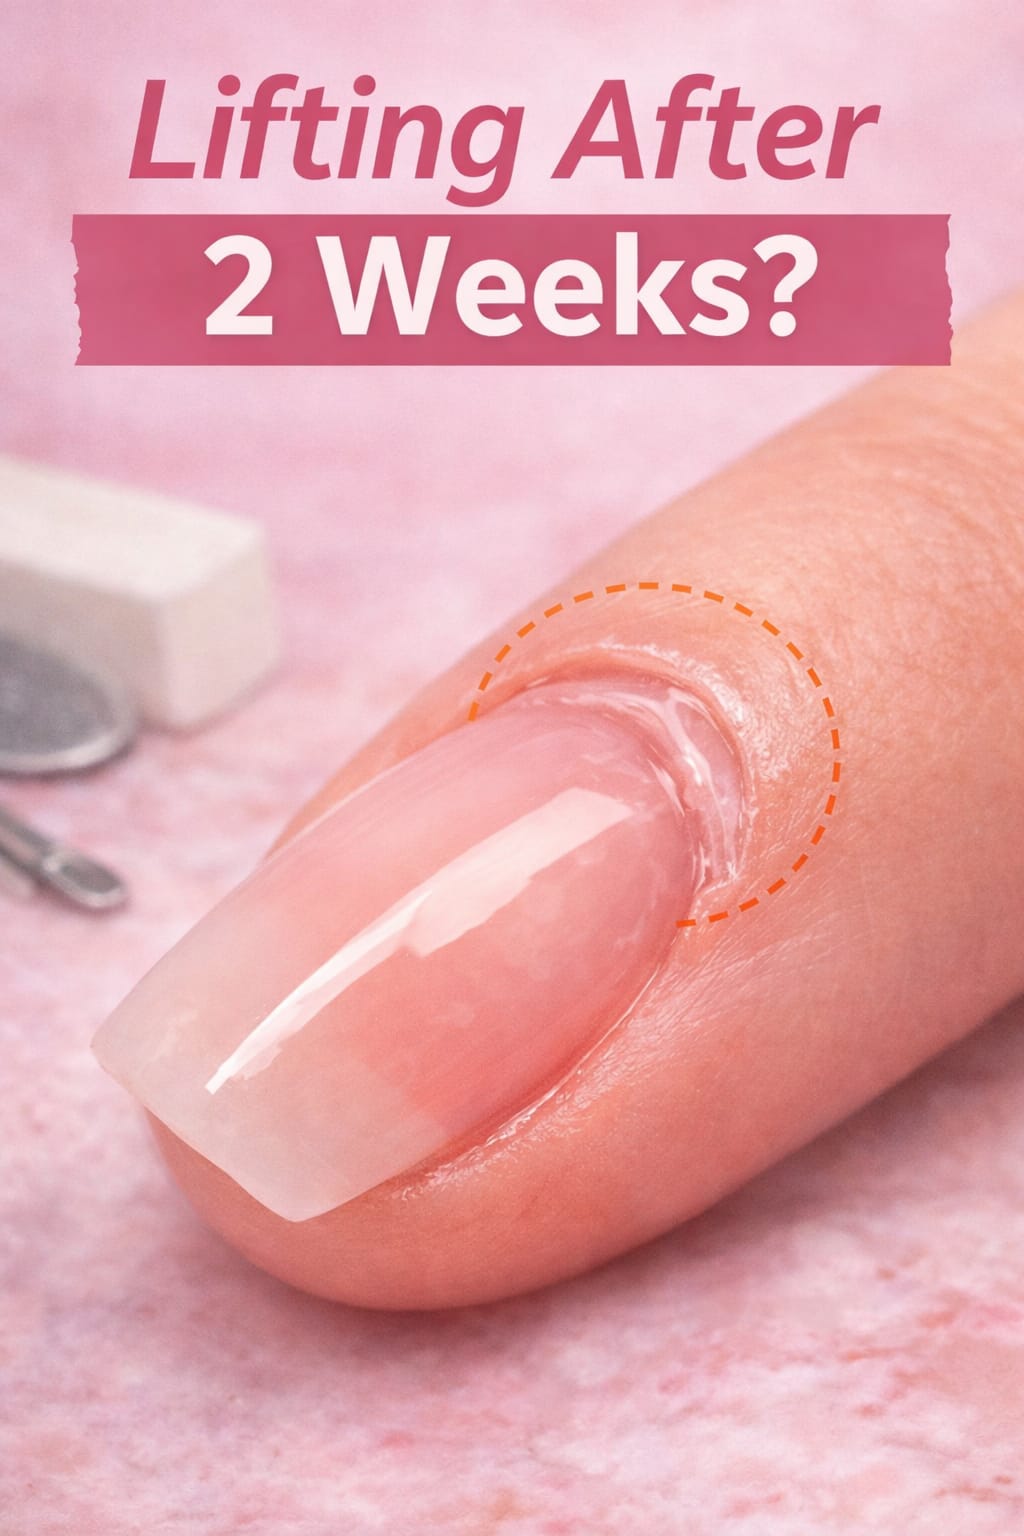
If your BIAB nails lift at the free edge — the tip of the nail — you’re dealing with one of the most frustrating and most common BIAB problems. The rest of the nail looks perfect, but the tips start to peel or catch within days. The good news: free edge lifting is almost entirely preventable once you understand exactly why it happens.
Why the free edge is the most vulnerable part of a BIAB manicure
The free edge — the tip of the nail that extends beyond the fingertip — is under constant mechanical stress. Every time you type, pick something up, open a bag, or tap a surface, that edge absorbs impact. Unlike the nail bed area which has the natural nail underneath for support, the free edge is unsupported and exposed on all sides.
For BIAB to hold at the tip, the product must form a complete, sealed bond across the entire edge. If even a tiny section of that edge is left unsealed, open, or thinly coated, moisture and impact will find their way in — and lifting begins from the tip inward.
Free edge lifting is different from cuticle area lifting. If your BIAB is lifting at the tip, the problem is almost always capping technique, nail shape/length, or post-application stress. If it’s lifting near the cuticle, look at nail prep and primer instead.
1. Not capping the free edge — the number one cause
")
The single most common reason BIAB lifts at the free edge is simply not sealing it. Many nail techs focus on laying the product flat across the nail plate but forget — or rush — the final step of running the brush across the very tip of the nail to cap it.
Capping means applying a thin layer of product across the tip — not just down the nail surface. Think of it like sealing the edge of a book cover. Without that seal, the pages (layers of product) can peel away from the front.
After applying each layer of BIAB across the nail plate, hold the brush flat against the tip of the nail — not angled down, flat across the edge.
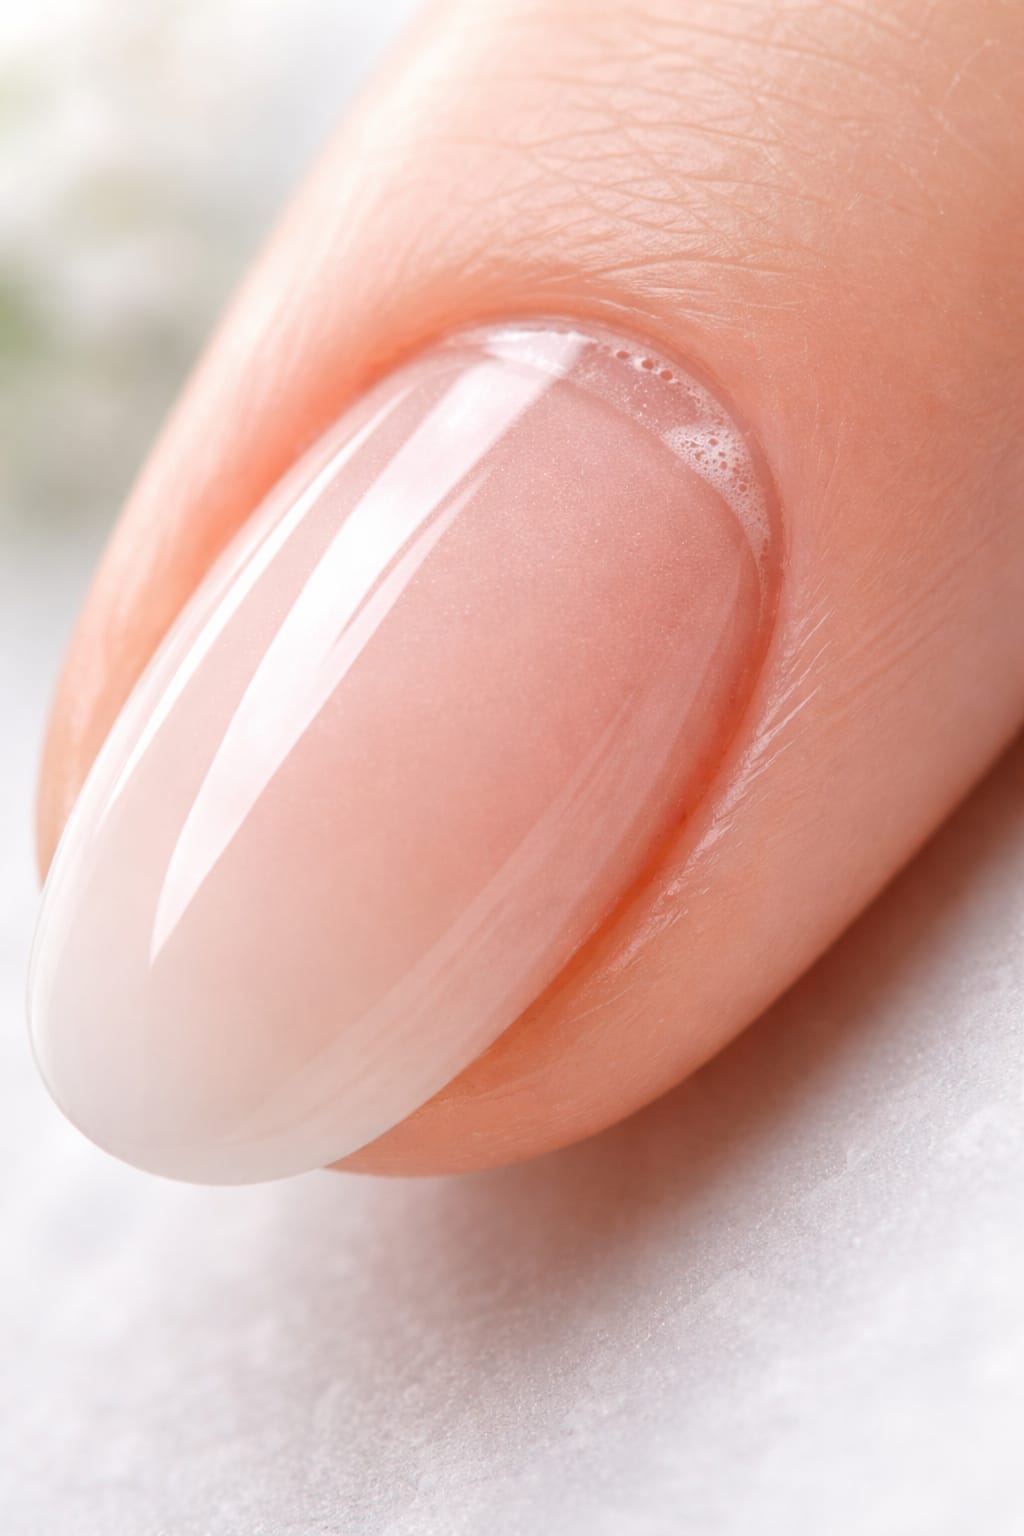
Sweep gently across the free edge to deposit a thin layer of product over the tip. You should see the edge go from matte/dry-looking to glossy and coated.
Do this for every layer — base coat, each BIAB layer, and top coat. Each seal compounds on the previous one.
Cure immediately after capping. Do not let the product sit uncured at the tip — it can slide off the edge before hardening.
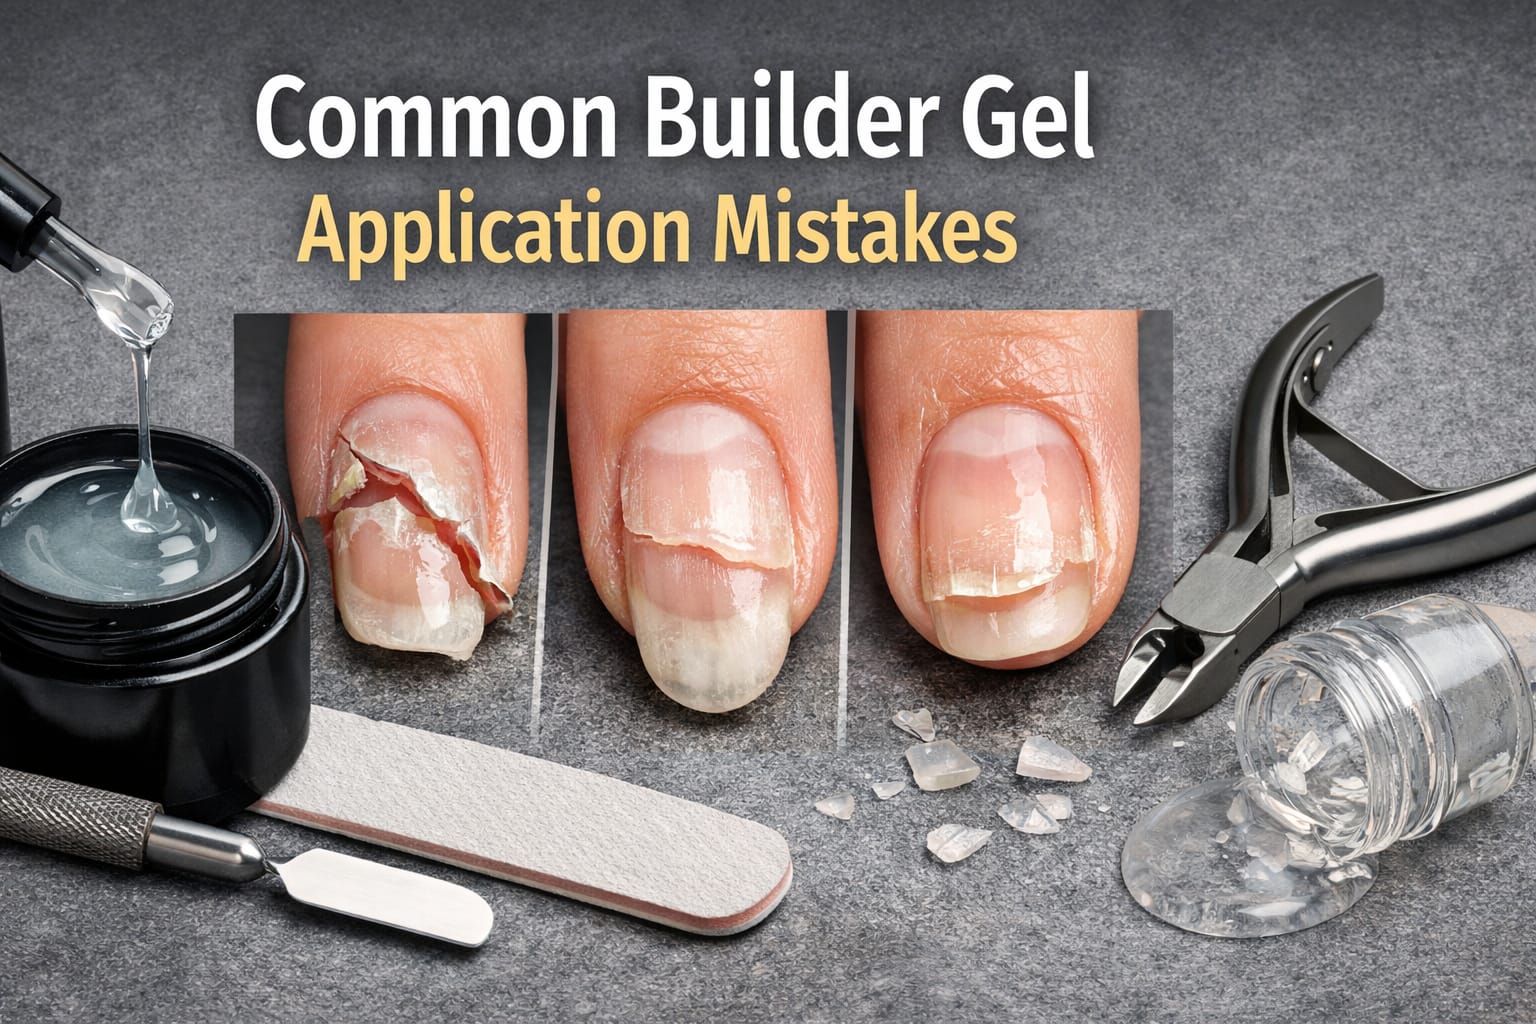
2. Filing after application without re-capping
This is a mistake that happens surprisingly often, even with experienced nail techs. After shaping or refining the BIAB with a file post-cure, the tip of the nail is left raw and exposed — the filing removes the sealed edge and opens up the product layers at the tip.
Any time you file BIAB after curing, you must re-cap the free edge with top coat or a thin layer of BIAB before the final cure. Think of it as resealing a freshly cut piece of wood — the exposed cross-section is vulnerable until you seal it again.
Get into the habit of doing a final “edge check” before every cure: look at each nail from the side and confirm the tip has a visible coat of product on it. If it looks dry or flat, cap it before the lamp.
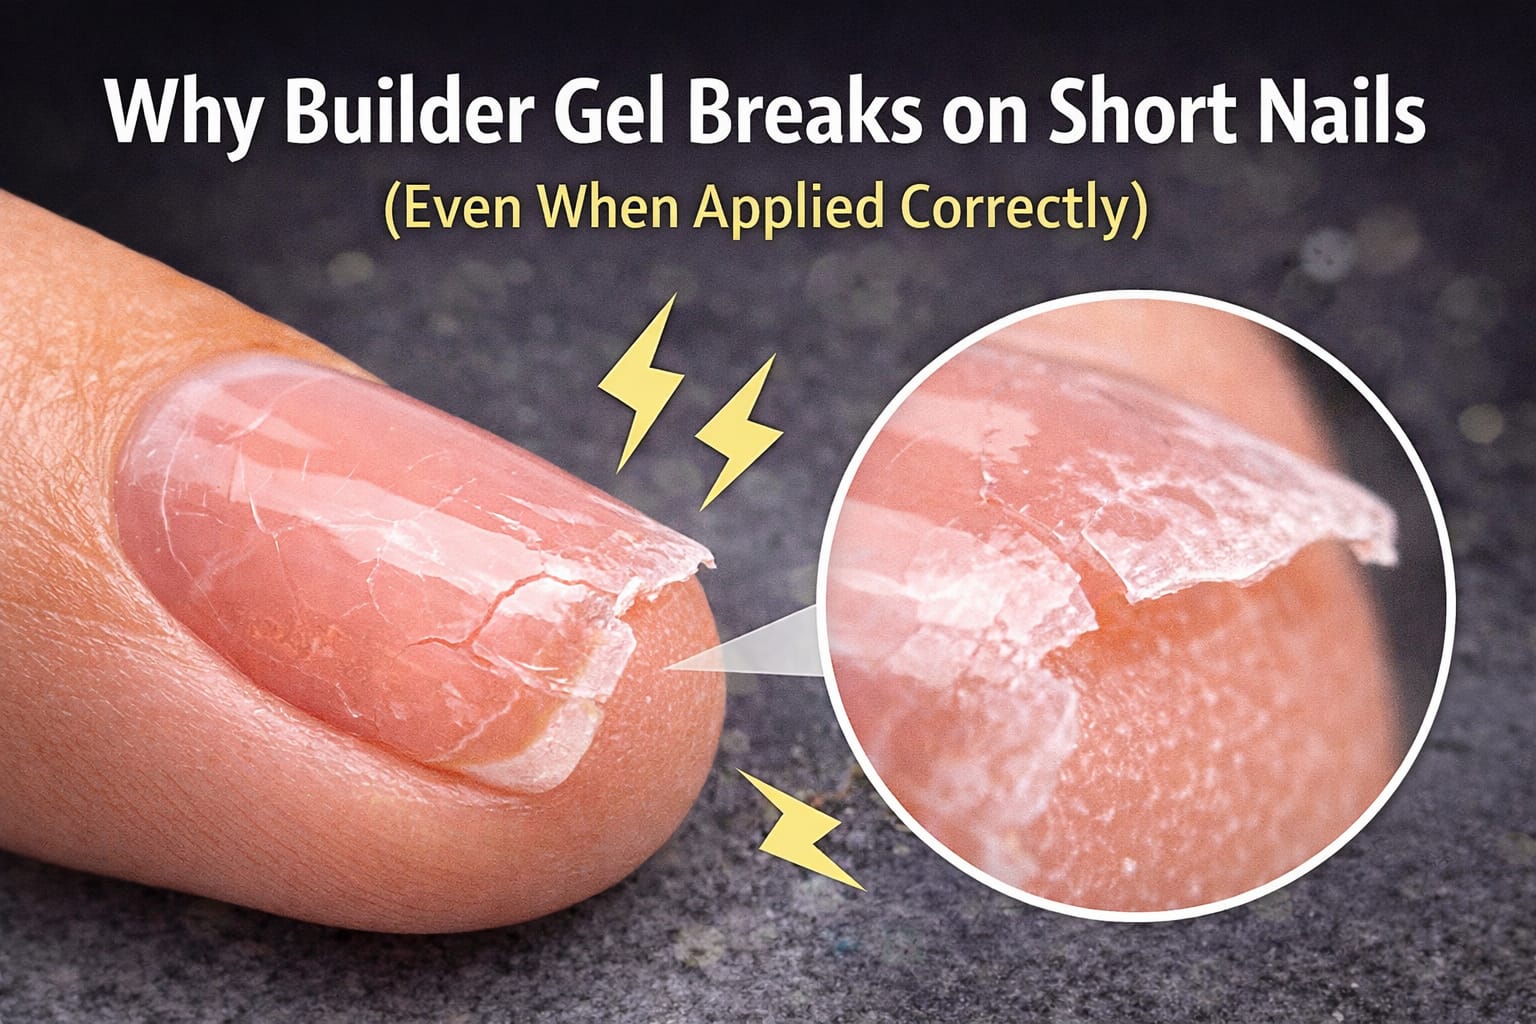
3. Nail length and shape increasing tip stress
The longer the free edge, the more leverage is applied to the tip with every movement. BIAB is excellent for adding strength, but it has physical limits — a very long free edge acts like a lever arm, and the bond at the tip bears the brunt of every knock, bend, and flex.
Best for BIAB longevity. Less lever force on the tip means the free edge bond stays intact longer.
Higher risk of free edge lifting. Requires more careful capping, thicker BIAB build, and extra client care guidance.
The nail flexes but BIAB can’t follow. The tip is the first point where this stress breaks the bond.
4. Thin product at the tip
Even when techs do cap the free edge, the layer applied is sometimes so thin it offers no real protection. A single whisper-thin pass of product at the tip will cure to almost nothing — and it won’t survive more than a day or two of normal use.
The tip naturally gets less product than the nail plate during application because gravity and the brushstroke direction both work against it. You need to consciously build up the free edge, not just skim it. A slightly thicker cap at the tip — built up over two or three thin passes — is far more durable than one rushed stroke.
5. Water and chemical exposure breaking the tip seal
Even a perfectly capped free edge can start to lift if the client’s habits work against it. The tip is the entry point for everything — water, cleaning products, acetone from other products, and physical impact all attack the free edge first.
Soaking nails in water repeatedly causes the natural nail to expand and contract, slowly working the product away from the tip.
Harsh household cleaners attack the product bond. Gloves should be non-negotiable for any client with BIAB.
Opening cans, peeling labels, typing with nail tips — all create repeated micro-trauma at the free edge that breaks the seal over time.
Free edge lifting is just one reason BIAB can fail. If you’re also seeing lifting near the cuticle, sidewalls, or throughout the nail, the issue may be broader — covering prep, curing, and product compatibility. Our full guide covers every cause.
Read: Why BIAB Nails Lift (Complete Guide) →How to fix and prevent BIAB free edge lifting
Now that you know the causes, here’s a complete prevention routine to eliminate free edge lifting for good:
Lightly buff the free edge during prep — remove any shine from the tip and create a slightly rough surface for the product to grip.
Cap the free edge with base coat — before applying any BIAB, seal the tip with your bonding base coat first.
Cap with every BIAB layer — treat capping as a non-negotiable final step for each layer, not an afterthought.
Re-cap after any filing — never leave a filed, uncapped free edge. Always re-seal before the final cure.
Apply top coat to the free edge last — always finish by capping the tip with top coat and curing fully.
Advise clients to reapply top coat every 5–7 days at home, focusing on the free edge. This refreshes the seal and significantly extends wear.
Frequently asked questions
The bottom line
When BIAB nails lift at the free edge, the fix is almost always the same: cap more thoroughly, cap on every layer, and re-cap after any filing. The free edge is the most mechanical part of the nail — it needs the most attention, not the least.
Build capping into your muscle memory as a non-negotiable final step for every layer, and pair it with good client aftercare advice, and free edge lifting will become a rare exception rather than a regular complaint.