Builder Gel Cracking: 7 Real Reasons Your Nails Keep Cracking (And How to Fix Them)

Builder gel is often chosen for its strength, structure, and long-lasting results. Yet even with high-quality products and careful application, many people still deal with the same frustrating issue: builder gel cracking.
Sometimes the cracks appear a few days after application. Sometimes they show up right after curing. And sometimes only certain nails keep breaking no matter what changes you make.
If this keeps happening, it doesn’t automatically mean you’re doing something wrong—and it rarely means the product is bad. In most cases, cracking is a structural or flexibility issue, not a quality one.
Why Does Builder Gel Crack?
Builder gel cracking usually happens because the gel is too rigid for the natural nail, the apex is incorrectly built, or the nail structure cannot absorb daily stress. Most cracks are caused by flexibility mismatch, curing issues, or improper thickness—not product failure.
Builder gel cracks most often due to:
- Gel being too hard for flexible nails
- Incorrect apex placement
- Over-curing or using the wrong lamp
- Uneven gel thickness
- Natural nail movement
- Skipping a supportive base layer
- Stress concentrated on specific fingers
These causes often overlap, which is why cracking can feel random. Let’s go through each one clearly.
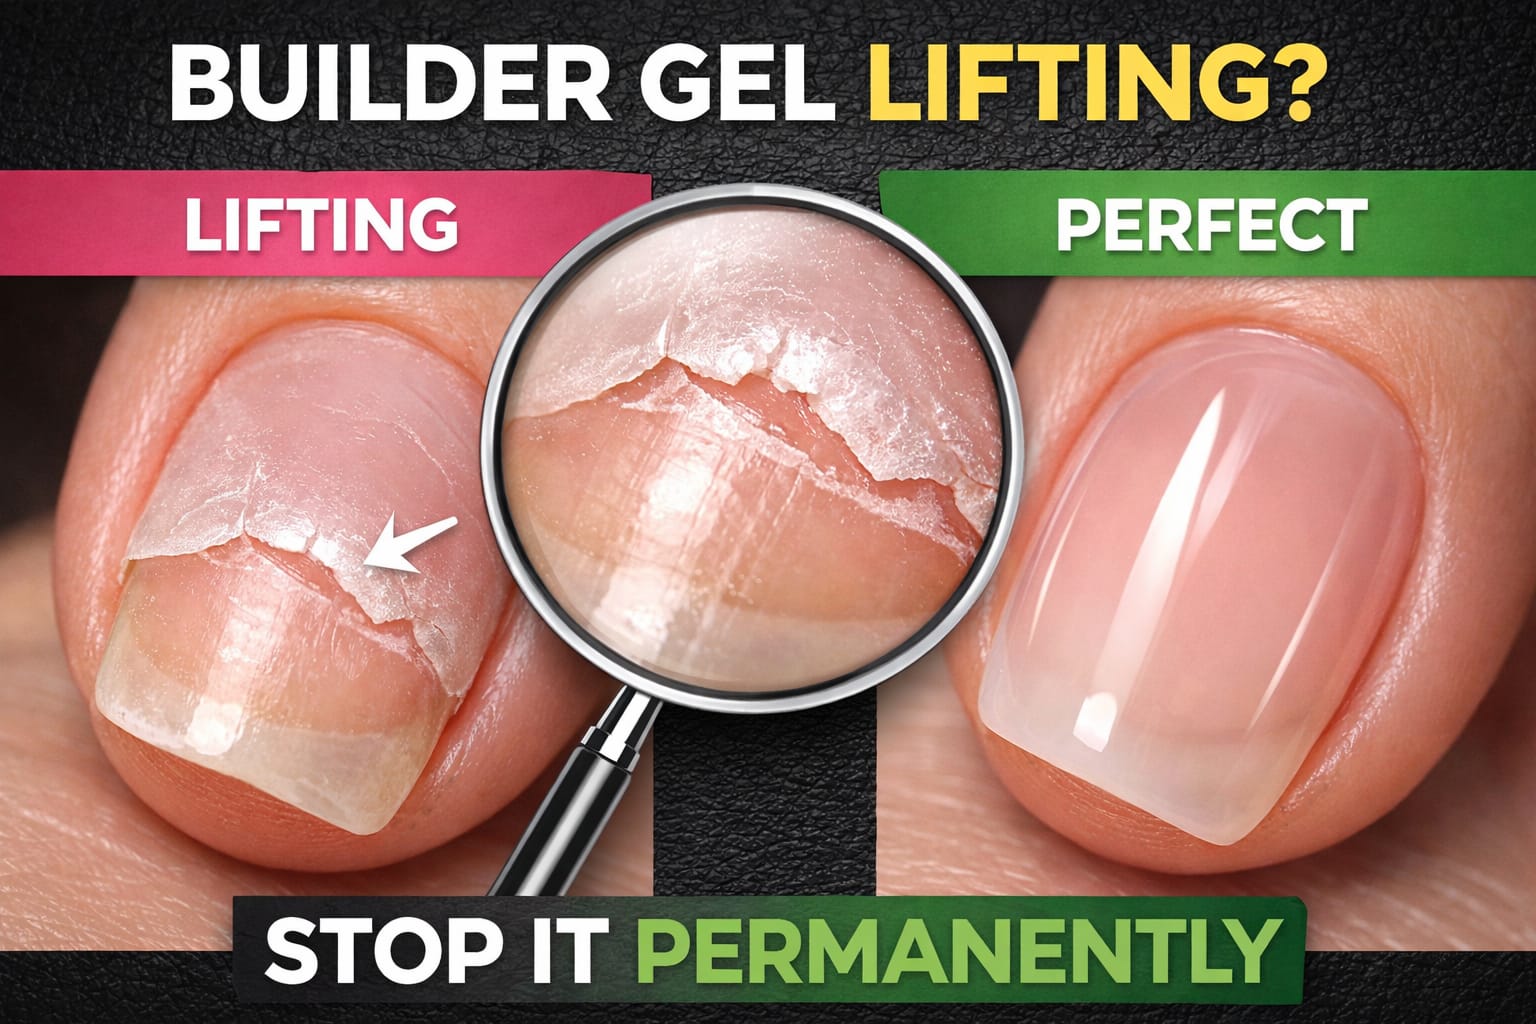
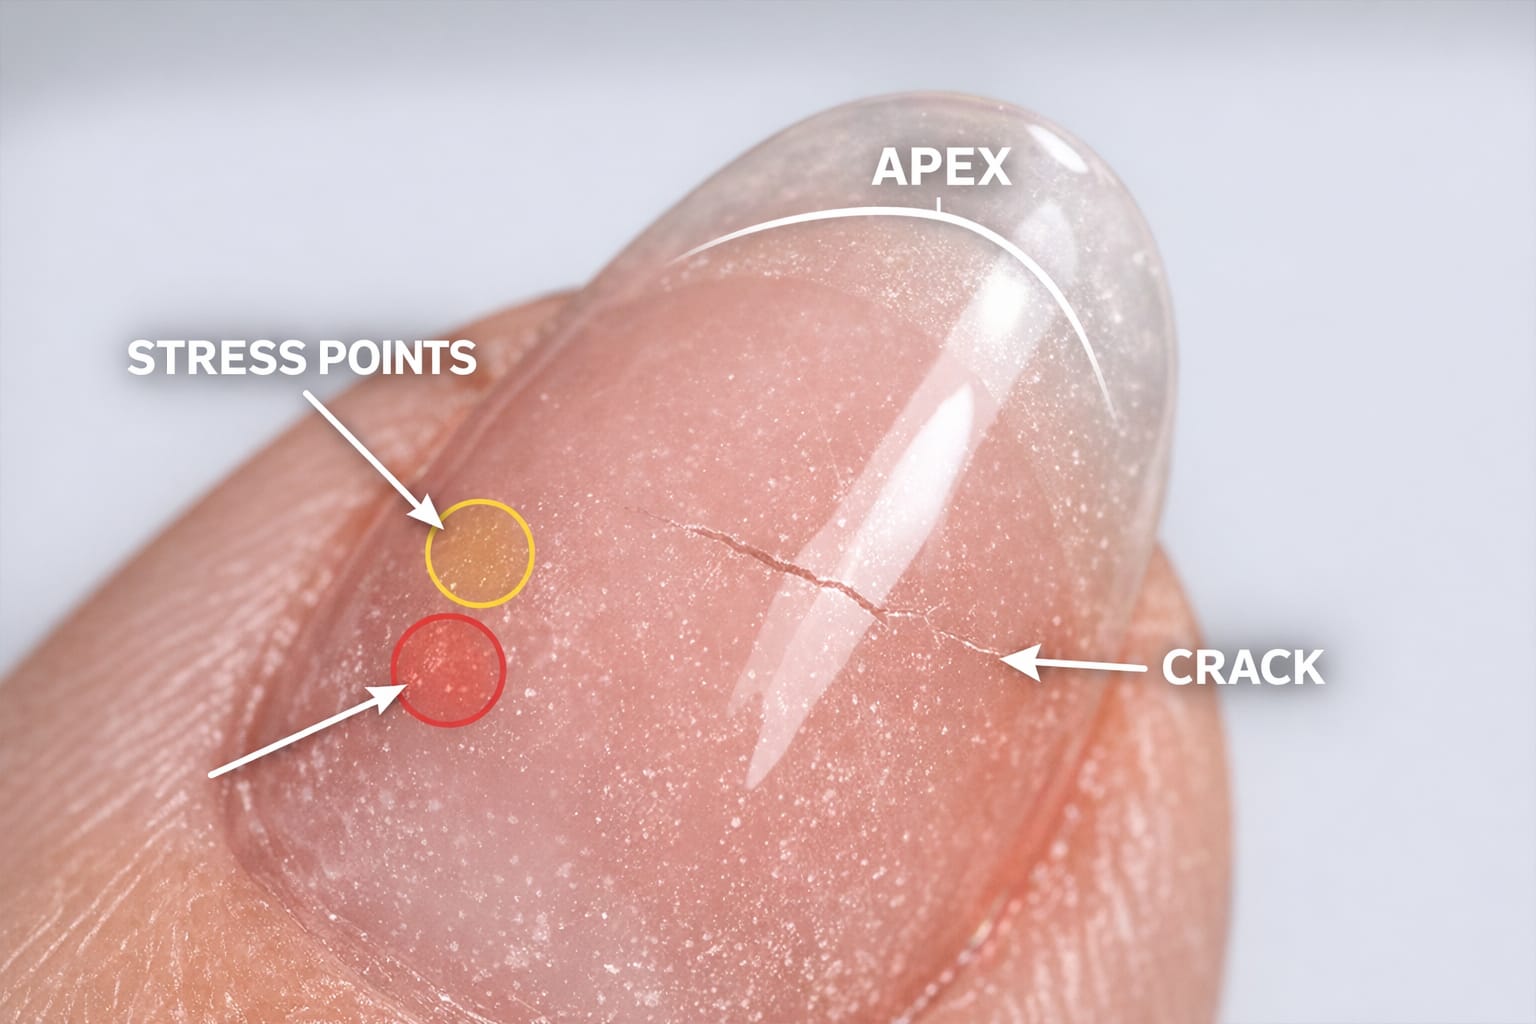
What Builder Gel Cracking Really Means
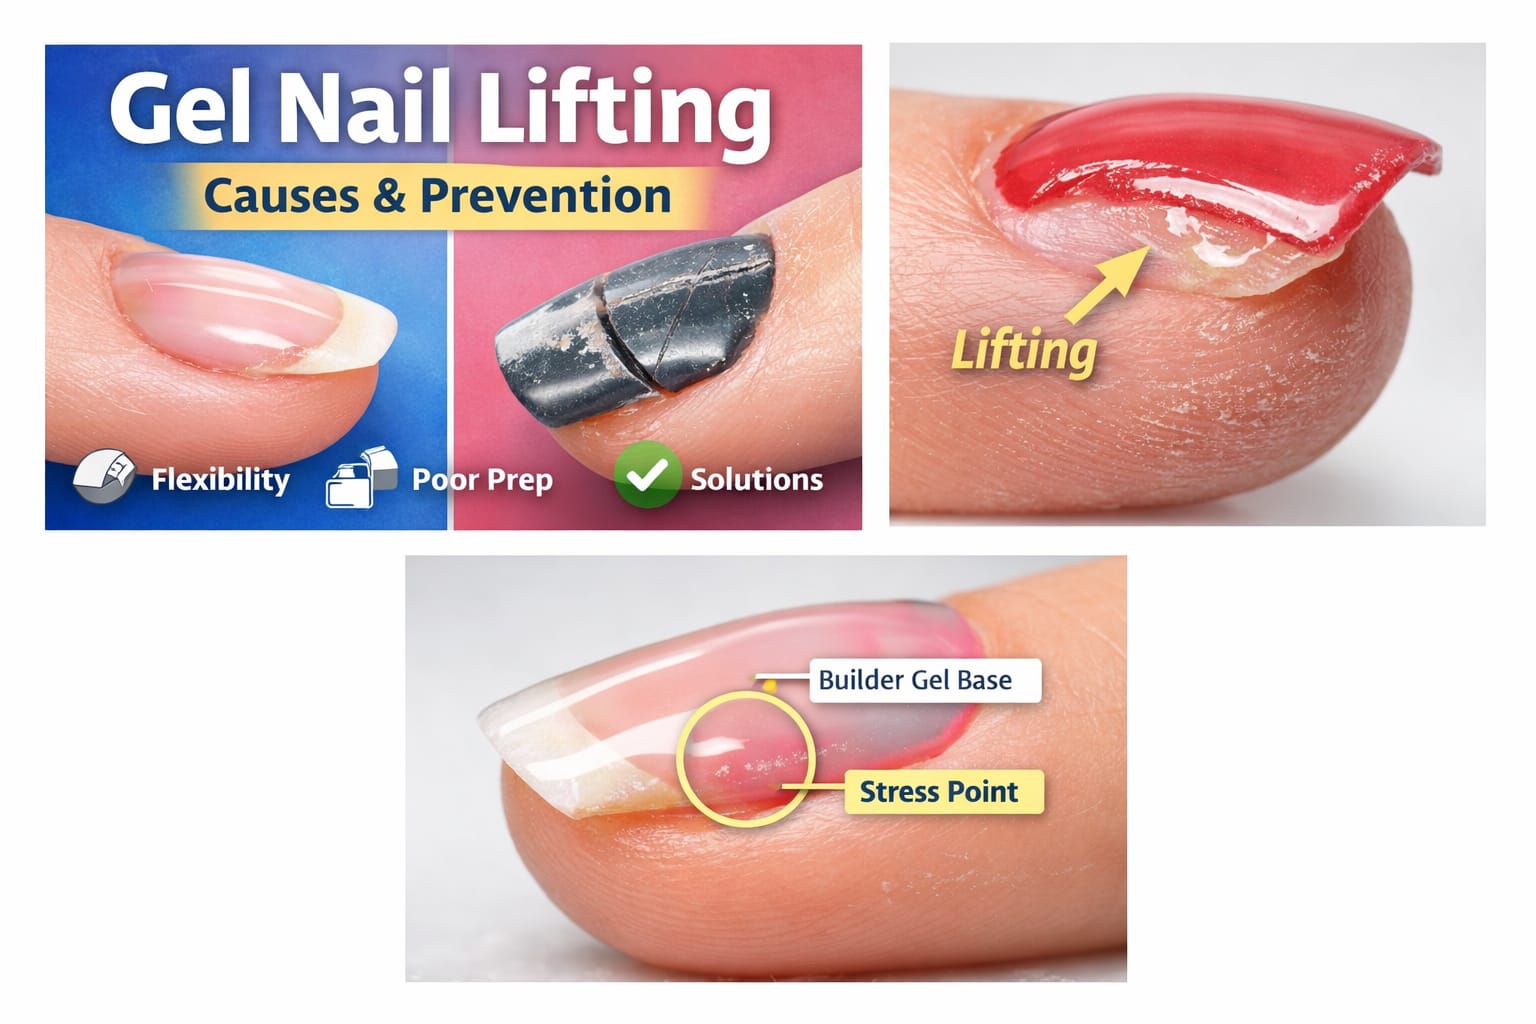
Cracking is not the same as lifting or chipping. When builder gel cracks, it means the enhancement can no longer distribute pressure evenly.
Natural nails bend constantly throughout the day—from typing, gripping objects, washing hands, or temperature changes. Builder gel is designed to reinforce the nail, but it still needs to move with it.
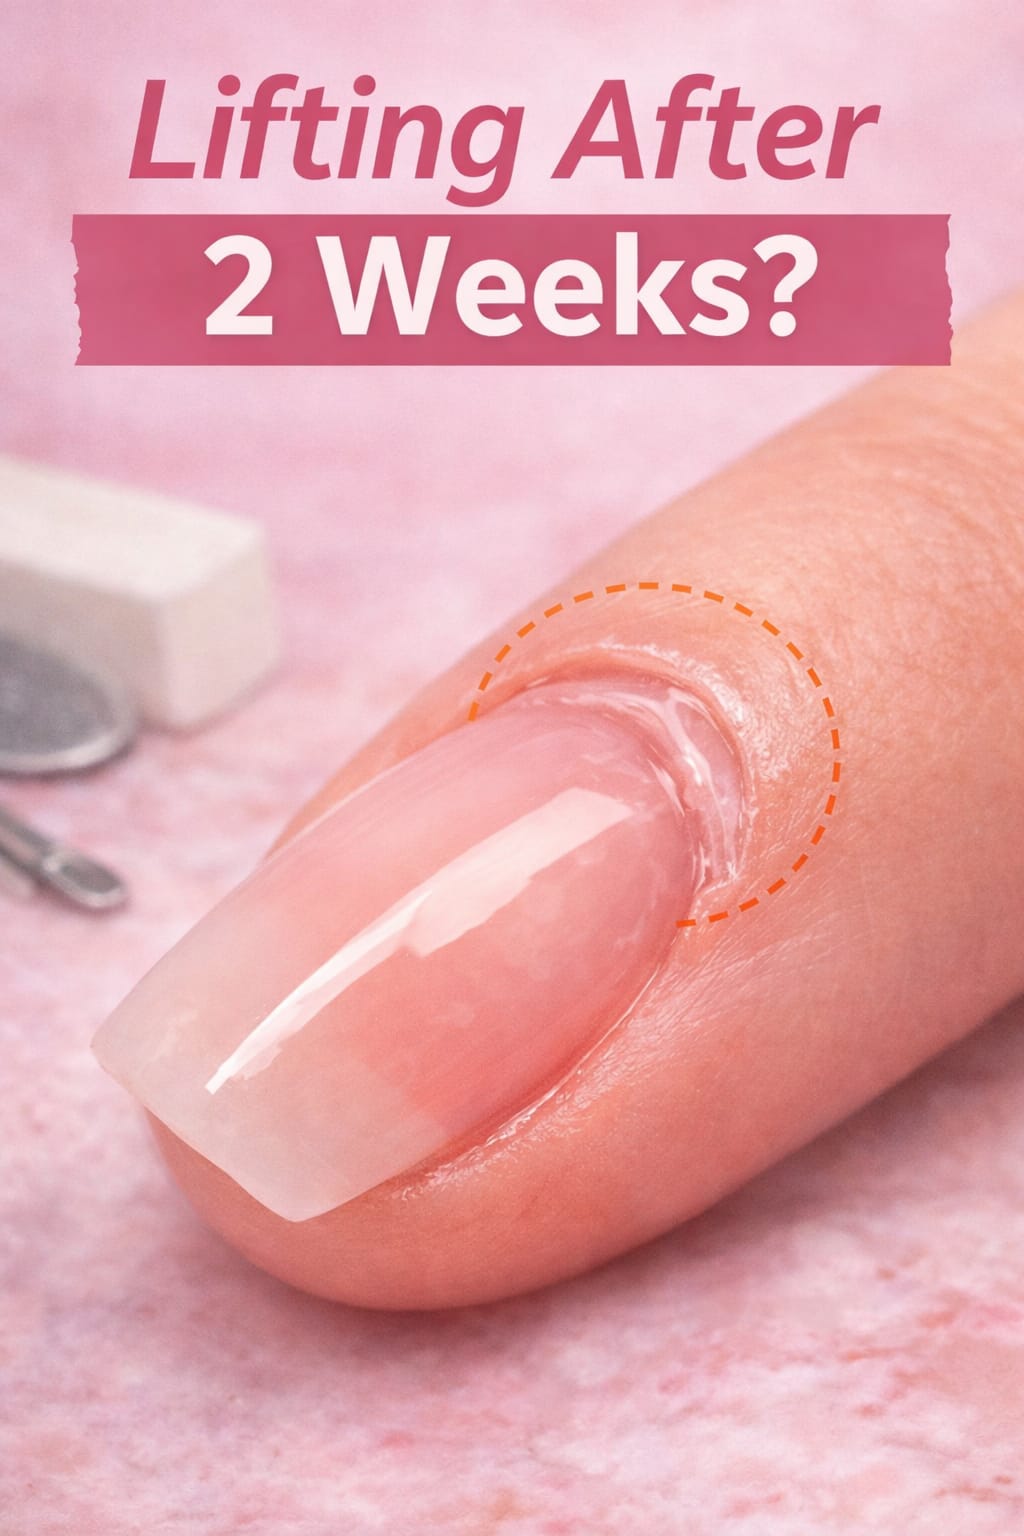
Unlike cracking, builder gel lifting issues usually start at the cuticle or sidewalls and point to adhesion problems rather than structural stress.
When the gel is too rigid or poorly structured, stress builds until the weakest point gives way. That’s when cracks appear, usually:
- Across the apex
- In the stress area
- On thumbs or dominant-hand nails
Cracks are not random damage—they’re feedback.
1. The Builder Gel Is Too Hard for the Natural Nail
One of the most common reasons builder gel cracks is a flexibility mismatch between the gel and the natural nail.
Some builder gels cure extremely hard. While this works well for strong nail plates, it causes problems on:
- Thin nails
- Naturally flexible nails
- Nails that are frequently exposed to water
When the natural nail bends but the gel does not, tension builds between the layers. Over time—or sometimes very quickly—that tension results in cracking.
Many cases labeled as cracking are actually linked to builder gel not lasting, where structure and flexibility are out of balance.
This is why the same gel can perform perfectly on one person and fail completely on another.
How to fix it:
Choose a builder gel with slight flexibility for soft or bendy nails. Strength should support movement, not resist it.
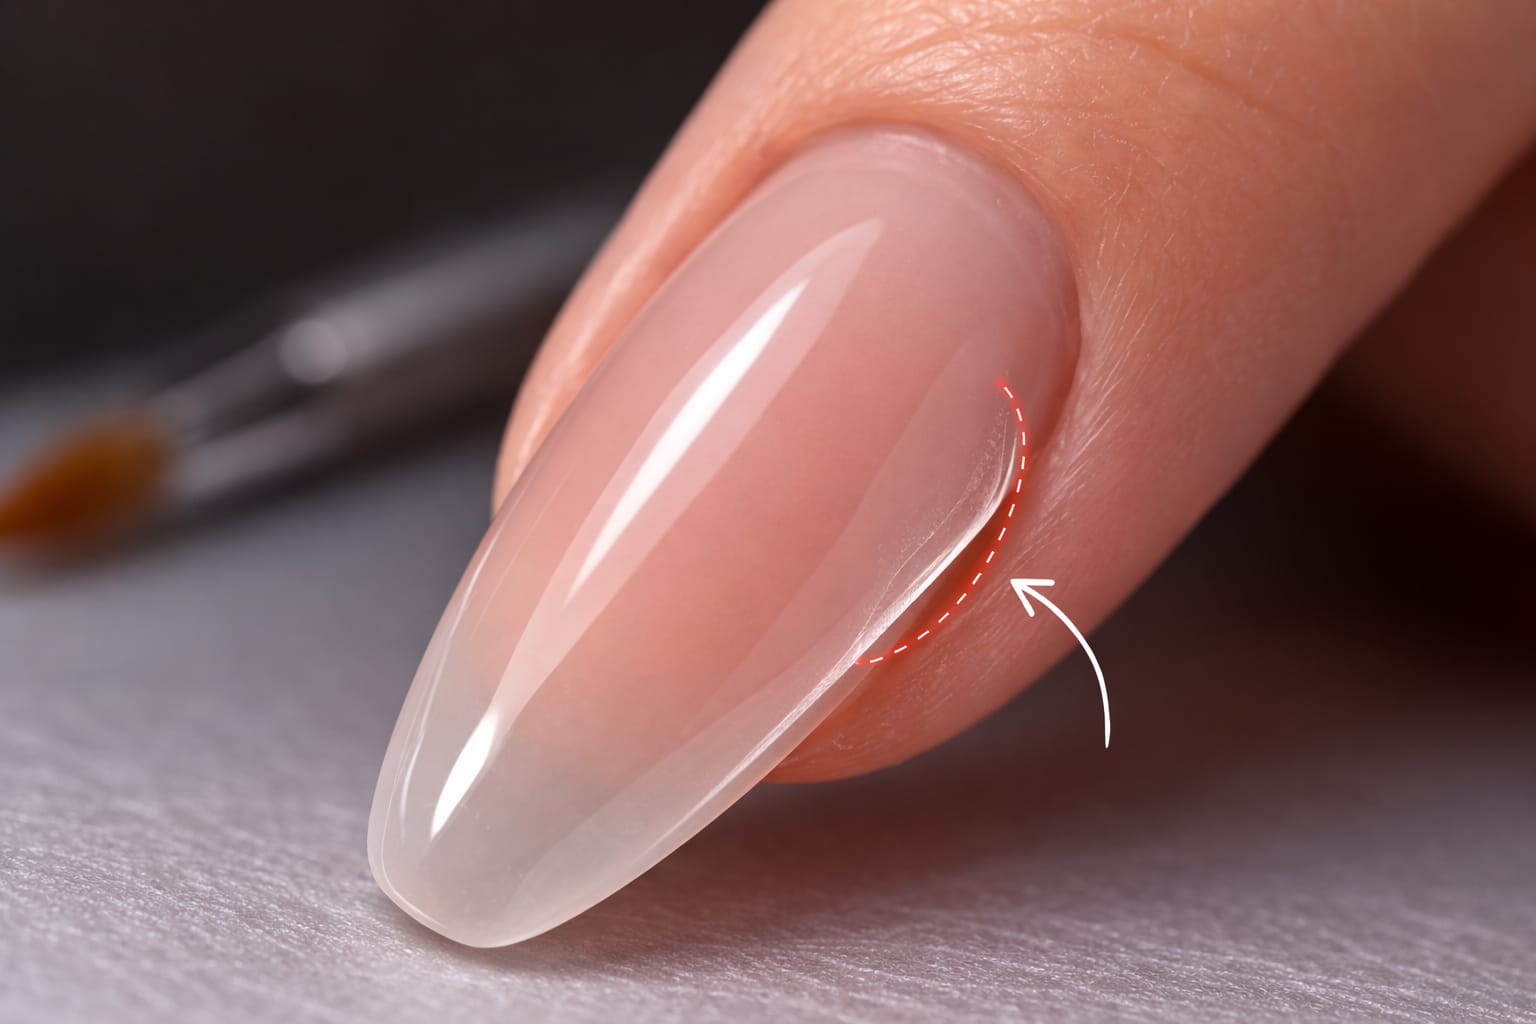
2. Incorrect Apex Placement (Even If the Nail Looks Fine)
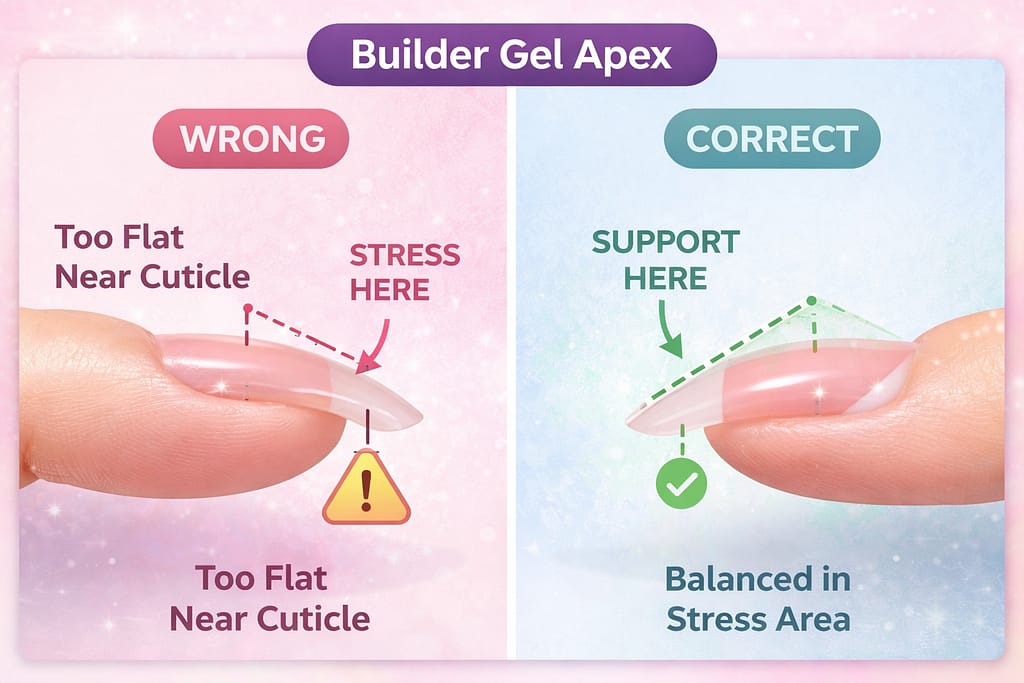
This is one of the most overlooked causes of builder gel cracking.
A nail can look smooth, glossy, and perfectly shaped from the top—but still be structurally weak.
The apex isn’t decorative. It’s functional. Its purpose is to absorb pressure and redirect stress away from fragile areas.
When the apex is:
- Too flat
- Placed too far forward
- Positioned too close to the cuticle
pressure concentrates in the stress zone, making cracks almost inevitable.
How to fix it:
Always check the nail from the side. The apex should sit in the correct structural position, not just where it looks best.
3. Over-Curing or Using the Wrong Lamp
More curing does not mean more durability.
Over-curing builder gel—either by curing too long or using an overly powerful lamp—can make the gel brittle.
This often happens when:
- Cure times are extended “just in case”
- High-watt lamps are used with incompatible gels
- Lamp and gel brands are mixed
Once the gel becomes too rigid, it loses flexibility. Instead of absorbing impact, it snaps.
How to fix it:
Follow the manufacturer’s curing instructions exactly and ensure your lamp is compatible with the gel formula.
4. Builder Gel Applied Too Thick or Too Thin
Thickness plays a major role in cracking.
- Too thin: The gel cannot absorb daily impact
- Too thick: The gel becomes stiff and inflexible
Many people assume thicker layers equal stronger nails. In reality, excess thickness increases rigidity and stress.
How to fix it:
Focus on balanced structure:
- Reinforce the stress area
- Keep sidewalls controlled
- Avoid bulky overlays
Strength comes from shape—not volume.
5. Natural Nail Movement (Especially on Certain Fingers)
If cracking keeps happening on the same fingers—usually thumbs or index fingers—that’s a strong clue.
These nails experience more mechanical stress from:
- Typing
- Gripping
- Opening objects
- Daily hand use
Even a flawless application can fail if natural nail movement isn’t considered.
How to fix it:
Customize structure per finger. Some nails need slightly more reinforcement or a more flexible gel to handle real-life wear.
6. Skipping a Supportive Base Layer
Applying builder gel directly onto the natural nail can increase rigidity at the wrong point.
A well-matched base layer acts like a shock absorber. It allows the natural nail and builder gel to move together instead of pulling against each other.
Without it, stress transfers directly into the builder gel layer.
How to fix it:
Use a compatible base layer designed for structured enhancements—neither too soft nor overly rigid.
7. Stress Concentrated in the Wrong Areas
Sometimes cracking isn’t about weak gel—it’s about stress having nowhere else to go.
Common stress concentration mistakes include:
- Weak sidewalls
- Over-filed corners
- Flat structure near the free edge
Once stress finds a weak point, cracking becomes unavoidable.
How to fix it:
Build nails to handle pressure from multiple angles, not just straight-on impact.
How to Prevent Builder Gel Cracking Long-Term
Preventing cracks isn’t about adding more product—it’s about understanding stress.
Habits that make a real difference:
- Match gel flexibility to nail type
- Build a functional apex
- Cure correctly—no more, no less
- Customize structure per finger
- Stop relying on thickness for strength
When builder gel works with the natural nail, cracking stops.
When Builder Gel Cracking Is Actually a Product Issue
While uncommon, some builder gels are simply too brittle for certain nail types.
If:
- Your application is consistent
- Structure is correct
- Cracking happens across multiple nails
then switching formulas—not techniques—may be the right choice.
Final Thoughts: Cracks Are Feedback, Not Failure
Builder gel cracking isn’t bad luck, and it isn’t something you should accept as normal.
It’s feedback from the nail system telling you something needs adjustment—whether that’s structure, flexibility, or curing.
Once you understand how these elements work together, cracking becomes predictable—and completely preventable.
Strong nails aren’t just hard.
They’re balanced, flexible, and intelligently built.